How to Use Clean Master for Windows
Part 1 of 2:
Installing Clean Master
-
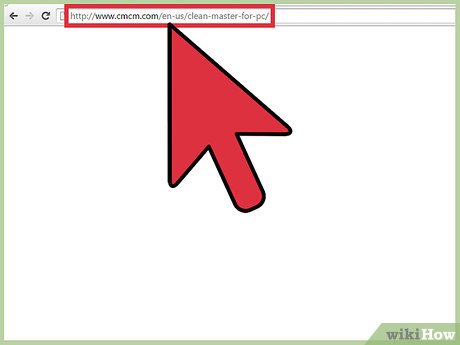
 Navigate to the Clean Master website. Type http://www.cmcm.com/en-us/clean-master-for-pc/ in your browser's navigation bar and press ↵ Enter to open the page.
 -
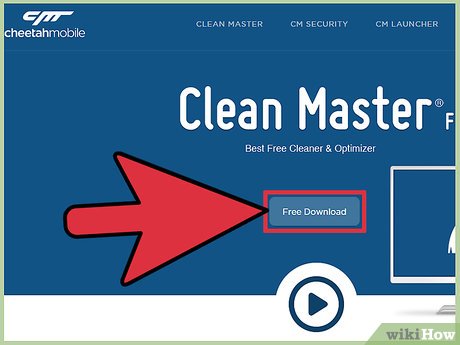
 Select 'Free Download' button to start the download. It will open a page in new tab and then start the download.
 -
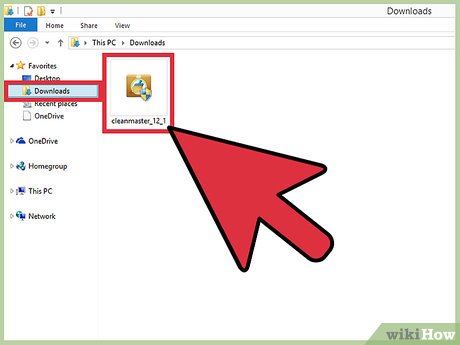
 Locate the installer in the directory you selected for downloading. If your browser doesn't ask you to choose the download location, check the 'Downloads' folder to find the installer.
 -
 Run the installer. Open the installer file to complete the installation procedure.
Part 2 of 2:
Using Clean Master
-
 Open the Clean Master application. After the installation procedure is completed, an icon is created on the desktop for quick access. Select the icon to open the application.
 -
 Wait until the scanning process is completed. The scanning process may take up to 15 minutes to complete. During this time, the app searches for:
- 'Video and audio junk: The app scans the media buffers to save space. It check all your media applications like iTunes, VLC, QuickTime, Windows MediaPlayer, etc.
- Web cache: As you surf across the webpages, some HTML webpages and images are stored in your PC to reduce the bandwidth usage but this occupies a significant amount of the PC storage.[1]
- Software junk: The softwares form some files during their processes and they are of no use after the task is completed. Cleaning such files is safe and won't cause any software malfunction.
- System cache: System caches are the files created by your PC which speeds up the procedures which occur on daily basis knowingly or unknowingly. Keep these files if you wish to keep the processing speed like before.[2]
- Social software's junk: Social networking applications or websites such as Twitter and Line create some junk files while they are running. It is safe to delete them and junk files don't include your shared photos, text messages, etc.
- Registry junk: Outdated registries can be removed to improve the overall performance of your PC.
-
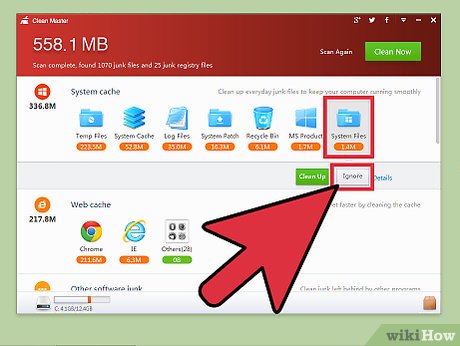
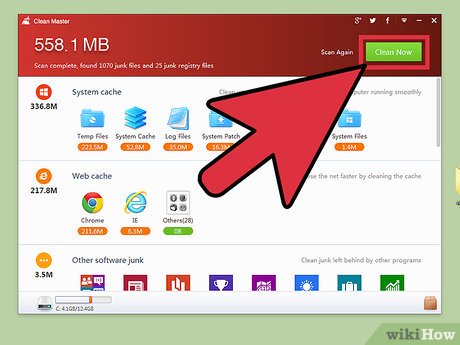
 Read the scan summary carefully. After the scanning procedure is completed, the application lists out the files which can deleted without causing any harm to your PC. Check that the application doesn't mention any files you need.
 -
 Add the files you need to the 'Ignore' list. If you find any files which you want to keep, select the file and choose 'Ignore' to save it from being cleaned up.
 - Select 'Clean now' to remove the junk. Once you have thoroughly checked the scan summary, select 'Clean now' to clean all the junk and lighten up your PC.
Share by
Lesley Montoya
Update 04 March 2020
You should read it
- ★ How to automatically clean junk on Windows 10 computers
- ★ How to clean up junk files to reduce disk space C
- ★ How to delete junk files on the computer, clean the computer most effectively
- ★ Delete junk files and clean up your Windows 10 computer
- ★ Instructions to delete junk files and clean up your Windows 7 computer
