How to automatically clean junk on Windows 10 computers
Instructions on 3 ways to automatically clean junk on Windows 10 computers. Automatically clean junk by batch files, automatically clean junk when starting the computer, automatically clean junk by Storage Sense..
Your computer , when used for a while, will have a number of junk folders stored, causing your computer to run slowly. You have tried to remove trash on your device but with no success. The following article will guide you on how to automatically clean up junk on your Windows 10 computer simply and quickly so that your computer can perform at its best.
Benefits of cleaning junk on Windows 10 computers
- Helps you clean junk files that you don't use.
- Make your machine run faster by freeing up space in Ram.
- Automatic garbage collection will not harm your computer.
1. How to automatically clean garbage by batch file
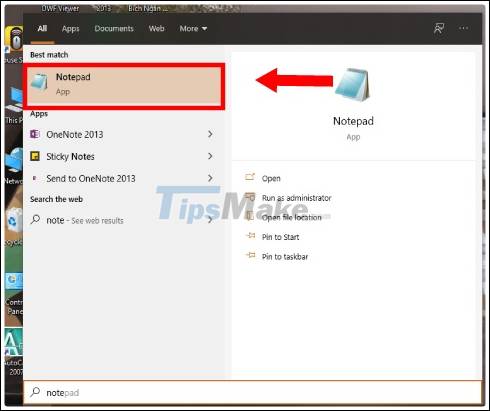
Step 1 : Open the Notepad file on your computer.
Step 2 : Enter the following codes in turn into the Notepad interface:
rd %temp% /s /q
md %temp%

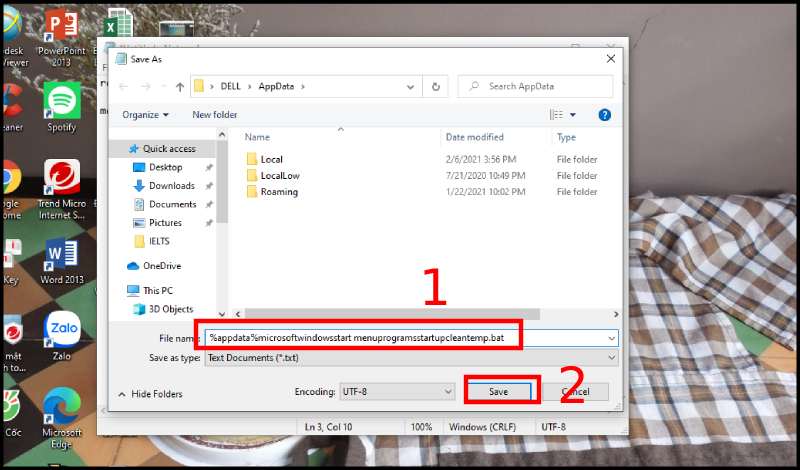
Step 3 : Save the file with the name
%appdata%microsoftwindowsstart menuprogramsstartupcleantemp.bat.
When the 3 steps have been completed, reboot your computer.
2. How to automatically clean the garbage when starting the computer
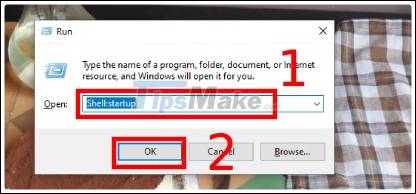
Step 1 : Use the Windows + R keyboard shortcut to open the RUN dialog box .

Step 2 : When the dialog box displays, enter the command Shell: startup => Then click OK .
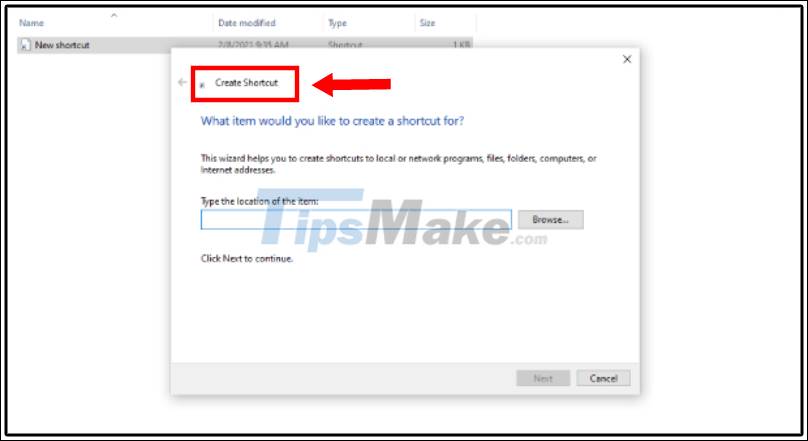
Step 3 : Then right-click on an empty space and select Create shortcut .
Step 4 : Next, enter cmd.exe / c 'echo Y | PowerShell.exe-NoProfile-Command Clear-Recycle Bin' .

Step 5 : Click on Next.
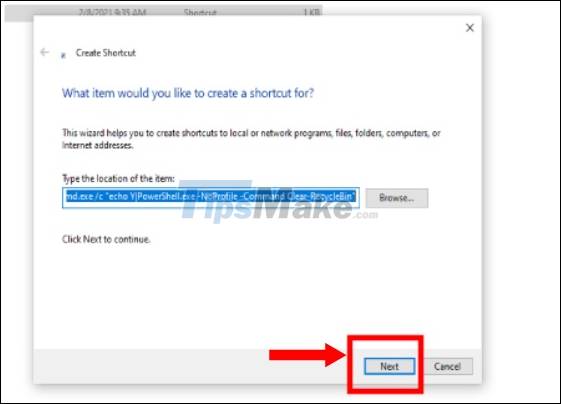
Name the Empty Recycle bin .

Step 6 : Click Finish when completing the above steps.

With these setup steps, after each boot, the machine will automatically delete the junk files remaining in the Recycle Bin .
3. How to automatically remove trash using Storage Sense
Step 1 : Go to Settings > Select System .
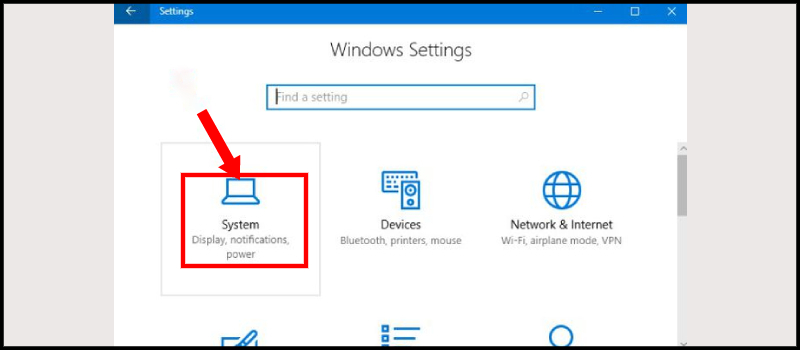
Step 2 : Click Storage > Select Configure Storage Sense or run it now .

Step 3 : Tick on the Delete temporary files that my apps aren't using .

Hope the above article will help your computer operate smoothly and quickly. Thanks for watching!