Instructions for recording screen using Snipping Tool on Windows 11
In the new version, Snipping Tool has been provided with a feature to record computer screen videos so you can easily save the activities you perform on the screen.
Table of Contents
The Windows 11 Snipping Tool has changed its interface compared to the Windows 10 Snipping Tool . And in this new version, the Snipping Tool has been provided with an additional feature to record computer screen videos so you can easily save the activities you perform on the screen, without using the Xbox Game Bar or OBS Studio support software.
How to record screen using Snipping Tool on Windows 11
Follow the steps below to record screen video using Snipping Tool:
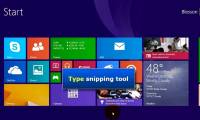
Step 1 : Press the Win button to open the Start Menu , then type Snipping to search and click Snipping Tool in the search results to open.
Step 2 : In the Snipping Tool interface that just opened, you will see that in addition to the Snap button to take a screenshot, there is also a Record button. Click Record to activate the screen recording feature.

Step 3 : After selecting Record , click the New button. At this point, a translucent screen will appear and your task is to click and drag the mouse to select the area you want to record the screen.

Step 4 : After selecting, press the Start button to start recording the screen. A red broken frame will appear and that is the frame where Snipping Tool will record your image.

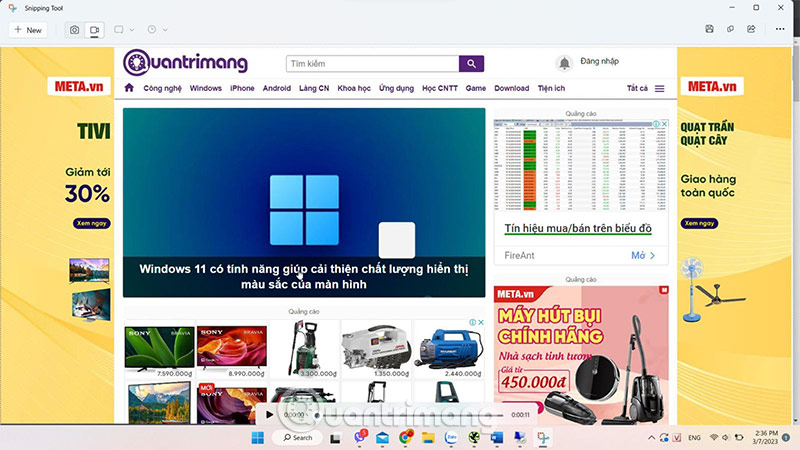
Step 5 : When you finish recording, press the red, square button to stop recording. At this point, the Snipping Tool window with the video you just recorded will appear so you can save, copy or share the video.
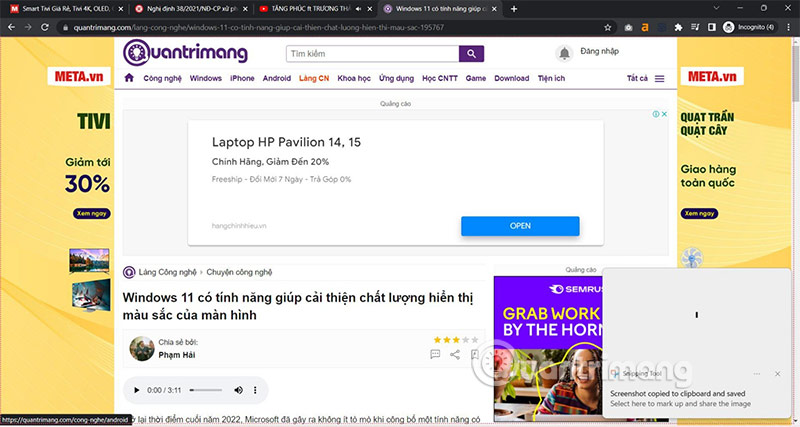
You can only view the video you just recorded, you cannot do anything in this video player.
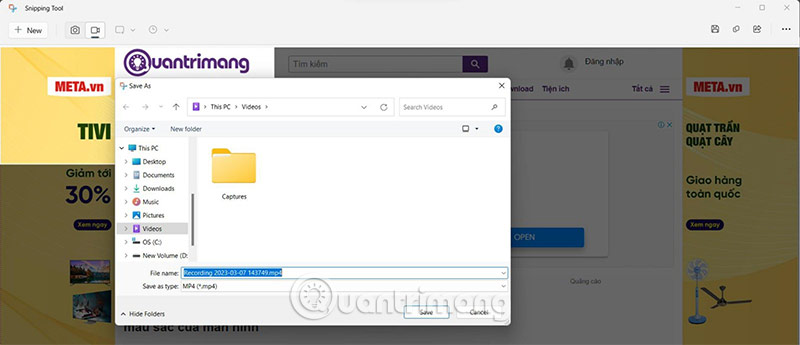
Save your videos and name them.
As mentioned, at the moment, this feature is not really complete. Hopefully in the future, Microsoft will continue to upgrade, improve and add the ability to pause screen video recording.
How to save recorded clips
You can preview the captured clip in the Snipping Tool app. You can also share the clip with your contacts, Nearby Sharing, or using apps like Intel Unison.
But to save the clip you just recorded to your computer, press Ctrl + S to open the Save window . Enter a video name and save the file to your preferred location. You can also click the Save icon in the top bar.

You can also copy the captured recording and paste it anywhere in File Explorer or the Desktop. However, Snipping Tool will automatically name the file, and you'll have to rename it later. The recordings are in MP4 format ; there's no option to change that in the app's settings.
Limitations of the screen recording feature in Snipping Tool
Screen recording is available in Snipping Tool. You can only select a region; there is no option to select freeform, rectangular, or window mode. Furthermore, you cannot set a time before starting a screen recording session. The tool just counts down to 3 and starts recording. There is no predefined keyboard shortcut to start screen recording without opening the tool.
Snipping Tool doesn't offer the option to annotate videos or apply borders to screen recordings, so grabbing a portion of the white screen without edges becomes difficult to distinguish. All of these minor shortcomings will hopefully be fixed by Microsoft when it introduces new updates to Snipping Tool.
Snipping Tool has been an integral part of the Windows operating system since the release of Windows Vista. However, the utility started receiving major changes around the release of Windows 11. Simply update the application and start screen recording sessions in a few clicks without installing any third-party applications.
Was this article helpful?
Your feedback helps us improve.
Related Articles
 How to notify save edits of Snipping Tool screen recording video2 minutes read
 How to create GIF images from screen recording videos on Snipping Tool2 minutes read
 Instructions for editing screen recording videos on Snipping Tool2 minutes read
 How to use Snipping Tool on Windows 10 full set9 minutes read
 Instructions for enabling or disabling Snipping Tool in Windows 102 minutes read
 Cannot find Snipping Tool on Windows 10? This is how to fix it7 minutes read
Reader Comments 0
Sign in with email or Google to join the discussion.