Why do people abandon Snipping Tool on Windows to switch to ShareX?
While the Windows Snipping Tool has been improved recently, it still leaves a lot to be desired. You won't realize its limitations until you try ShareX..
While the Windows Snipping Tool has been improved in recent years, it still leaves a lot to be desired. You won't fully realize its limitations until you try ShareX. This free, open-source tool has quickly become the go-to choice for screenshots, and many people won't go back to the Snipping Tool.
1. Multiple shooting options
While Snipping Tool only offers basic options for capturing your screen — such as rectangular, window, full-screen, and free-form — ShareX goes beyond that. One of our favorite options is scrolling capture, which lets you capture long web pages or documents.
Another useful option is the ability to record on-screen activity as a GIF. People often use this option to illustrate steps or show small interactions in their posts. There is also an auto-capture feature that many people use from time to time. With this feature, you can set ShareX to automatically take screenshots at specific intervals.

2. Convenient annotation tools
When it comes to annotating screenshots, Snipping Tool doesn't offer enough options to satisfy many people's needs. Sure, it allows for adding shapes, emojis, and some freehand drawings, but that's about it.
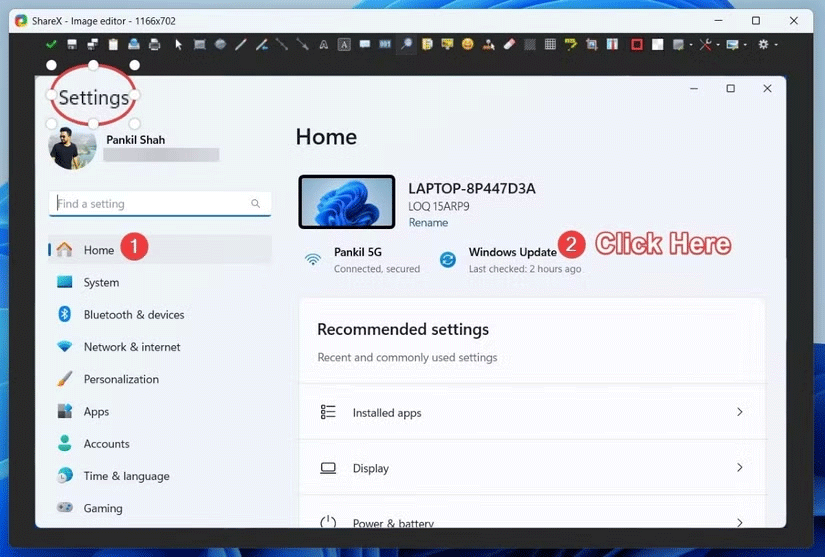
With ShareX, you can add text, speech bubbles, and even step numbers to guide viewers through your screenshot. Particularly useful is the ability to blur or pixelate parts of the image, making it incredibly easy to hide sensitive information.
ShareX also includes a magnifying tool, so you can quickly highlight important parts of your screenshot. Having all these annotation features built into the app means you no longer have to rely on third-party apps to edit your screenshots, as they're all available within the same app.
3. Image editing tools
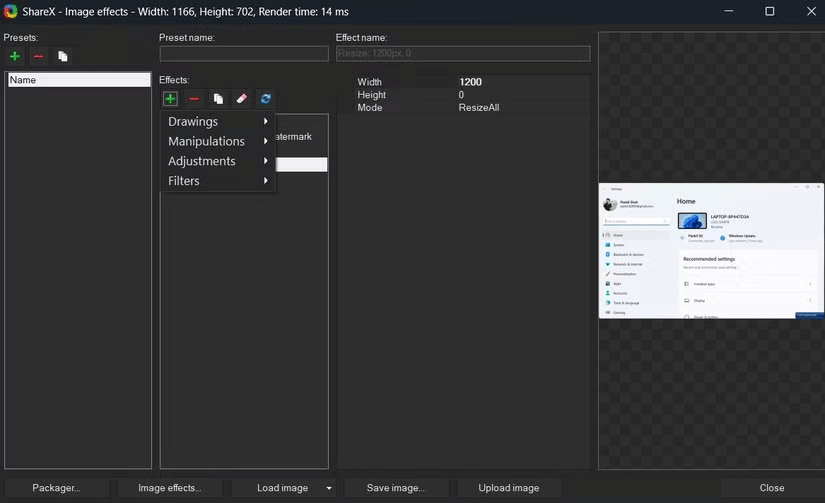
In addition to simple annotations, ShareX offers a variety of options for fine-tuning your screenshots. After you capture something, just right-click the image and select Add image effects to add a border, watermark, or unique background. It even lets you make adjustments—like cropping, resizing, and scaling—right within the app.
The best part is that you can create and save specific presets for any of these adjustments. So if you want all your screenshots to have the same crop size or a specific watermark, you can create a preset and apply it without having to go through the steps manually each time.
Another reliable feature is batch editing. If you need to apply the same effect to multiple images, ShareX allows you to do it all at once. This is especially useful when you are working on projects that require consistent styling across multiple images.
4. Automatic cloud upload
One of the best things about ShareX is how seamlessly it handles cloud uploads. The app supports a variety of cloud storage services, including Google Drive, OneDrive, Dropbox, and Mega.
Additionally, if you need to quickly share an image online, you can upload it to popular image hosting services like Flickr, Imgur, Photobucket, and ImageShack, directly from ShareX.
Setting it up is easy too – just go to Destinations > Destination settings , link your accounts, and you're done. Once you've taken a screenshot or recorded a video, you can hit Ctrl + U in the editor window and enjoy a seamless upload. You can also set it up to automatically upload your captures to other services if you like.
The sheer convenience of this feature is something that the Snipping Tool can't match.

5. Support shortcut keys
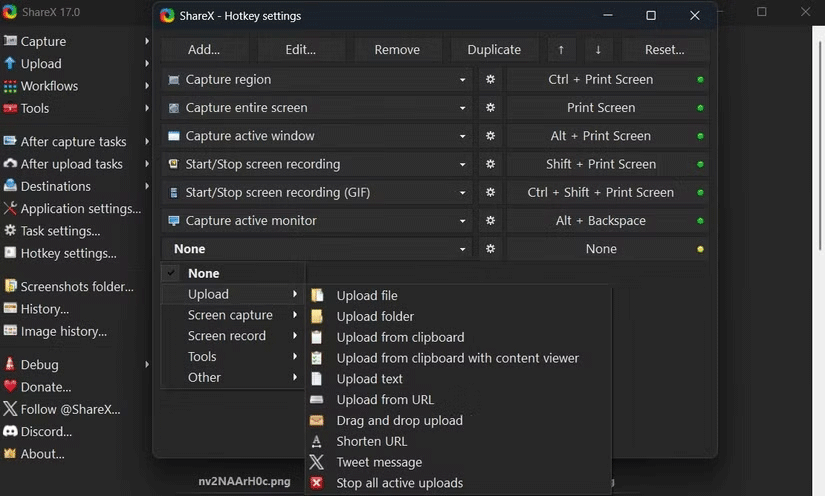
A big part of what makes taking, editing, and uploading screenshots with ShareX so convenient is its extensive support for keyboard shortcuts. With ShareX, you can use keyboard shortcuts to take screenshots in a variety of ways - whether it's capturing the entire screen, a specific region, a scrolling screenshot, or even a screen recording.
Users are not limited by default shortcuts and can customize them to suit their workflow. This is a big step up from the Snipping Tool, where you had to manually select different options depending on what you wanted to capture.
Overall, ShareX offers a lot more flexibility, automation, and customization than you'd expect from a screenshot app. If you're still using the Snipping Tool, give ShareX a try - you might be surprised at how much more efficient you can get.