How to annotate screenshots using Snipping Tool
Snipping Tool also provides built-in tools for annotating computer screenshots. This tool allows you to mark and highlight important parts of the screenshot to convey the message you want.
Table of Contents
Snipping Tool also provides built-in tools for annotating computer screenshots. This tool allows you to mark and highlight important parts of the screenshot to convey the message you want. You can draw, write, or add shapes to the image. Thus, users do not need to use additional photo editing software or other tools to annotate. Here are the instructions
How to Annotate Screenshots Using the Snipping Tool
Step 1:
First, you find the content you want to take a screenshot of. Next, we press the key to take a screenshot using the Snipping Tool .
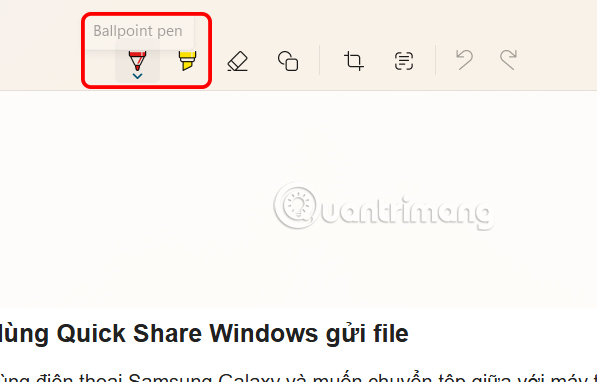
In the screenshot customization interface, users click on the pen tool or highlighter tool from the toolbar as shown below.
Step 2:
Now you choose the color for the content you will write on the screenshot. Below is the size customization for the pen to write notes on the screen.

Step 3:
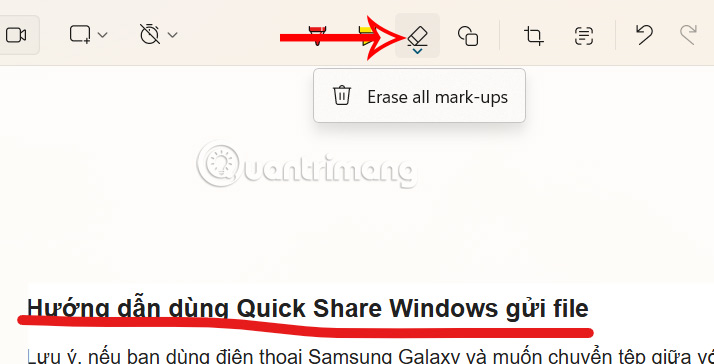
Once you have selected the pen and color for the annotation, you write on the screenshot. If you write the wrong annotation, the user clicks on the eraser icon to erase the annotation .
Step 4:
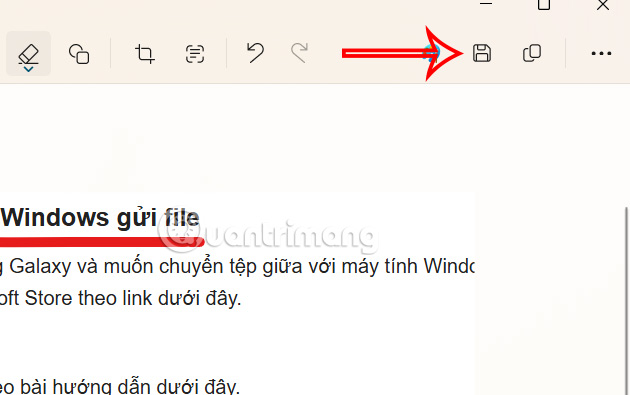
Besides, we can also frame the screenshot with Snipping Tool, using the shape icon in the toolbar. Finally, click the save icon to save the screenshot.
Was this article helpful?
Your feedback helps us improve.
Related Articles
 Steps to Fix Snipping Tool Not Working Error On Windows4 minutes read
 How to turn off automatic saving of Snipping Tool screenshots2 minutes read
 How to use Snipping Tool on Windows 10 full set9 minutes read
 5 new Snipping Tool features that make it even more useful.5 minutes read
 3 simple and effective ways to fix Snipping Tool not working error2 minutes read
 How to use Snipping Tool to take screenshots on Windows 103 minutes read
Reader Comments 0
Sign in with email or Google to join the discussion.