How to open Command Prompt during Windows installation
Opening Command Prompt while you install Windows will help you use commands in CMD such as checking drive health, converting standard MBR - GPT and many other benefits,
Table of Contents
In the following article, let's learn about how to open Command Prompt during Windows installation.
1. On the Windows 10 installation interface
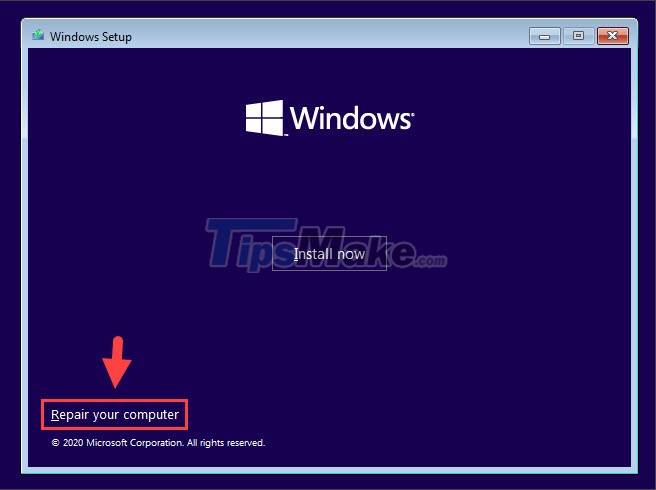
Step 1: On the installation screen, click Repair your computer.
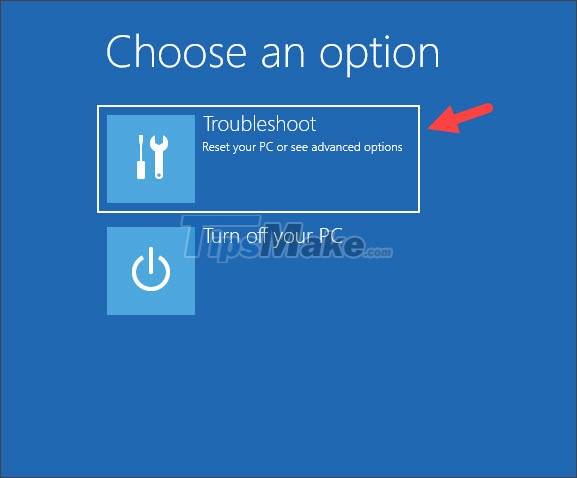
Step 2: Click Troubleshoot.
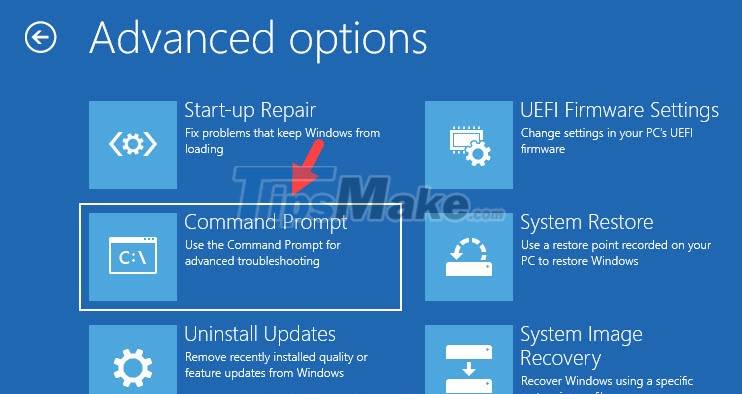
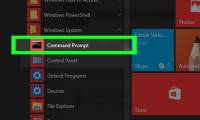
Step 3: You choose Command Prompt.
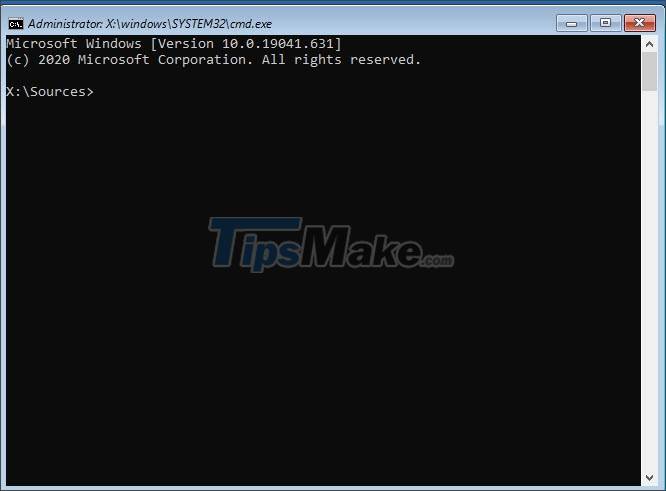
After that, the Command Prompt window will appear as success.
2. On the Windows 8/8.1 installation interface
Step 1: Click Repair your computer.

Step 2: Click Troubleshoot.

Step 3: Click on Advanced options.

Step 4: You choose Command Prompt.

After that, the Command Prompt window will appear and you can perform CMD commands on it.

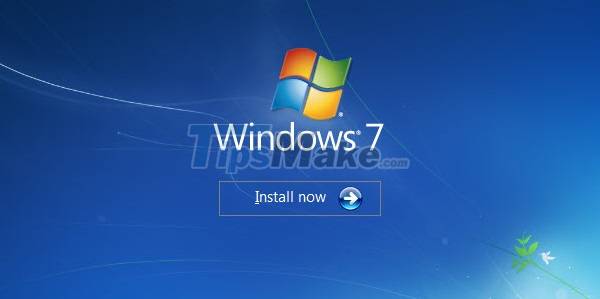
3. On the Windows 7 installation interface
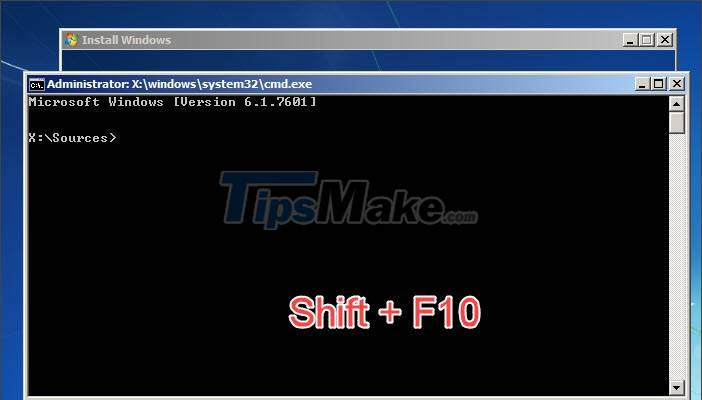
On the Windows 7 installation interface, you do not need to click Repair your computer, but use a keyboard shortcut to open the Command Prompt.
Press the keyboard shortcut Shift + F10 and the Command Prompt window will appear on the screen.
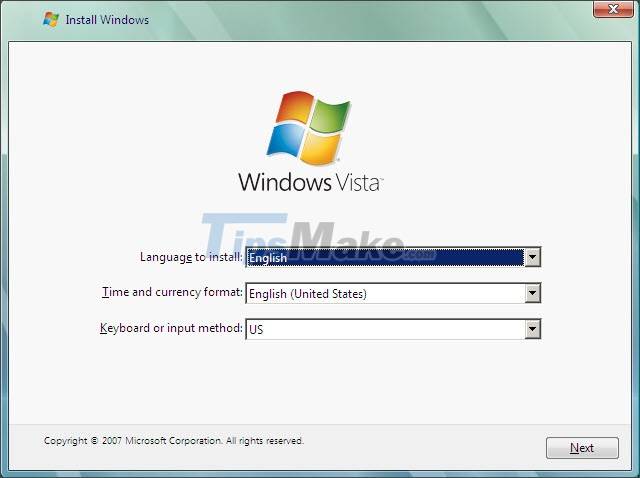
4. On the Windows Vista installation interface
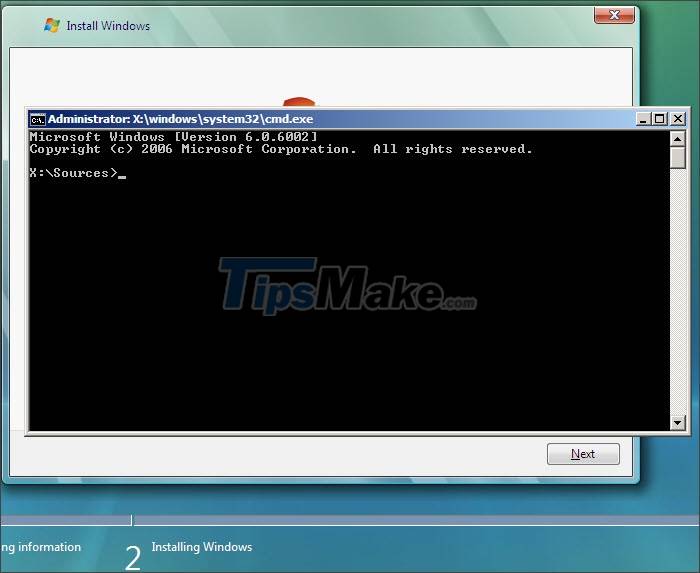
Similar to Windows 7, you can open Command Prompt on Windows Vista with the keyboard shortcut Shift + F10.
After executing the Shift + F10 command, the Command Prompt window will appear on the screen.
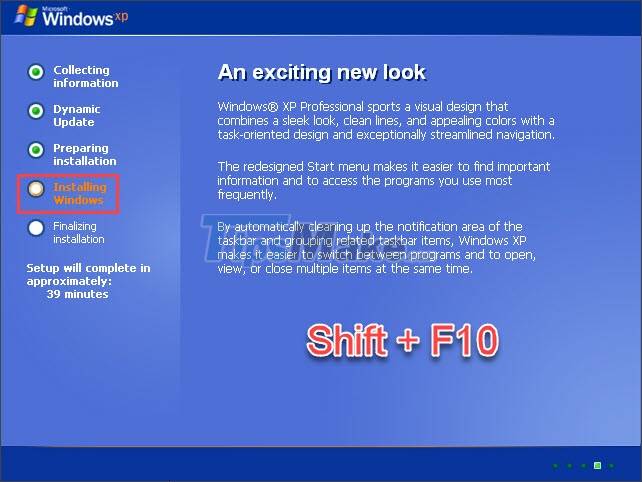
5. On the Windows XP installation interface
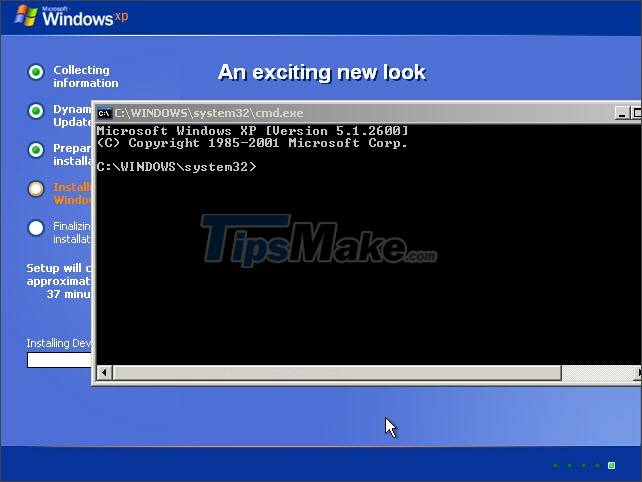
For Windows XP, you will be able to open the Command Prompt while installing to the Installing Windows step. In the meantime, press Shift + F10.
After pressing the Shift + F10 combination, the Command Prompt window will display on our screen.
Through sharing in this article, you can quickly and easily open the Command Prompt dialog box and perform CMD commands during Windows installation. Good luck!
Was this article helpful?
Your feedback helps us improve.
Related Articles
 How to open Command Prompt on Windows 10, 8, 7, Vista and XP4 minutes read
 Open folder in Command Prompt (CMD)4 minutes read
 How to use the command history function in Command Prompt7 minutes read
 How to Open Folders in CMD4 minutes read
 How to Open Command Prompt on Windows2 minutes read
 How to Execute a Program in Command Prompt6 minutes read
Reader Comments 0
Sign in with email or Google to join the discussion.