5 quick commands to fix broken packages in Linux
Although it's sometimes possible to use a Linux graphical interface like Synaptic to troubleshoot many issues, people often use terminal commands first.
Table of Contents
Most Linux users encounter faulty software packages. An interrupted update, a failed installation, or a missing dependency are all issues that contribute to package errors. While it's sometimes possible to use a Linux graphical interface like Synaptic to troubleshoot many problems, people often resort to terminal commands first.
Let's start with the environment most people use: Debian-based distributions like Linux Mint , Ubuntu , and Pop!_OS. This is the most familiar environment, and this article will focus on it.
sudo apt --fix-broken install
Allow APT to automatically resolve dependency issues.
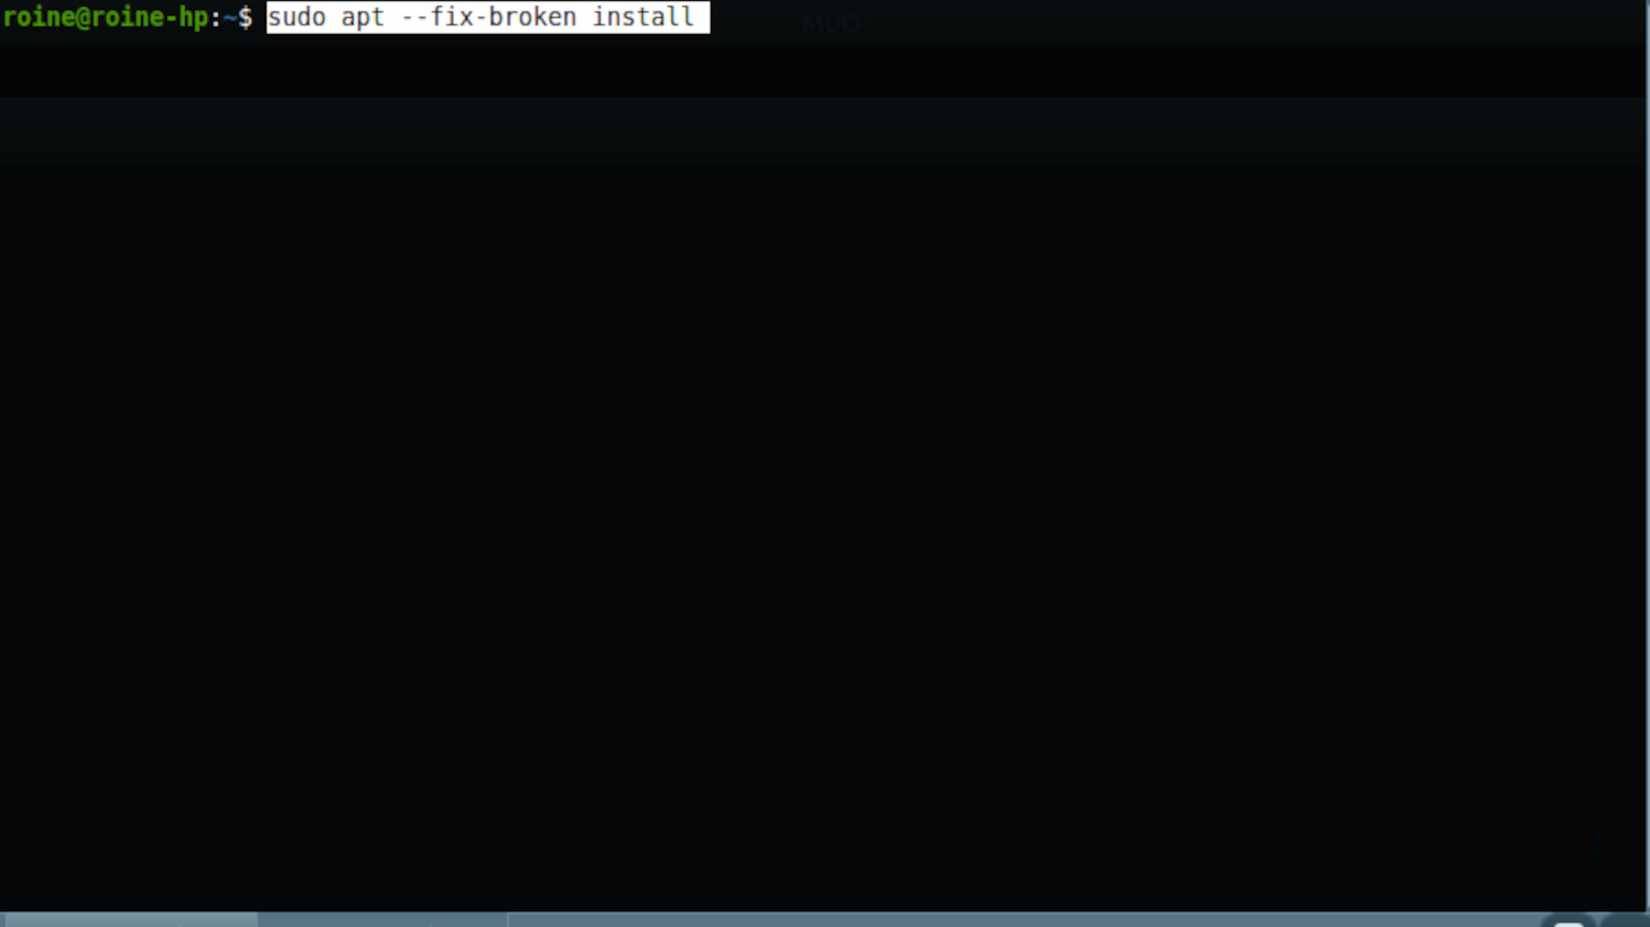
This is the first command you should use on Ubuntu, Mint, and most other Debian-based distributions because it requires APT to do what it's already good at: cleaning up unnecessary things.
When a software package installation fails, APTs usually know exactly what happened. A dependency wasn't installed, a package was incompletely configured, or an update was interrupted and never completed. Running this command will instruct APTs to stop reporting errors and proactively resolve the situation using the best solution it can compute from your enabled repositories.
sudo apt --fix-broken installHidden behind the scenes, APT scans your system for unmet dependencies and faulty package states, then attempts to automatically repair them. This means installing missing packages, removing packages that cannot be safely resolved, or completing an installation that was interrupted midway.
This command is particularly effective after a system update has hung, crashed, or been aborted. In many cases, it restores the packet system to its normal working state in a single go, without the need for manual intervention or troubleshooting of each packet individually.
sudo dpkg --configure -a
Package installation is not complete.
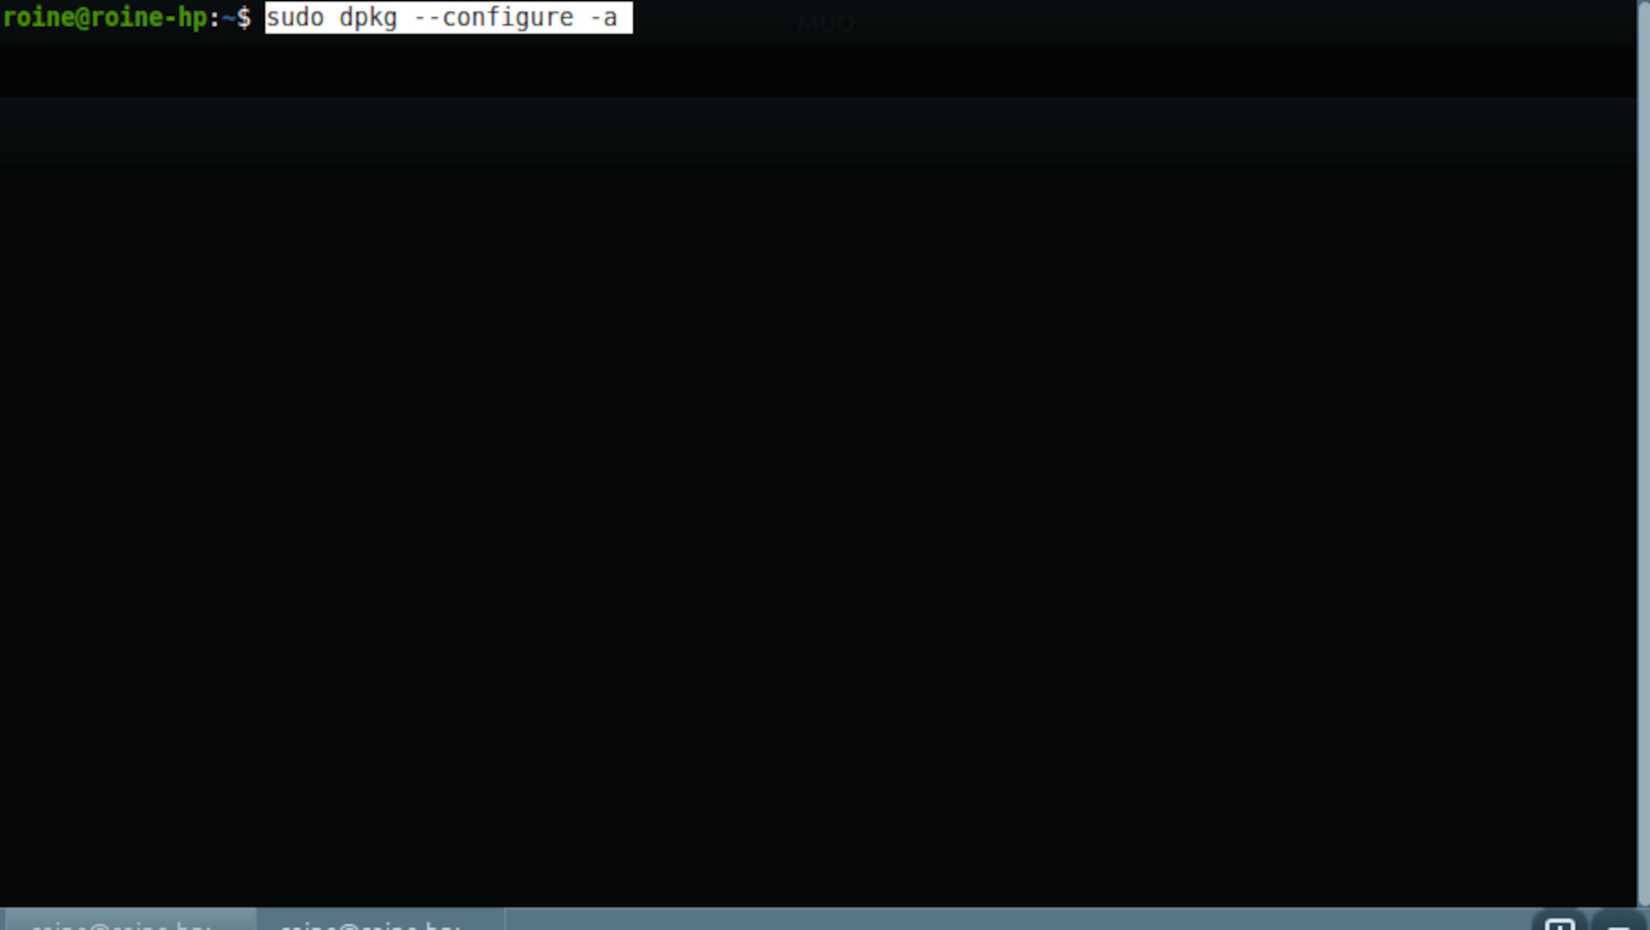
Sometimes packages are downloaded correctly, but never completely. The files are already on your system, but the configuration step was interrupted by a problem, power outage, or sudden shutdown during the update process. When that happens, APT cannot continue because it is waiting for those packages to be properly configured.
That's when this order takes effect.
sudo dpkg --configure -aInstead of installing anything new, this command instructs dpkg to continue and complete the configuration of any packages currently in an incomplete installation state. It runs any pending post-installation scripts, completes the setup steps, and clears any "package not installed or completely removed" errors that prevent further operations.
This is often the missing step when APT fails immediately without attempting to resolve dependencies. By completing what was interrupted, you provide APT with a clean platform to work on. If package management is completely stuck, run this command before attempting any more forceful actions.
sudo apt clean && sudo apt update
Reset packet cache and refresh source.
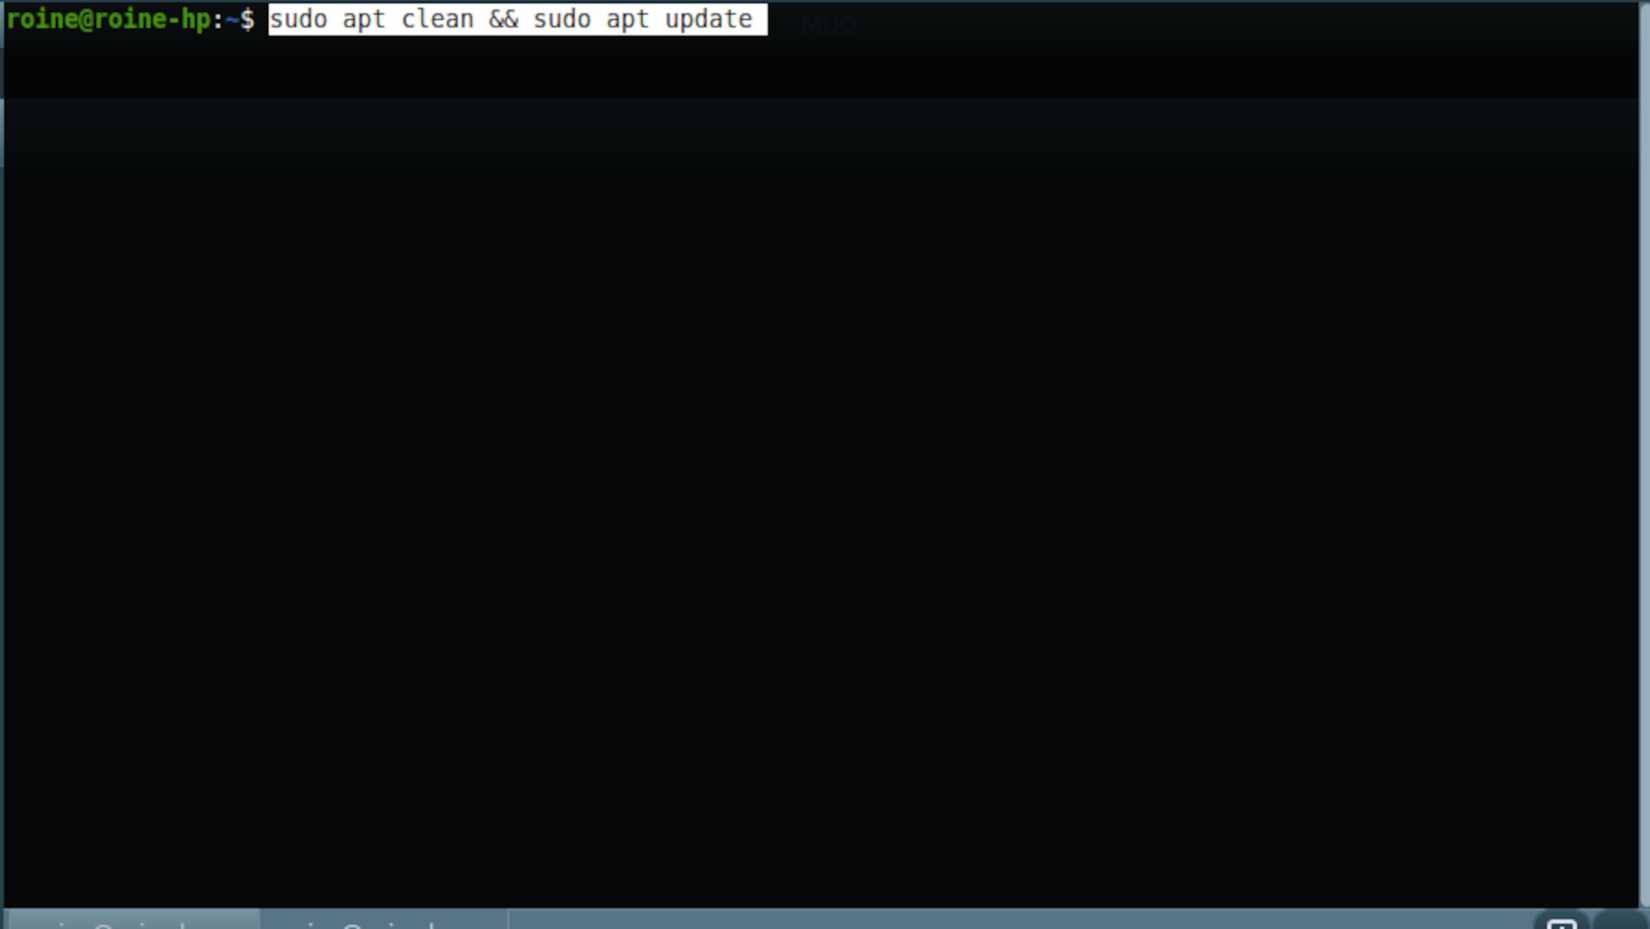
Downloading faulty packages and outdated metadata can cause installation errors even if your repository is perfectly fine. APTs may continue trying to install a corrupted file or rely on package information that no longer matches what's actually available. When that happens, the installation will fail with vague or misleading errors, or without any clear explanation.
Clearing the cache forces APT to discard everything it previously downloaded and start over from scratch.
sudo apt clean sudo apt updateThe first command deletes all cached .deb files, including incomplete or corrupted downloads. The second command refreshes the package list from your configured repositories, retrieving updated metadata and dependency information.
This combination is particularly useful when downloads fail repeatedly, packages fail to install despite appearing valid, or system updates suddenly stop working after previously working fine. It doesn't delete any installed software, change system settings, or affect your configuration.
Because it's safe, quick, and reversible, this is one of the least risky troubleshooting steps you can take before moving on to more invasive remedies.
sudo apt remove --purge
Completely remove a faulty package.
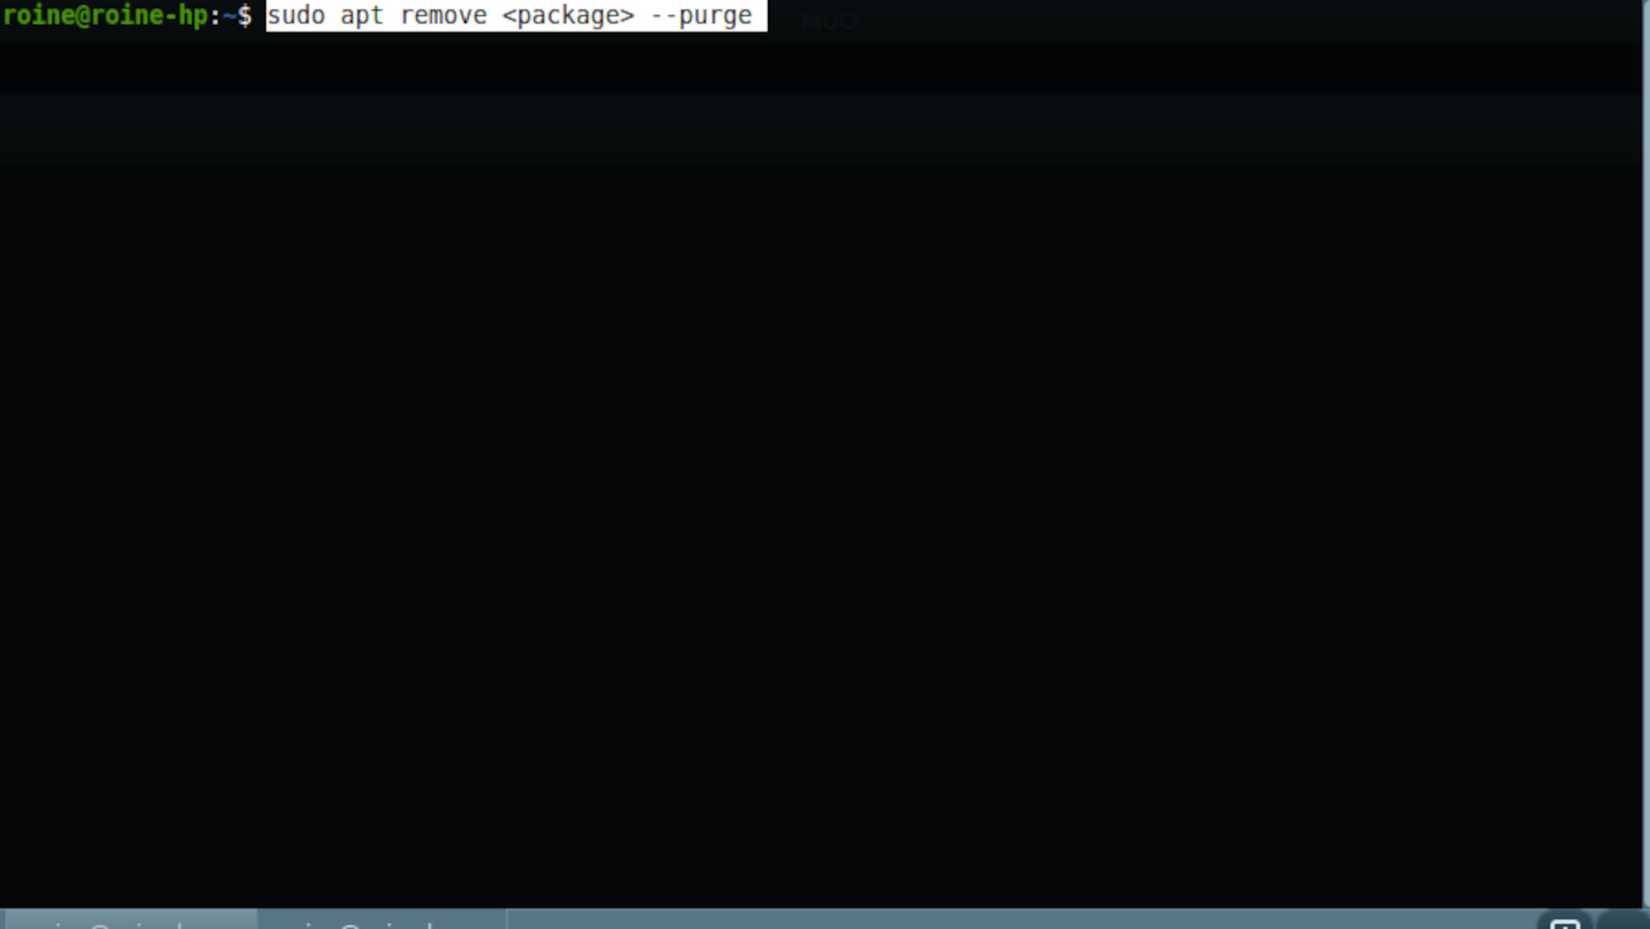
Sometimes the problem isn't your entire system, but a stubborn package that refuses to work. It might be misconfigured, incompatible with existing libraries, or stuck in a faulty dependency loop that blocks every update you try to run.
In these cases, simply removing the package normally is not enough. A complete cleanup will resolve the issue.
sudo apt remove --purgeNote : In this case, it's a placeholder. Be sure to replace it with the actual name of the package!
This command will remove the package itself, along with all its configuration files. This is important because faulty or outdated configurations are often the reason why reinstallation attempts fail in the first place. By removing everything related to the package, you provide APT with a clean platform to work on.
Use this method when a package consistently blocks system updates, dependency errors repeatedly refer to the same name, or software reinstallation fails no matter how many times you try. After uninstallation, you can reinstall the software package or leave it completely uninstalled without causing your package manager to malfunction.
sudo apt autoremove
Clean up any remaining dependencies.
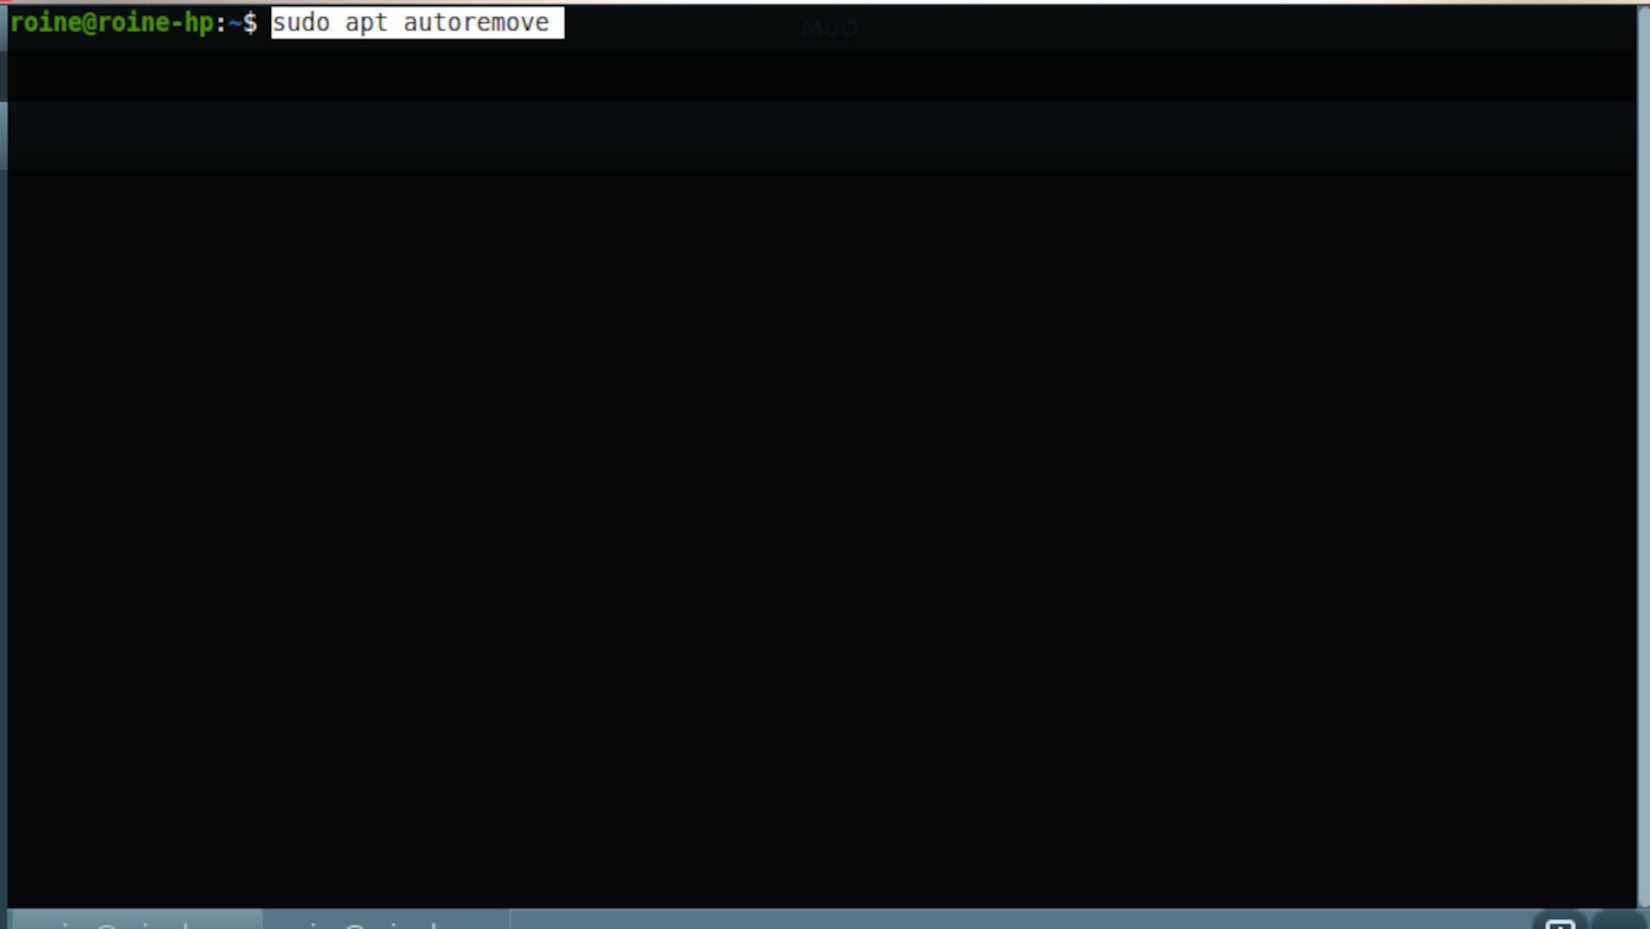
When a software package installation fails or the software is uninstalled improperly, its dependencies don't always disappear with it. These remaining packages, known as orphan dependencies, can persist on your system and silently cause problems later. They can conflict with newer versions, block upgrades, or simply clutter your package database.
That's where this command comes in handy. It scans your system for packages that were automatically installed as dependencies but are no longer needed for anything else. Then, it safely removes them, without affecting any software you've already installed.
sudo apt autoremove autoremoveThis helps reduce dependency conflicts, minimizes the risk of future installation errors, and frees up disk space that would otherwise be wasted on unused libraries. While it can't fix a faulty software package on its own, this is an essential cleanup step after the main issue has been resolved.
Think of it like cleaning up after a repair – ensuring your system is clean, stable, and less likely to experience similar problems again.
Was this article helpful?
Your feedback helps us improve.
Related Articles
 5 Linux commands every sysadmin needs to know6 minutes read
 Memorize these 5 commands so you won't be afraid of Linux Terminal anymore!6 minutes read
 How to Run Linux Commands on Windows with WSL 25 minutes read
 Guide to network operation for Linux users: 11 commands to know6 minutes read
 14 interesting Linux commands in Terminal7 minutes read
 15 Tar commands should try in Linux7 minutes read
Reader Comments 0
Sign in with email or Google to join the discussion.