Table of Contents
Learn how to lock your iPhone using voice commands with clear steps, practical tips, and troubleshooting guidance for a reliable result.
How to lock your iPhone using voice commands
Step 1
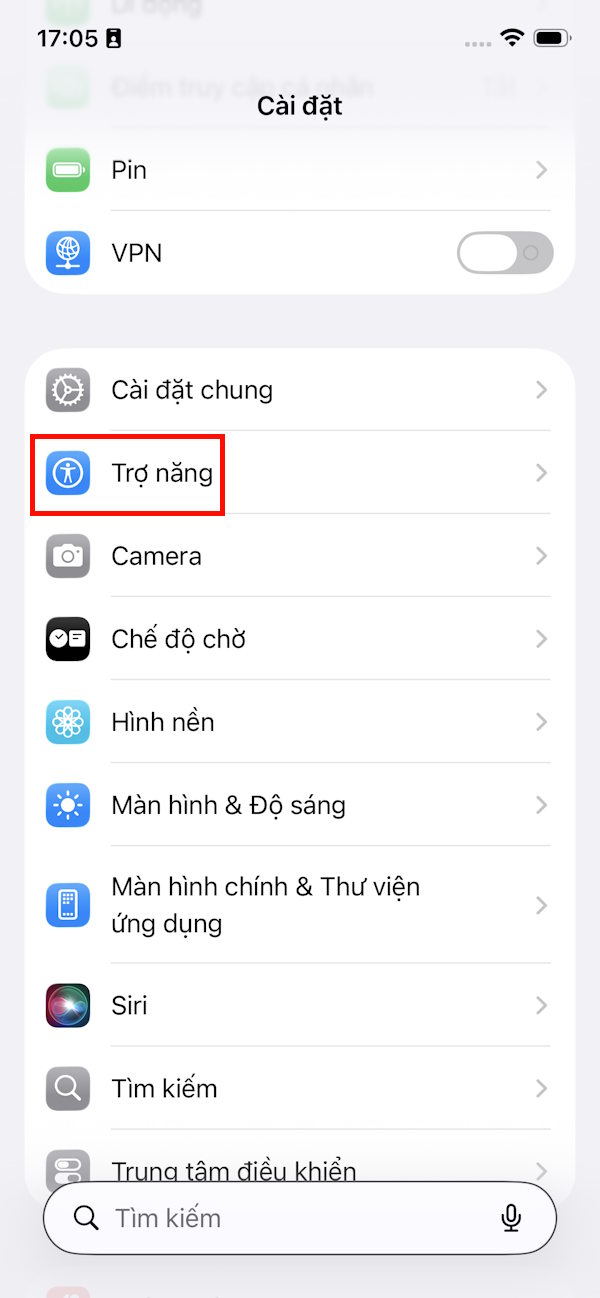
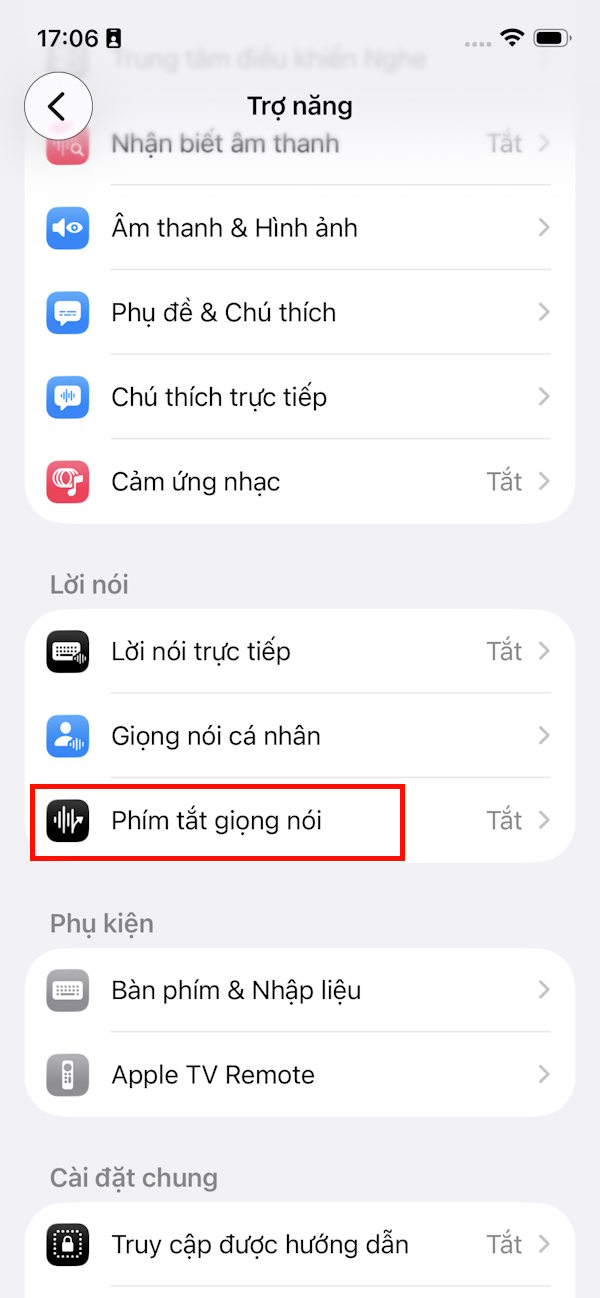
Go to Settings on your iPhone, then tap Accessibility . Next, tap Voice Shortcuts to set it up.
Step 2
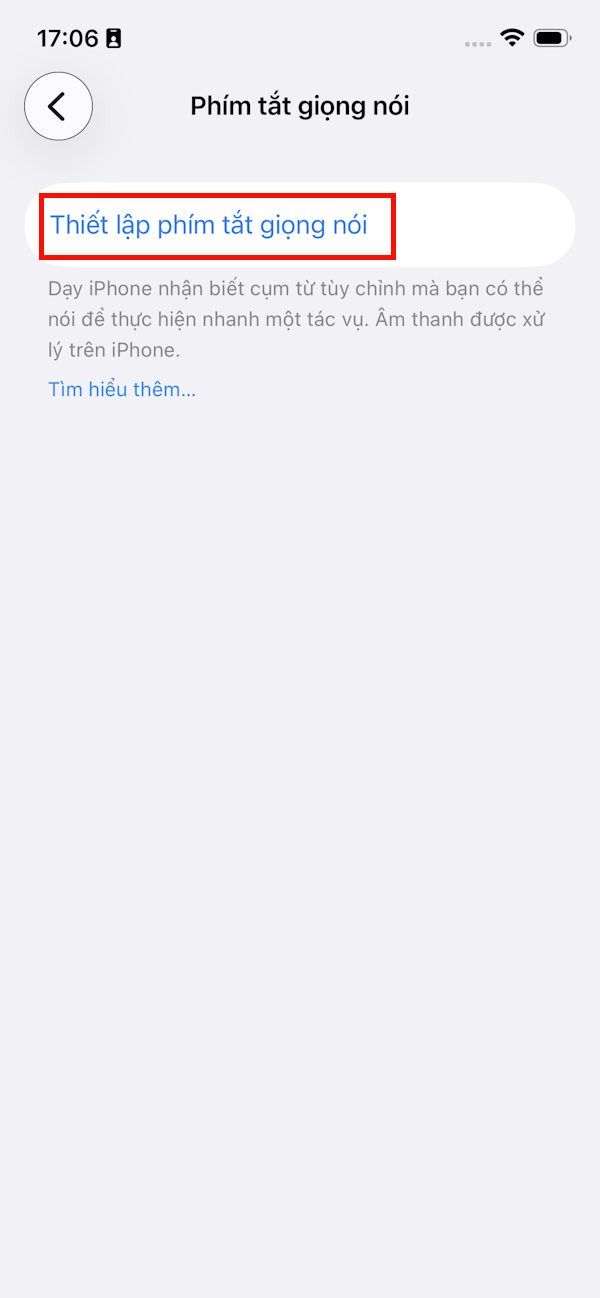
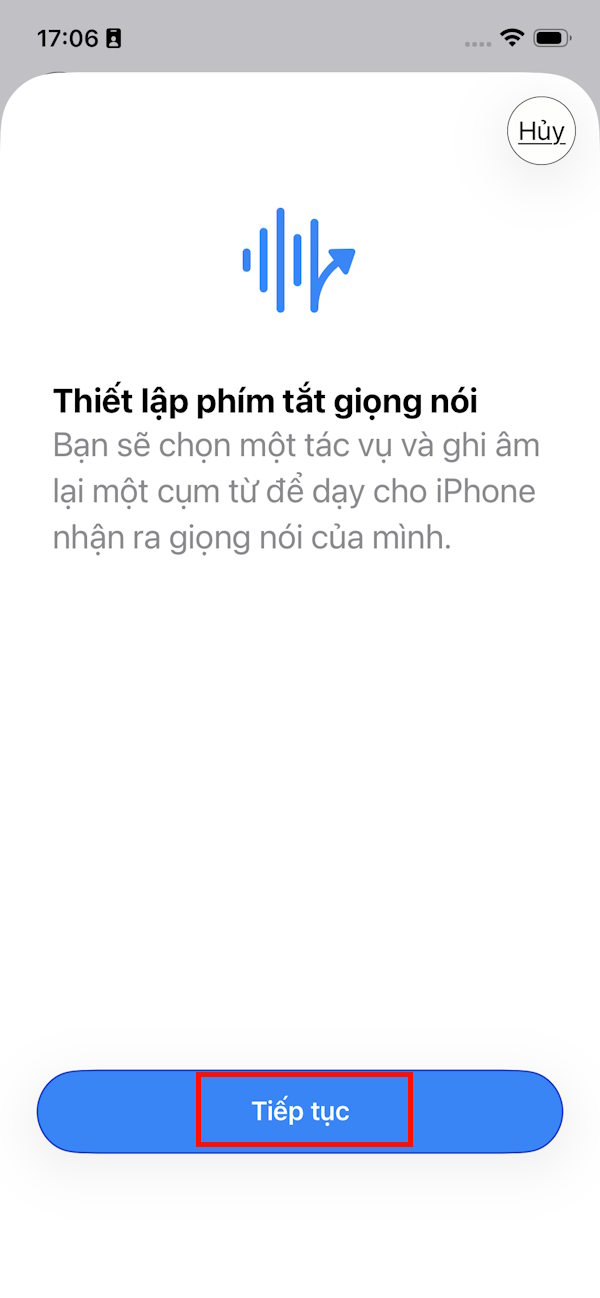
The user then selects "Set up voice shortcuts ," and then presses "Continue ."
Step 3
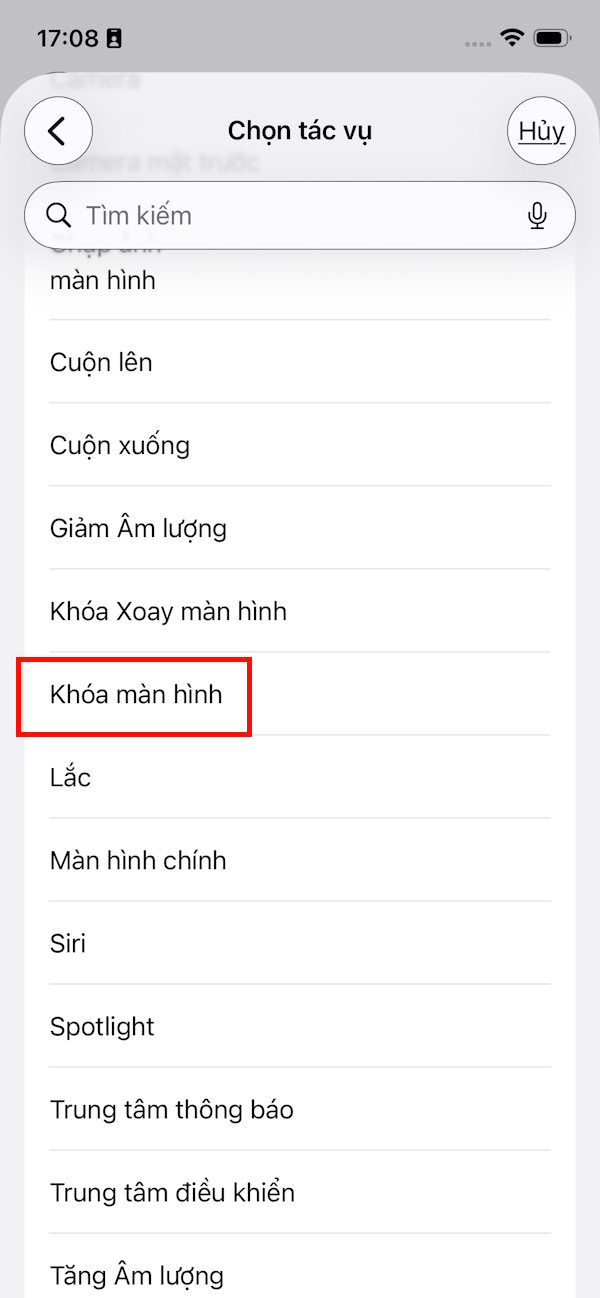
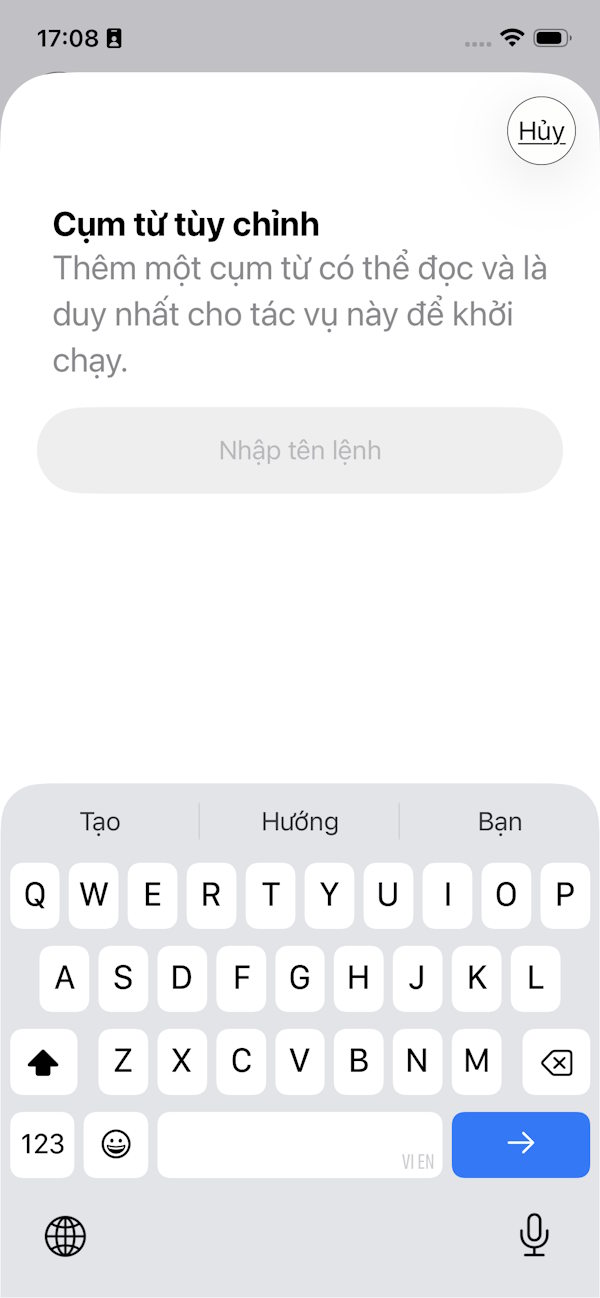
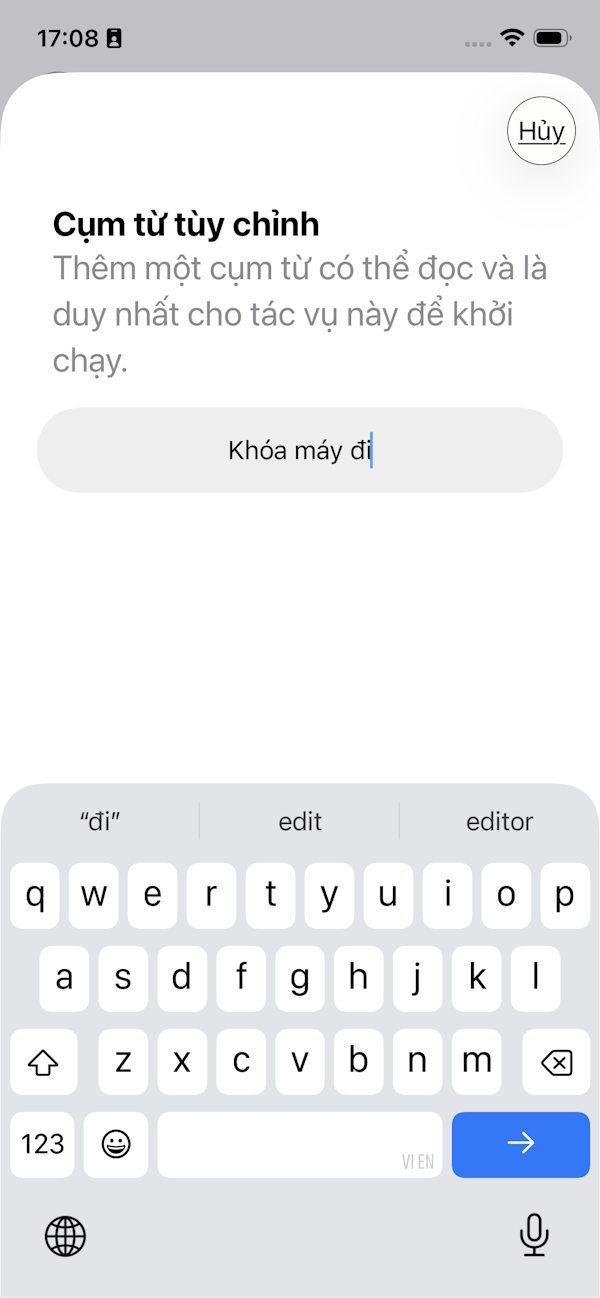
Then you will see a list of voice-activated tasks. Find the "Lock screen" task and select it, or you can choose another task. After that, enter a phrase related to the lock screen task .
Step 4
Next, you need to clearly say that phrase to your iPhone so the device can recognize your voice and record it for the screen lock function to execute when you speak it.
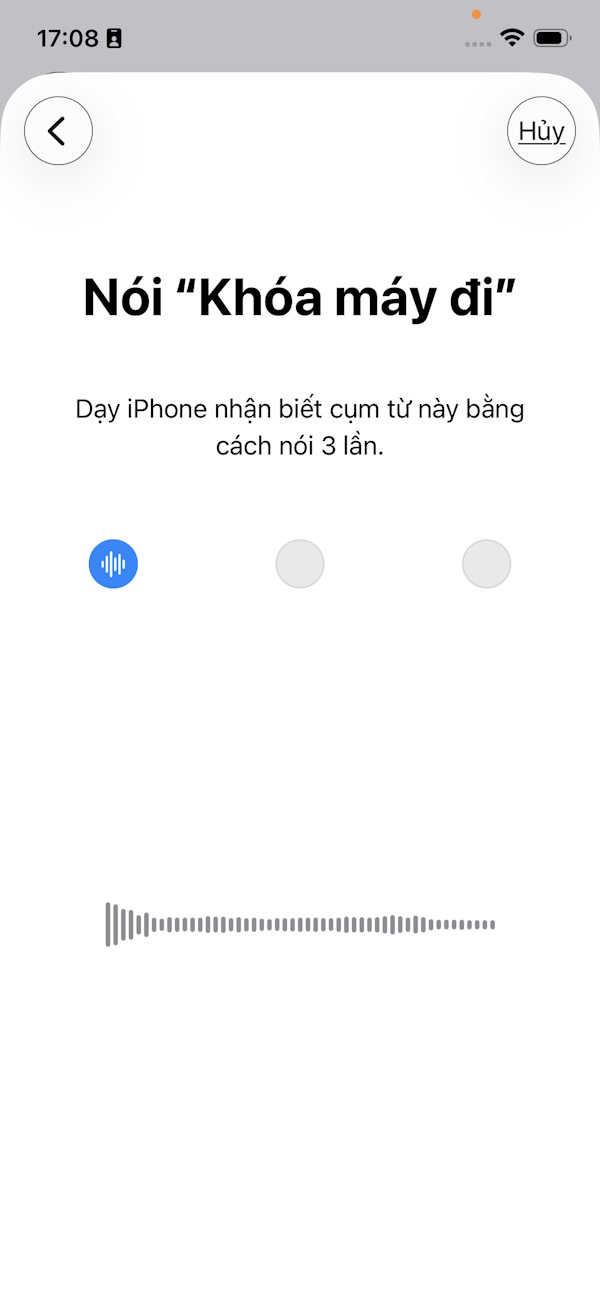
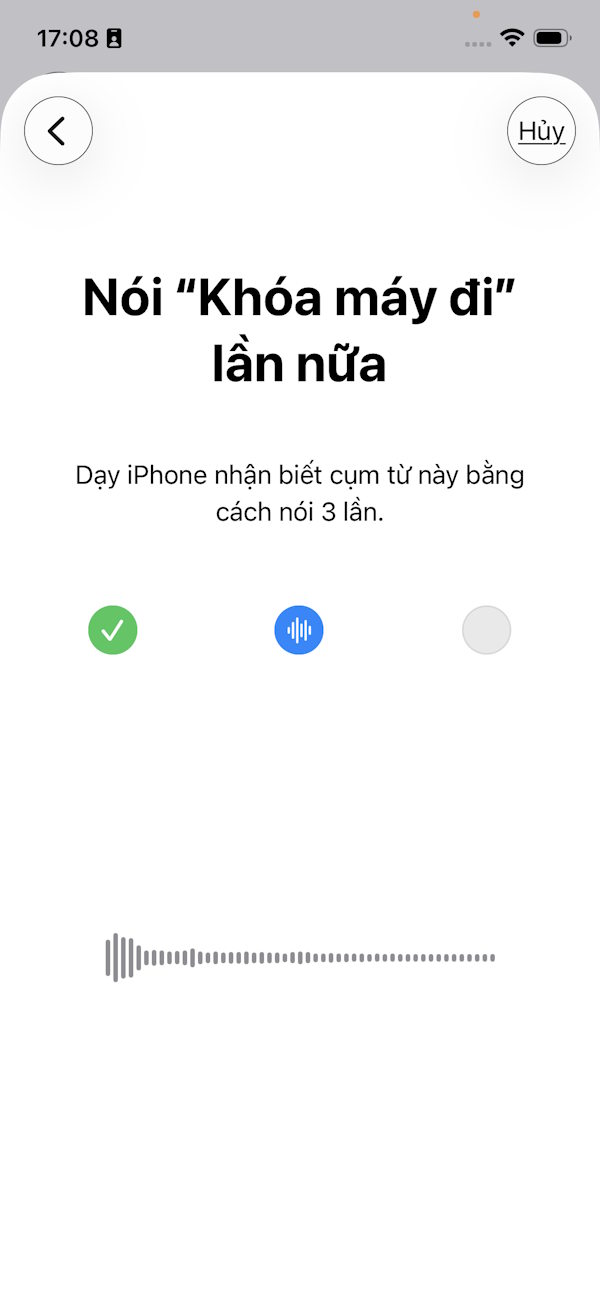
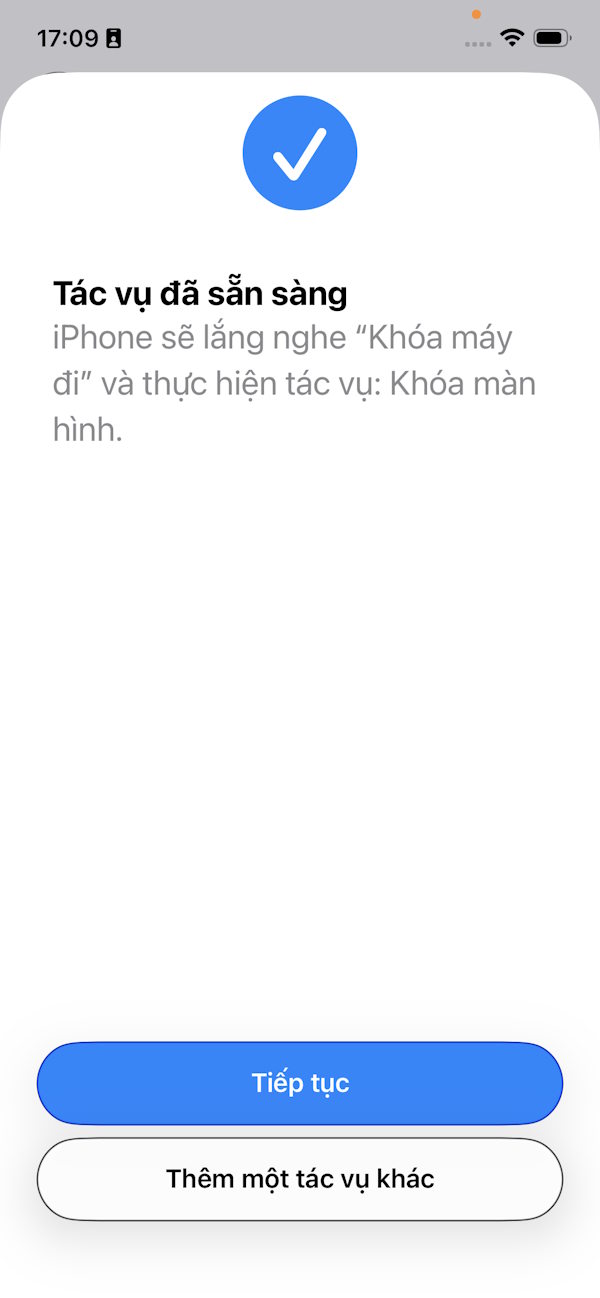
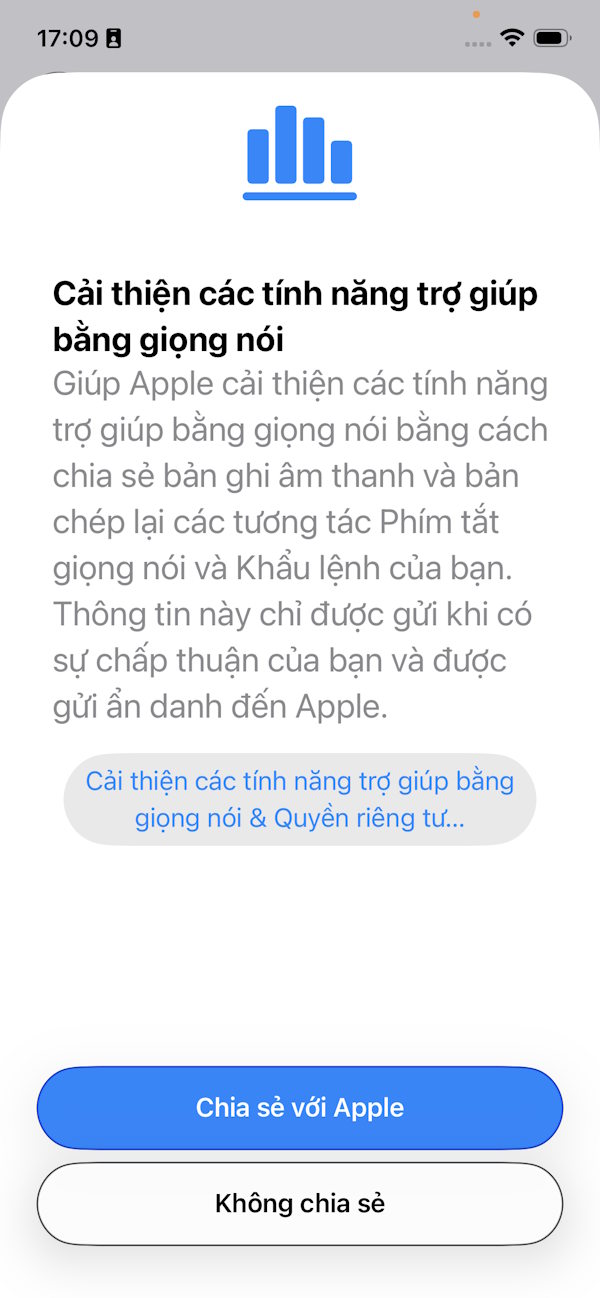
After you've spoken three times, the task of controlling your iPhone with your voice is set up. You can tap Continue or perform another task. Apple will also ask if you want to share your voice data with Apple.
Step 5
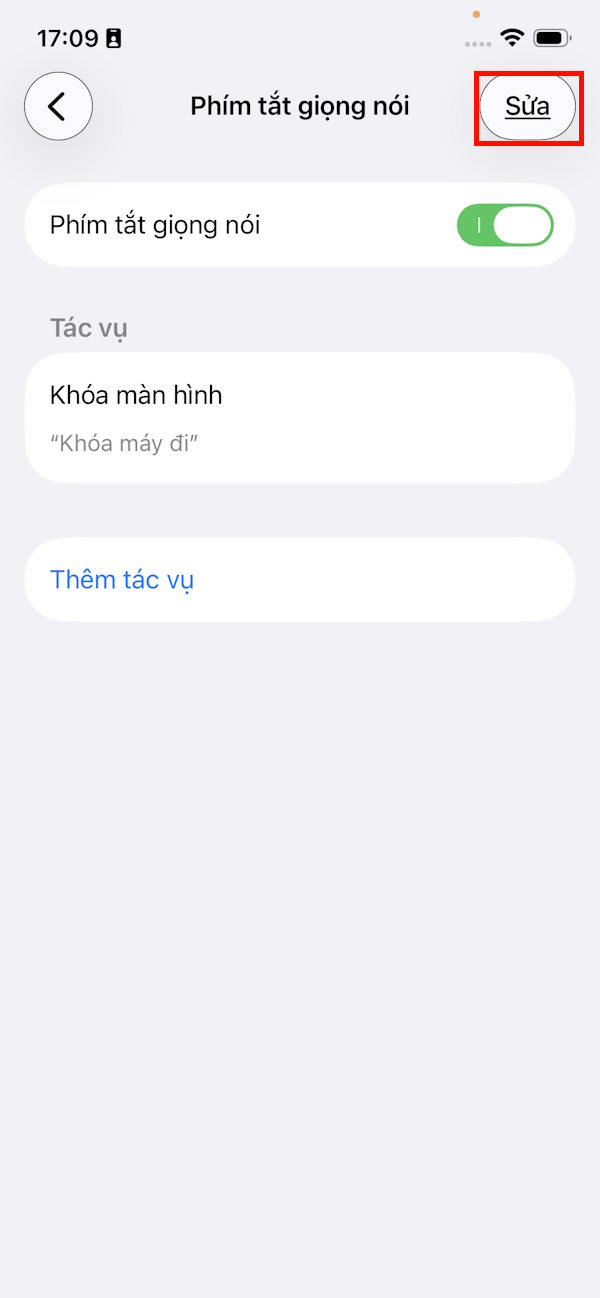
The voice-activated task is then saved. Tap Edit in the upper right corner and select delete if you wish.
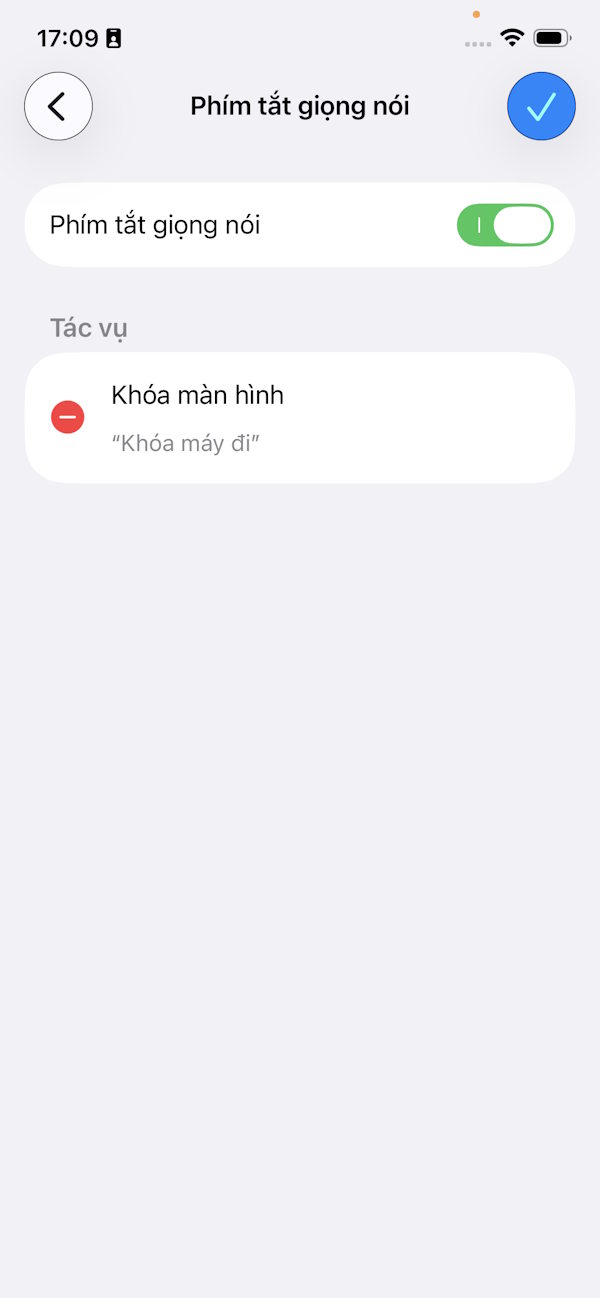
Finally, when you want to lock your device, simply speak to your iPhone using the message you set up above.
Final Thoughts
Use this guide as a practical checklist for how to lock your iphone using voice commands. Work through the steps in order, verify each result, and adjust the options to match your needs.
FAQ
What do you need before following this How to Lock Your iPhone Using Voice Commands guide?
Review the required tools, accounts, settings, or materials mentioned in the article. Learn how to lock your iPhone using voice commands with clear steps, practical tips, and troubleshooting guidance for a reliable result.
What are the main steps for how to lock your iphone using voice commands?
Follow the sections in order, especially How to lock your iPhone using voice commands, Step 1, Step 2. Complete each step before continuing and verify the result as you go.
What should you do if the process does not work as expected?
Recheck the prerequisites, update the relevant app or service, review the settings, and repeat the step that caused the issue. Use any troubleshooting notes included in the guide.
Related Articles
 Use Firefox Voice to Surf the Web Only with Words3 minutes read
 How to Turn Off Voice Control on iPhone6 minutes read
 Top 15 Applications to 'Transform' Your Voice on iPhone6 minutes read
 How to Check Which iPhone Lock Belongs to the Network6 minutes read
 How to Fix iPhone OS 9 Lock Version on Network Operators7 minutes read
 How to Lock iPhone 6 Does Not Require Updating4 minutes read
Reader Comments 0
Sign in with email or Google to join the discussion.