How to change DNS on Windows 10
Changing the DNS in your computer will help speed up the internet partly and also allow us the ability to access some blocked websites. Changing DNS is quite simple, but with each version of Windows, the implementation is somewhat different. In her
As you know, changing DNS in your computer will help speed up the internet partly and also allows us the ability to access some blocked websites. Changing DNS is quite simple, but with each version of Windows, the implementation is somewhat different. In this article, TipsMake.com will guide you how to change DNS on Windows 10, please refer.

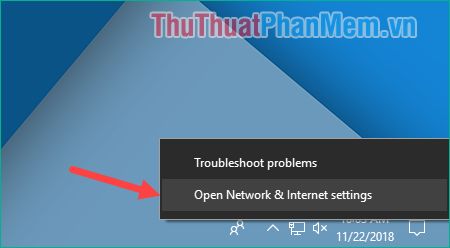
Step 1 : Right-click the network icon on the taskbar and select Open Network & Internet settings
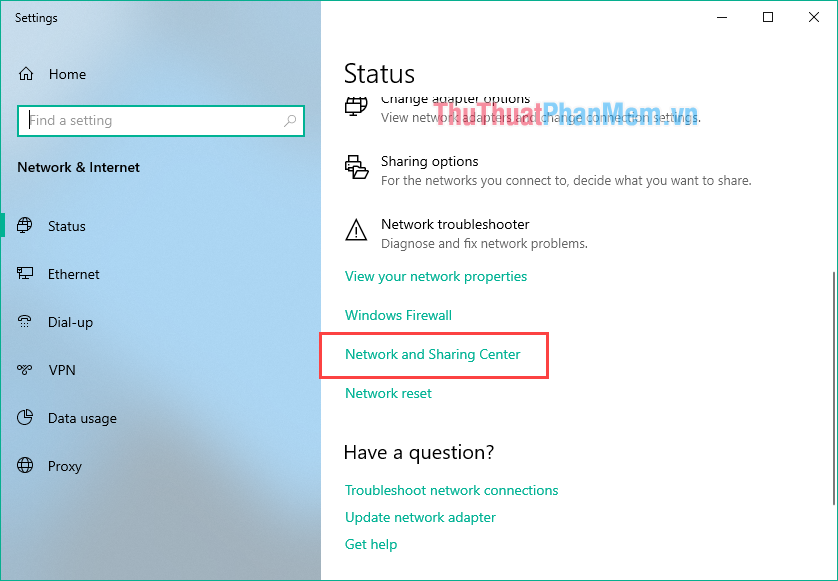
Step 2 : The Settings window pops up, scroll down and select Network and Sharing Center
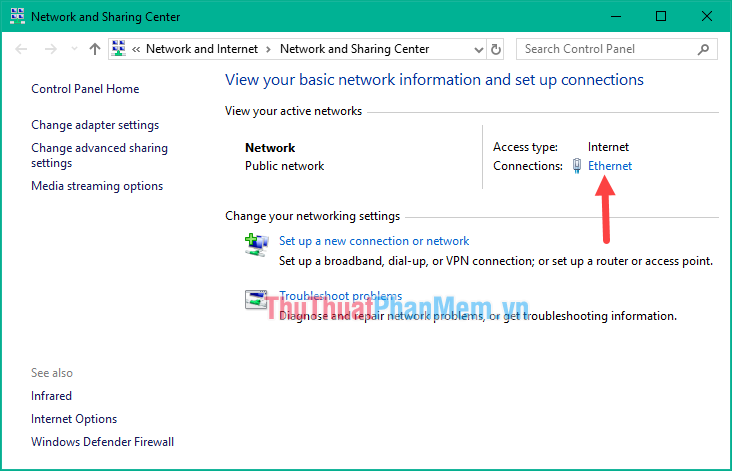
Step 3: Another window appears, click on the Connections name as shown below:
Step 4 : Ethernet Status window appears, click the Properties button

Step 5 : In this window, double-click on the Internet Protocol Version 4 line (TCP / Ipv4)

Step 6 : In this window to change DNS, click the Use the following DNS server addresses line
Then enter the new DNS address in the box, for example, here we enter GOOGLE DNS
8 . 8 . 8 . 8
8 . 8 . 4. 4
You can enter another DNS if you want. Finally click OK to save is finished.

So with just a few simple steps we can change DNS on windows 10, hope you will find the article useful. Good luck!
Was this article helpful?
Your feedback helps us improve.
Related Articles
 How to change SDR and HDR light balance in Windows 105 minutes read
 How to change DNS on Windows and Mac computers3 minutes read
 How to convert Windows 8 / 8.1 keyboard language3 minutes read
 How to change the date and time format on Windows, change the slash to a dot.8 minutes read
 Instructions for changing Windows 10 wallpaper timer3 minutes read
 Fix can not change static IP, fix can not change DNS on Windows 106 minutes read
Reader Comments 0
Sign in with email or Google to join the discussion.