Familiarize yourself with spreadsheets, rows, columns, and cells.
Google Sheets allows you to organize, edit, and analyze different types of information using spreadsheets.
Table of Contents
Google Sheets allows you to organize, edit, and analyze various types of information using spreadsheets. In this article, you'll learn about different ways to use spreadsheets and how to navigate the Google Sheets interface. You'll also learn the basics of working with cells and cell contents, including how to select cells, insert content, copy, and paste cells.
What is Google Sheets?
Google Sheets is a web-based spreadsheet application that allows you to store and organize various types of information, much like Microsoft Excel. While Google Sheets doesn't offer all of Excel's advanced features, it's easy to create and edit spreadsheets ranging from simple to complex.
Although you might think that spreadsheets are only used by certain people to handle complex numbers and data, they can actually be used for many everyday tasks. Whether you're starting a budget, planning your gardening, creating invoices, or anything else you can think of, spreadsheets are a great way to organize information.
How to create a new Google Sheet
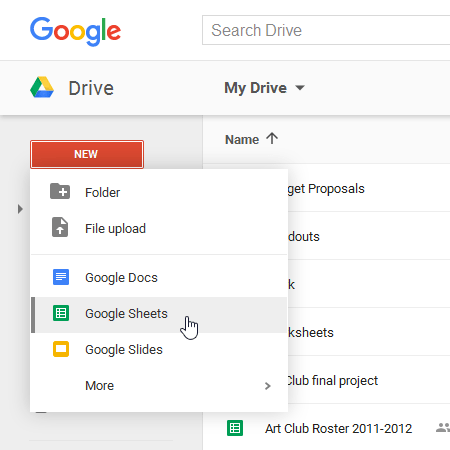
1. In Google Drive, click New and select Google Sheets from the drop-down menu.
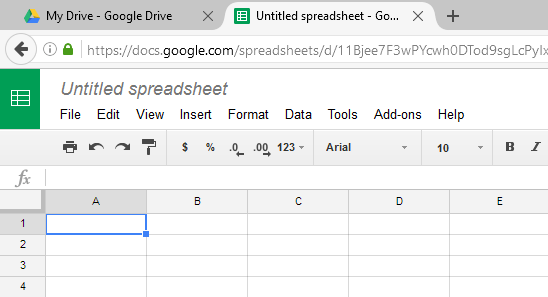
2. The spreadsheet will appear in a new browser tab.
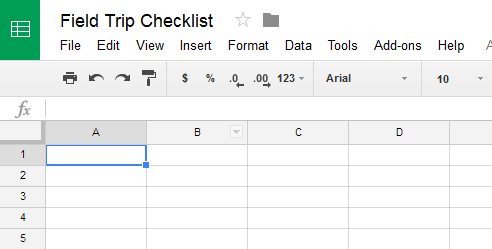
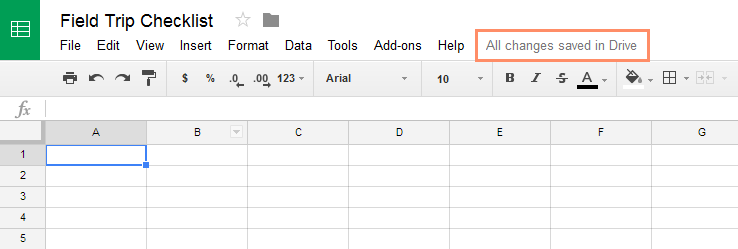
3. To name your spreadsheet, find and select Untitled spreadsheet at the top of the page. Enter a name for your spreadsheet, then press Enter.

4. Your spreadsheet will be renamed.
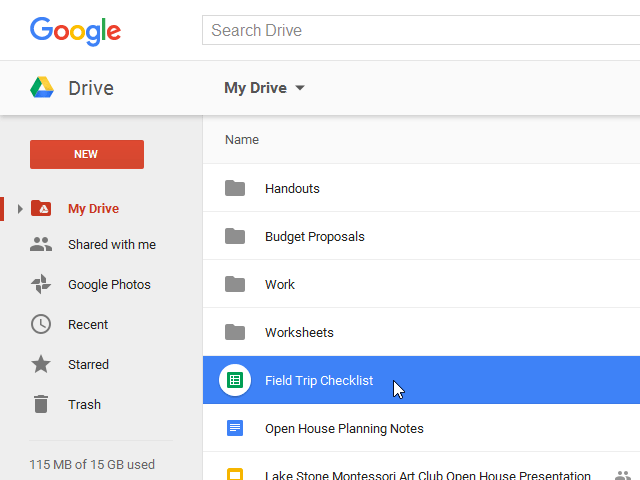
5. Whenever you need to view or edit your spreadsheet, you can access it again from Google Drive, where the spreadsheet will be saved automatically.
You may notice that there is no save button. This is because Google Drive uses an auto-save feature, which automatically and immediately saves files as you edit them.
Basic knowledge about cells
Each spreadsheet is made up of thousands of rectangles, called cells. A cell is the intersection of a row and a column. Columns are identified by letters (A, B, C), while rows are identified by numbers (1, 2, 3).
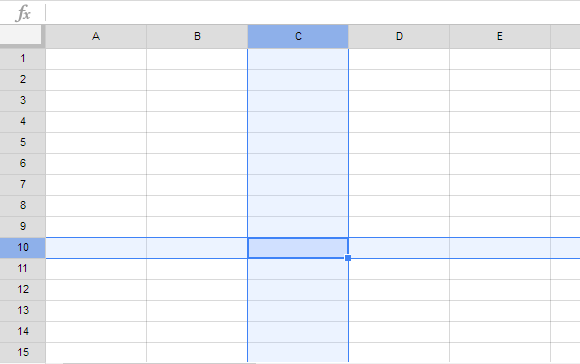
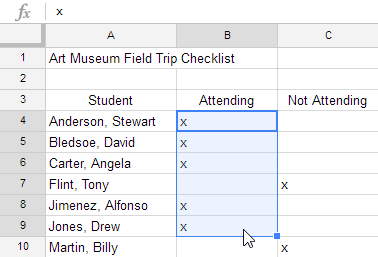
Each cell has its own name—or cell address—based on its column and row. In this example, the selected cell is at the intersection of column C and row 10 , so the cell address is C10. Note that the column and row headers of the cell become darker when the cell is selected.
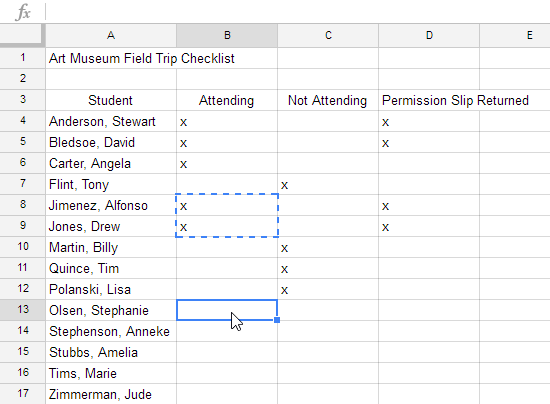
You can also select multiple cells at once. A group of cells is called a range. Instead of a single cell address, you would refer to a range of cells by using the cell address of the first and last cells in the range, separated by colons. For example, a range of cells including A1, A2, A3, A4, and A5 would be written as A1:A5.
In the images below, two different ranges of cells are selected:
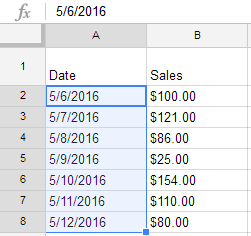
Cell range A2:A8
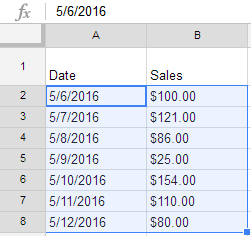
Cell range A2:B8
Content types in cells
All the information you enter into a spreadsheet is stored in a cell. Each cell can contain several different types of content, including text, formatting, formulas, and functions.
- Text : Cells can contain text, such as letters, numbers, and dates.
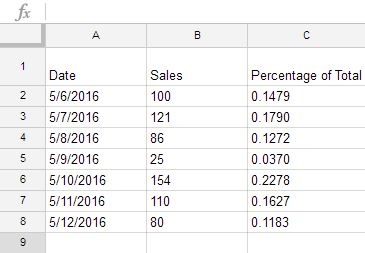
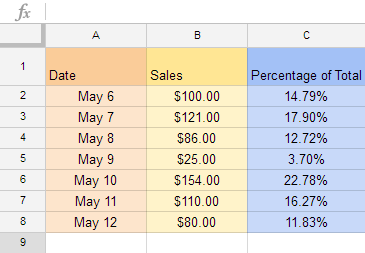
- Formatting properties : Cells can contain formatting properties that change how letters, numbers, and dates are displayed. For example, percentages might appear as 0.15 or 15%. You can even change the background color of the cell.
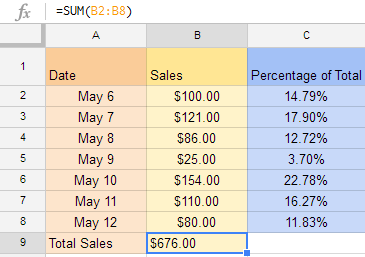
- Formulas and functions : Cells can contain formulas and functions that calculate the values of the cells. In the example, SUM(B2:B8) adds the value of each cell in the range B2:B8 and displays the sum in cell B9.
How to select a cell
To enter or edit cell content, you first need to select the cell.
1. Click on a box to select it.
2. A blue box will appear around the selected cell.
You can also select cells using the arrow keys on your keyboard.
How to select a range of cells
Sometimes you might want to select a larger group/range of cells.
1. Click and drag your mouse until all the cells you want to select are highlighted.
2. Release the mouse button to select the desired range of cells.
How to insert cell content
1. Select the desired cell.

2. Enter the content into the selected cell, then press Enter. The content will appear in the cell and the formula bar. You can also enter and edit the cell content in the formula bar.
How to delete cell contents
1. Select the cell you want to delete.
2. Press the Delete or Backspace key on your keyboard. The contents of the cell will be deleted.
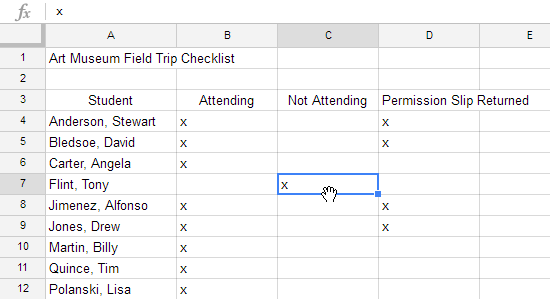
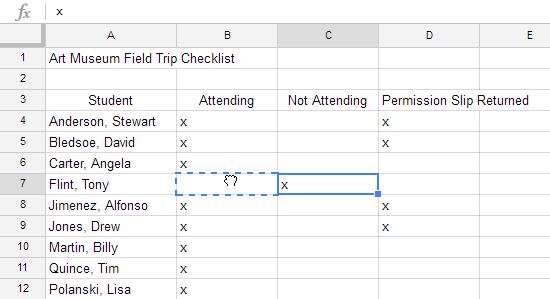
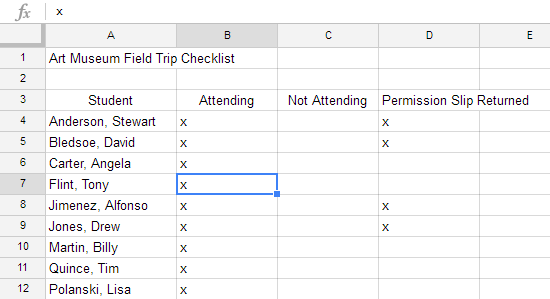
How to copy and paste cells
It's easy to copy content that has already been entered into your spreadsheet and paste it into other cells.
1. Select the cells you want to copy.
2. Press Ctrl + C (Windows) or Command + C (Mac) on your keyboard to copy the cells.

3. Select the cell(s) where you want to paste the copied content. The copied cells will now have a box around them.
4. Press Ctrl + V (Windows) or Command + V (Mac) on your keyboard to paste the cells.
How to cut and paste the squares
Unlike copy and paste (which copies cell contents), cut and paste moves content between cells.
1. Select the cells you want to crop.
2. Press Ctrl + X (Windows) or Command + X (Mac) on your keyboard to cut the cells. The cell contents will remain in their original position until the cells are pasted.
3. Select the cell(s) where you want to paste.
4. Press Ctrl + V (Windows) or Command + V (Mac) on your keyboard to paste the cells.
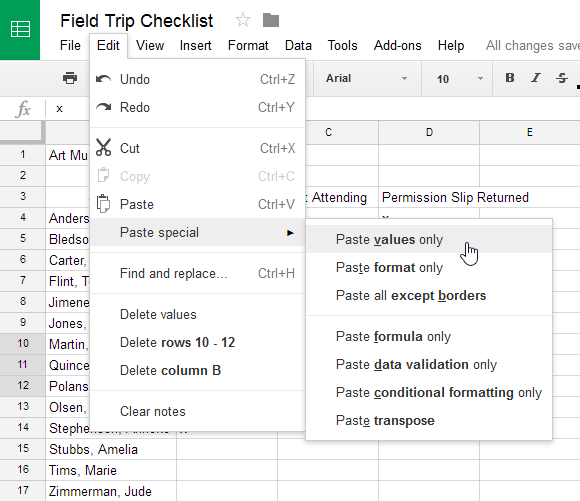
Sometimes you just want to copy and paste parts of a cell's content. In these cases, you can use the Paste Special option. Click Edit in the toolbar menu, hover over Paste Special , and select your desired paste option from the drop-down menu.
How to drag and drop tiles
Instead of cutting and pasting, you can drag and drop the tiles to move their contents.
1. Select a cell, then move your mouse cursor over the outer edge of the blue cell. The cursor will change to a hand icon.
2. Click and drag the cell to the desired location.
3. Release the mouse button to drop the square.
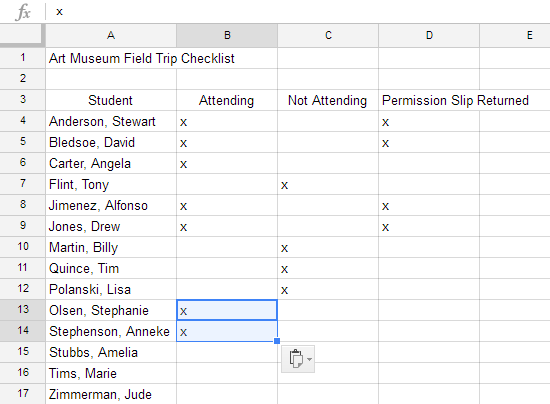
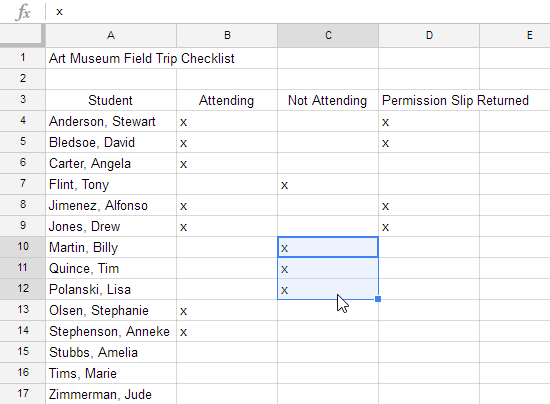
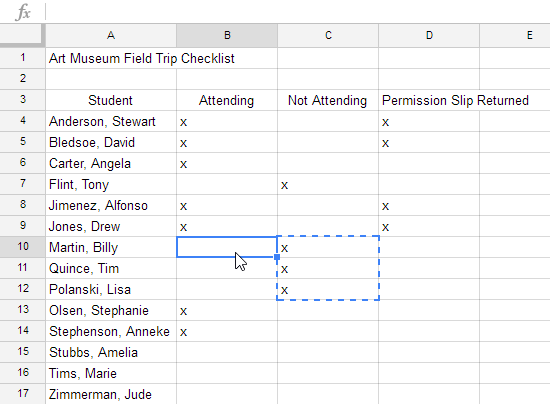
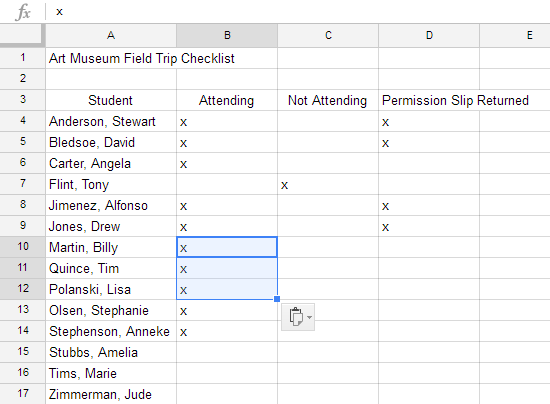
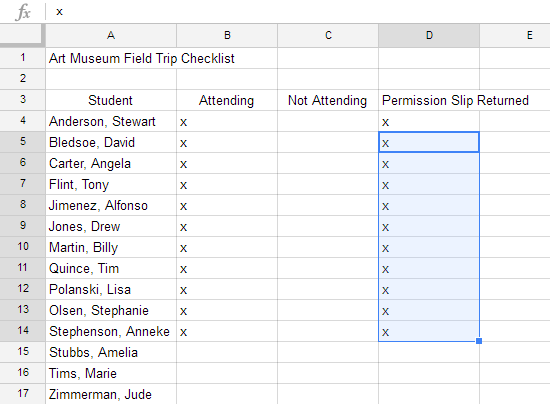
How to use the fill handle
You might sometimes want to copy the contents of one cell to multiple other cells in a spreadsheet. You could copy and paste the content into each cell, but this method is time-consuming. Instead, you can use the fill handle to quickly copy and paste content from one cell to any other cell in the same row or column.
1. Select the cell you want to use. A small square—called the fill handle—will appear in the bottom right corner of the cell.
2. Hover your mouse over the fill handle. The cursor will turn into a black cross.
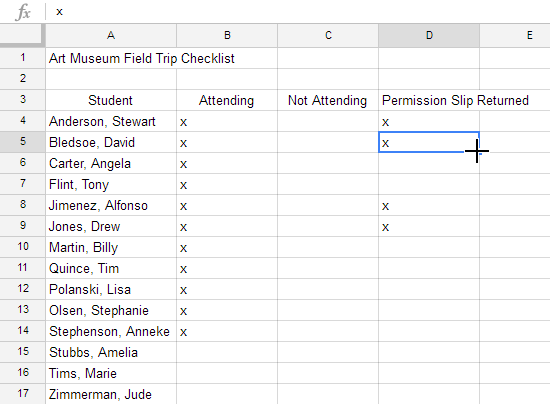
3. Click and drag the fill handle to the cells you want. A black dotted line will appear around the cells.
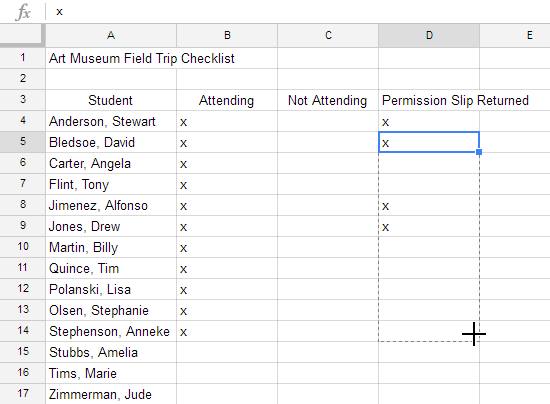
4. Release the mouse button to fill in the selected cells.
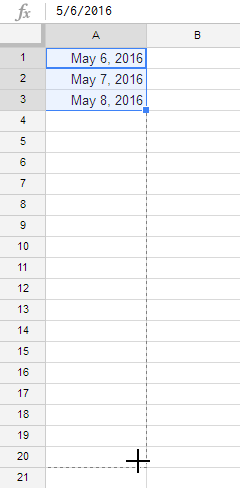
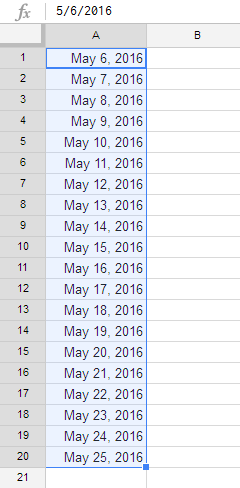
Use the fill handle to continue a chain.
Fill handles can also be used to continue a sequence. Whenever the contents of a row or column follow a sequential order—like numbers (1, 2, 3) or days (Monday, Tuesday, Wednesday)—the fill handle will predict what will happen next in the sequence. In the example below, the fill handle is used to extend a sequence of days in a column.
Practice exercises
- Open Google Sheets and create a new blank spreadsheet.
- Change the spreadsheet title from " Untitled Spreadsheet" to "Practice Sheet".
- In cell A1, enter the date in M/D/YY format (for example: 5/30/24).
- Use the fill button to enter the date in cells A1:A10.
- Use drag and drop to move the date to cells B1:B10.
- Delete the content in cell B5.
Was this article helpful?
Your feedback helps us improve.
Related Articles
 How to handle cells, columns, rows in a spreadsheet in Excel3 minutes read
 MS Excel 2007 - Lesson 10: Modify columns, rows and cells5 minutes read
 How to convert columns into rows and rows into columns in Excel2 minutes read
 How to Freeze Cells in Excel3 minutes read
 How to change the size of rows, columns, cells equally in Word, Excel4 minutes read
 This is a very useful function in Google Sheets but not many people know it2 minutes read
Reader Comments 0
Sign in with email or Google to join the discussion.