Working with Sheets
When working with large amounts of information, you can create multiple worksheets to help organize your spreadsheet and make it easier to find information.
Table of Contents
A spreadsheet in Google Sheets can contain one or more worksheets. When working with a large amount of information, you can create multiple worksheets to help organize your spreadsheet and make it easier to find information.
In this lesson, you will learn how to create, rename, move, delete, and copy worksheets.
Use multiple spreadsheets
When you create a new Google Sheets spreadsheet, it has one worksheet, named Sheet1 by default. In the Sheets toolbar at the bottom of the window, you'll see a tab for each worksheet you have. To organize your spreadsheet and make navigation easier, you can create, rename, delete, move, and copy worksheets.
How to create a new worksheet
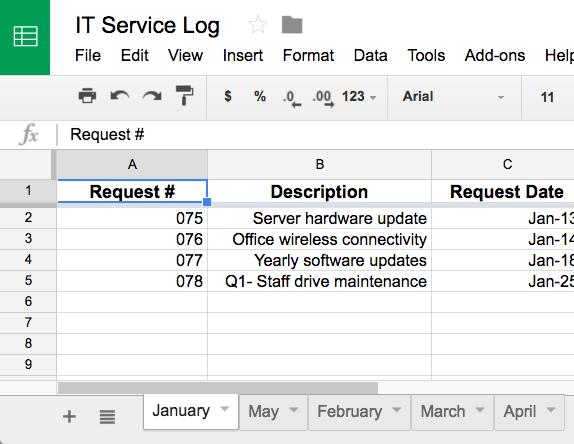
In this example, the pages of the service log are sorted by month. A new worksheet in the log will be created so that data for the new month can be entered.
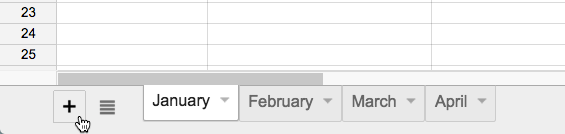
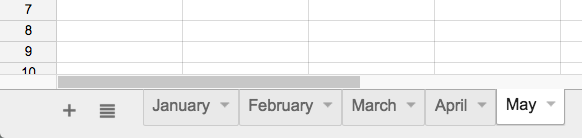
1. Click the Add Sheet command in the spreadsheet toolbar.
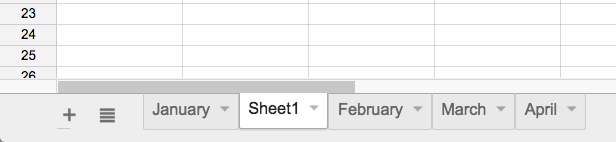
2. A new worksheet will appear on the worksheet toolbar.
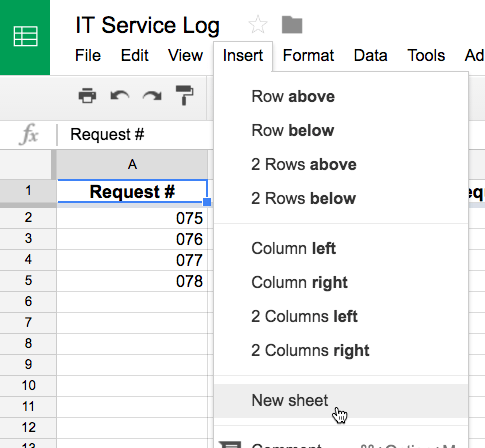
Alternatively, you can create additional sheets by clicking Insert and selecting New sheet from the drop-down menu.
How to rename a worksheet
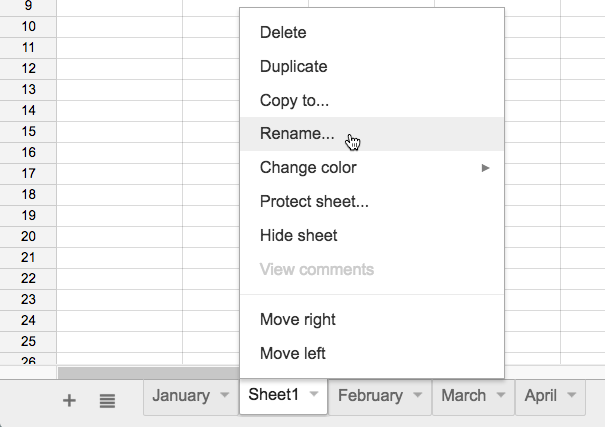
1. Click on the tab of the worksheet you want to rename. Select Rename. from the menu that appears.
2. Enter the desired name for the worksheet.
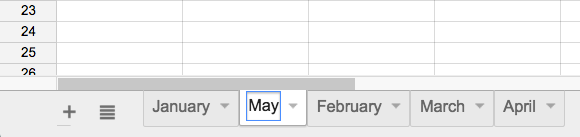
3. Click anywhere outside the tab or press Enter on your keyboard when you're finished, and the worksheet will be renamed.
How to switch to a different worksheet
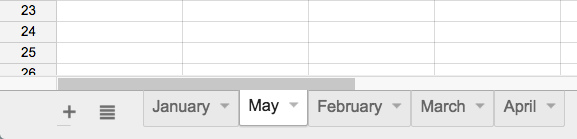
1. Click on the desired worksheet tab in the worksheet toolbar.

2. The selected worksheet will appear.

If you want to restrict collaborators from editing specific sheets in your spreadsheet, you can protect those sheets by clicking the desired sheet tab and selecting Protect sheet. from the menu that appears.
How to move a worksheet
1. Click and drag the tab of the worksheet you want to move.
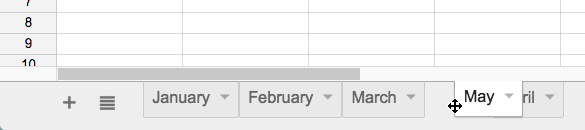
2. Release the mouse button to place the tab in the desired position.
How to copy a spreadsheet
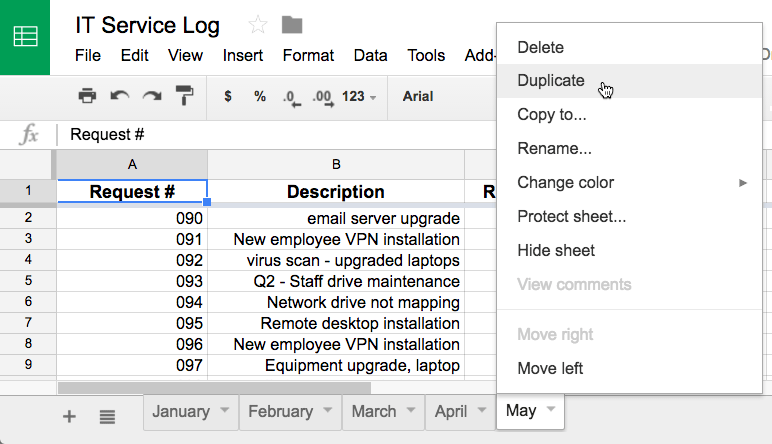
1. Click on the tab of the worksheet you want to copy, then select Duplicate from the menu that appears.
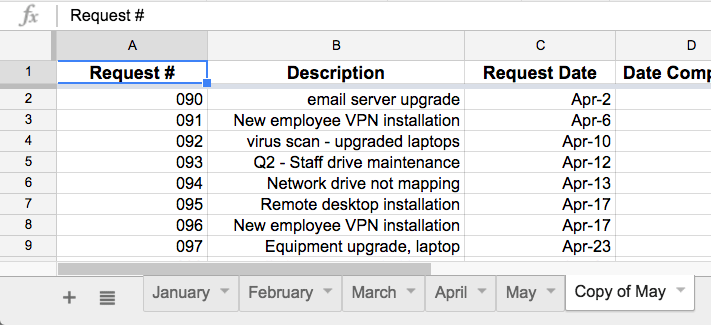
2. A copy of the worksheet will appear on the toolbar. It will be named "Copy of the original worksheet," such as " Copy of May ." You can rename the worksheet if you wish.
To copy a worksheet to another spreadsheet in Google Drive, click the tab of the worksheet you want to copy, then select Copy to. from the menu that appears. Choose the spreadsheet where you want to place the copy from the list that appears. The copy of the worksheet will appear in the other spreadsheet.
How to delete a worksheet
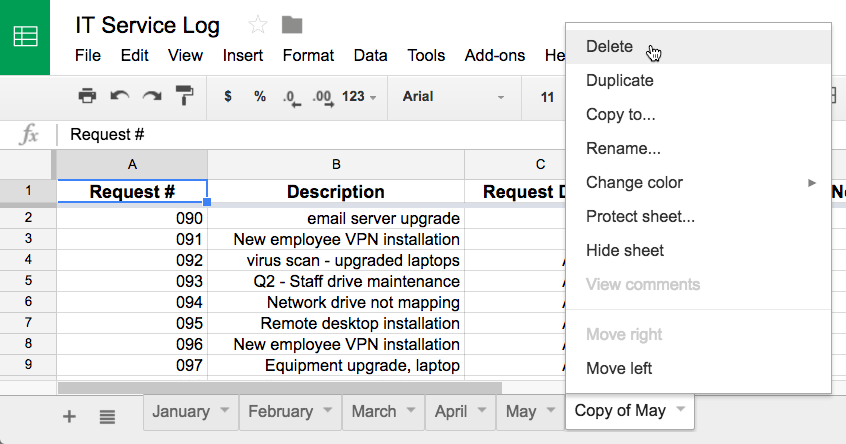
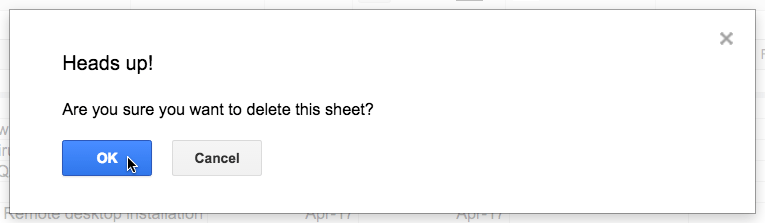
1. Click on the tab of the worksheet you want to delete. Select Delete from the menu that appears.
2. A warning dialog box will appear. Click OK and the worksheet will be deleted.
Was this article helpful?
Your feedback helps us improve.
Related Articles
 Working with functions6 minutes read
 Introduction to the Google Sheets working screen4 minutes read
 How to quickly delete multiple sheets in Excel3 minutes read
 How to set up the right to edit spreadsheets on Google Sheets5 minutes read
 How to write notes, comments on Google Sheets3 minutes read
 How to copy or duplicate an entire sheet in Google Sheets3 minutes read
Reader Comments 0
Sign in with email or Google to join the discussion.