Some tips and tricks on using Camera on iPhone (part 2)
What secret to take beautiful photos with iPhone? Stay tuned for part 2 to learn more tips and tricks and beautiful photography tips for iPhone.
Table of Contents
What secret to take beautiful photos with iPhone? Stay tuned for part 2 to learn more tips and tricks and beautiful photography tips for iPhone.
Part 1: Some tips and tricks on using the iPhone Camera (part 1)
11. Portrait Mode portrait mode on iPhone 7 Plus
Portrait Mode portrait mode appeared in the recent iOS 10.1 version, but only the iPhone 7 Plus with the Dual Camera can use this mode.
Portrait Mode fully supports portraits by blurring the background and surroundings to focus on the subject.
When using this mode, you should stand about 2.5 meters away from the device, and the pulse scene should be simple and far away from the subject, such as a cloudy sky, a large lake great. In addition, you need to choose corners that have plenty of light so that the mode can work best.

12. Burst Mode continuous shooting mode
One of the reasons photographers can capture the great portraits that we often see on the cover of magazines is because they have applied continuous shooting to be able to choose a plate. Best pictures from dozens of identical photos. You can do the same thing on iPhone.
All you need to do is keep the camera key for Camera to shoot continuously. Then go to your photo album, choose the photo you like best. Then the system will delete all other photos and only save the image for you only.

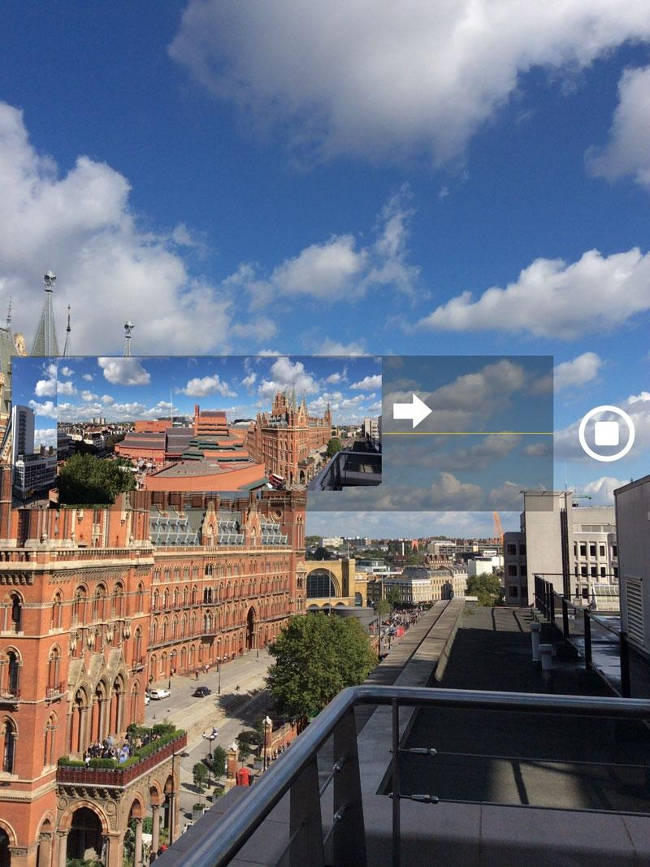
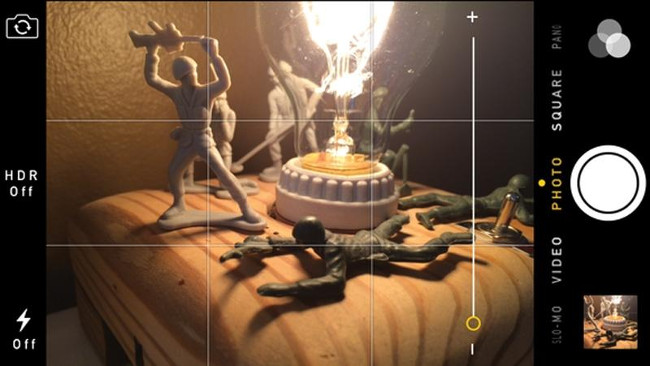
13. Panorama panorama mode
Panorama is a panoramic mode released by Apple for iPhone in iOS 6 version (for iPad is iOS 8 version). This is a very interesting mode that allows you to take a 360 ° panoramic picture around you.
Open Camera and select Pano mode (next to Photos and Square ). Press take a picture and then turn the image slowly to the right but still have to try to fix your device as much as possible. You can choose to turn to the left by touching the bar in the middle of the screen. You can also choose to shoot vertically by rotating the device horizontally.
14. Adjust the light
Touch anywhere on the Camera screen to help you adjust the light at that point while shooting.

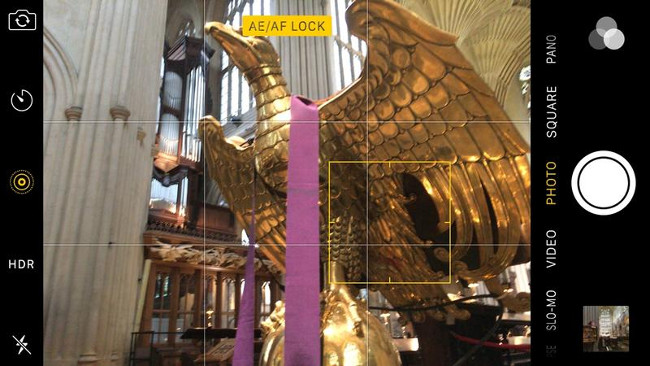
15. Keep light fixed
Normally the camera automatically adjusts the light at a certain point on the screen when you turn it on, usually the main subjects you want to capture. However, when you switch the camera to another scene, the camera adjusts the light according to that scene. You can keep the Camera's light level intact and lock them there.
Click and hold the point you want to get the light. The screen will show AE / AF Lock . Touch anywhere on the screen to return to normal.
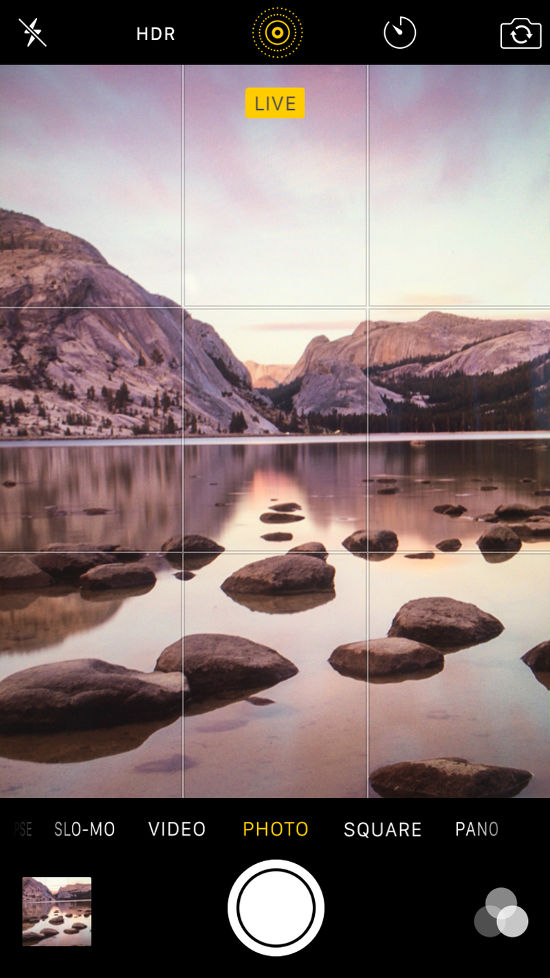
16. Live Photos feature
Live Photos is a photographic feature that was first appeared in iPhone 6S and iPhone 6S Plus. This feature allows users to save a video of about a few seconds at a time before taking a photo.
You can enable this feature by clicking on the 3 small circles icon in the middle of the top row of the screen, then the icon will change from white to yellow. That's when this feature is turned on.
To review the video, open it, press and hold the screen. At that time you will probably witness interesting moments!
17. Rule of Thirds (Rule of 1/3)
Rule 1/3 is a basic principle and is essential in the field of photography when arranging the subject of the image. If you want your photo to be more artistic. Please apply this rule to your iPhone Camera by turning on the Settings> Photo & Camera section.
18. Features zoom in, zoom out
Most professional cameras use optical zoom (Optical Zoom), however, most iPhone models (except iPhone 7s) use digital zoom (Digital Zoom) which makes pixels become big and blur when zoomed in. In addition, digital zoom also makes it difficult to take a fixed photo when zoomed in.
Therefore, the zoom feature of the iPhone is not really useful when you take photos. If you want, get closer to the subject or edit the image later.
19. Pay attention to light
For iPhone, you will not be able to get a photo as you want when shooting in a low-light environment. Therefore, the iPhone Camera will work best when outdoors. Another thing to note is that you should not shoot backlight, choose a position so that the sun must be behind the person taking the shot. If you have to take pictures indoors, turn on the lights and let the photographer turn his back to the window.

20. Turn on the Flash when shooting during the day
It sounds antisocial but when taking photos during the day, turning on the flash can be your secret weapon. It can add light to some dark areas due to sun exposure. However, this procedure only works when you shoot at close range.
(continue)
Was this article helpful?
Your feedback helps us improve.
Related Articles
 Some tips and tricks on using Camera on iPhone (part 1)9 minutes read
 Some tips and tricks on using Camera on iPhone (end part)4 minutes read
 Complete the Photos app on iPhone / iPad - Part 4: Edit photos12 minutes read
 Fix iPhone camera not focusing6 minutes read
 How to fix crashed Camera or black screen on iPhone4 minutes read
 6 hidden tricks that can be applied to Samsung cameras5 minutes read
Reader Comments 0
Sign in with email or Google to join the discussion.