PowerPoint 2019 (Part 21): Tables
Tables are another tool you can use to display information in PowerPoint.
Table of Contents
Tables are another tool you can use to display information in PowerPoint . A table is a grid of cells arranged in rows and columns. Tables are useful for many different tasks, including presenting text information and numerical data. You can even customize tables to suit your presentation.
How to insert a table
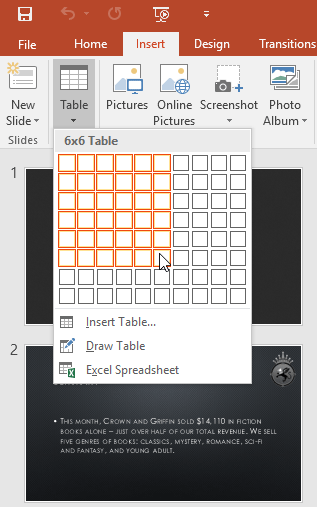
1. From the Insert tab , click the Table command.
2. Hover your mouse over the grid to select the desired number of columns and rows in the table. For example, this will insert a table with 6 rows and 6 columns (6x6).
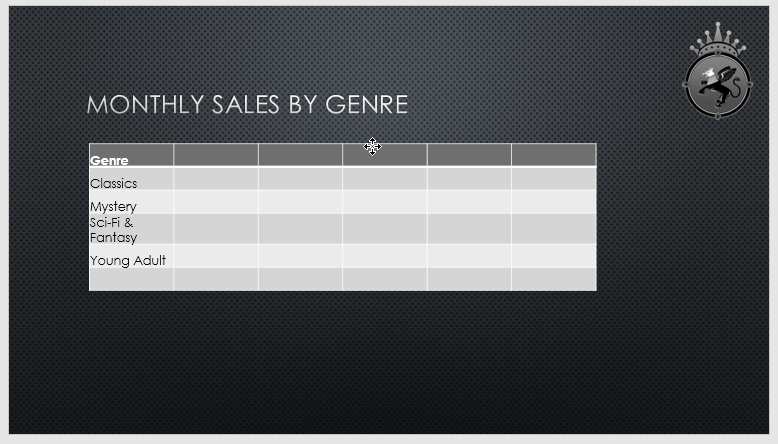
3. The table will appear on the currently selected slide. In this example, that's slide 3.
4. Click anywhere in the table and start typing to add text. You can also use the Tab key or the arrow keys on your keyboard to navigate through the table.

You can also insert a table by clicking the Insert Table command in the placeholder.

Edit table
PowerPoint includes several options for customizing tables, including moving and resizing them, as well as adding rows and columns.
How to move a table
Click and drag the edge of the table to move it to a new position on the slide.
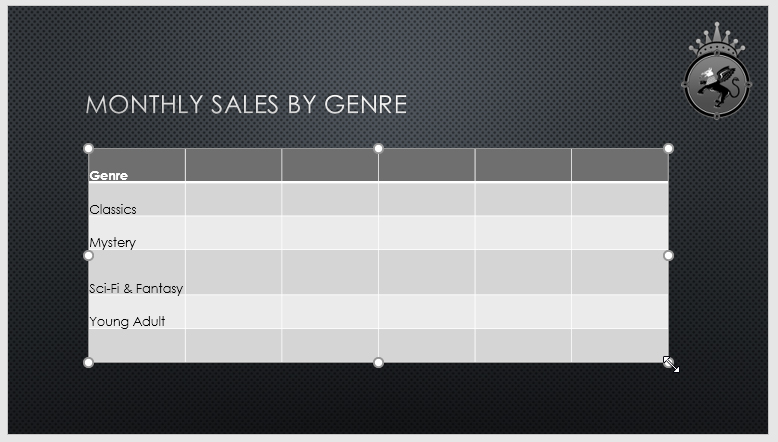
How to resize a table
Click and drag the resizing handles until the board is the desired size.
How to add a row or column
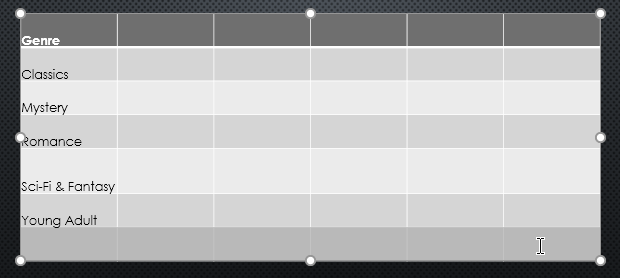
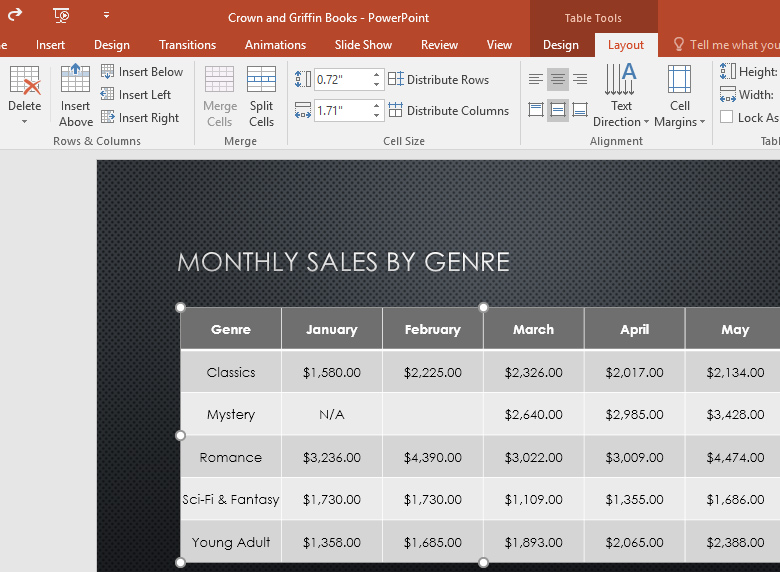
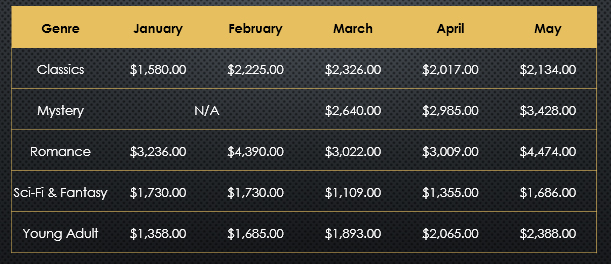
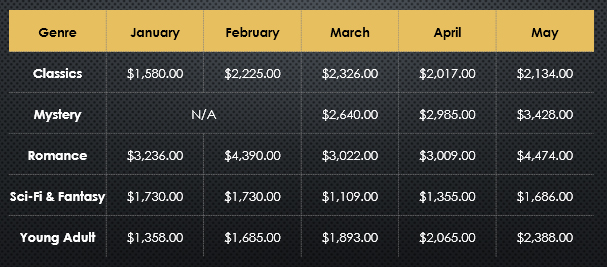
1. Click on the cell next to where you want to add a row or column. For example, we would select the cell containing the word "Mystery".

2. Click on the Layout tab on the right side of the Ribbon.
3. Locate the Rows & Columns group . If you want to insert a new row, select Insert Above or Insert Below. If you want to insert a new column, select Insert Left or Insert Right.

4. A new row or column will appear.

How to delete a row or column
1. Select the desired row or column. For example, this will select the empty row at the end of the table.
2. From the Layout tab in the Rows & Columns group , click the Delete command , then select Delete Rows or Delete Columns from the menu.
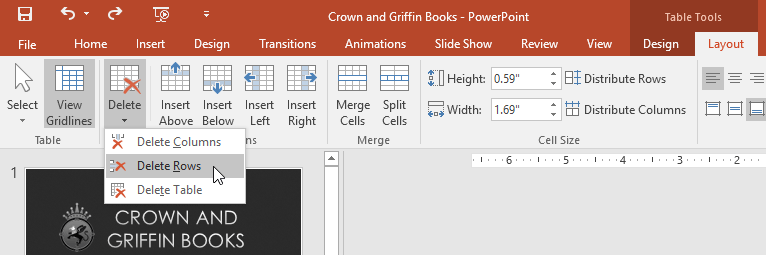
3. The selected row or column will be deleted.

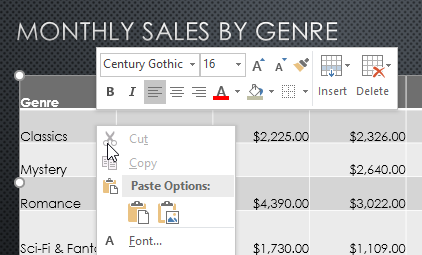
You can also access the Insert and Delete commands by right-clicking on the table.
How to delete a table
Click on the edge of the table you want to delete, then press the Backspace or Delete key on your keyboard.
Modify the table using the Layout tab.
When you select a table, the Design and Layout tabs will appear on the right side of the Ribbon. You can make many changes to the table using the commands on the Layout tab.
Customize the table
PowerPoint makes it easy to change the appearance of your tables. For example, you can quickly apply different table styles and customize table borders.
How to apply a table style
1. Select any cell in the table, then click the Design tab on the right side of the Ribbon.
2. Find the Table Styles group , then click the More drop-down arrow to see the available table styles.
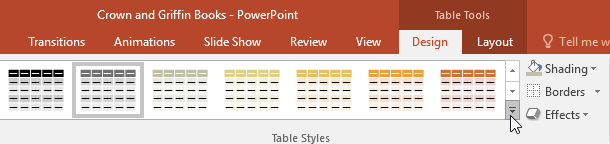
3. Select your desired style.
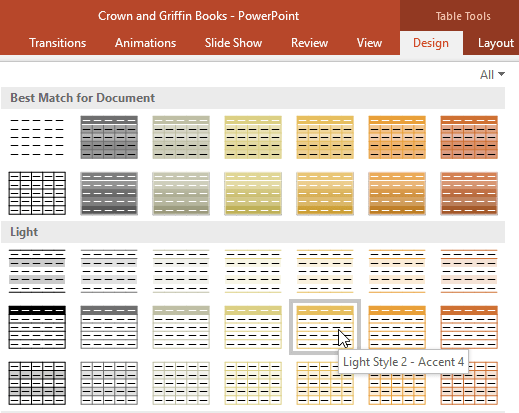
4. The selected table type will be applied.
How to change table style options
You can disable or enable various options to change the appearance of the table. There are several options: Header Row, Total Row, Banded Rows, First Column, Last Column , and Banded Columns .
1. Select any cell in the table.
2. From the Design tab , select or deselect the desired options in the Table Style Options group.

These options can affect your table style in various ways, depending on the type of content in your table. You may need to experiment with several options to find the exact style you want.
How to add borders to a table
You can add borders to help define different sections of the board. Certain board styles may automatically include borders, but you can easily add them manually or customize them. You can control the thickness, color, and style of the borders for some or all of the board.
1. Select the cells you want to add borders to. For example, this will select all cells in the table.
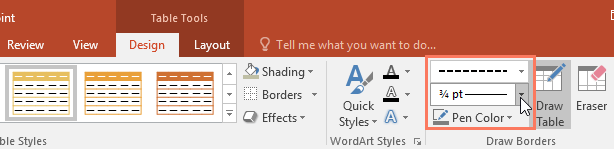
2. From the Design tab , select your desired Line Style, Line Weight , and Pen Color .
3. Click the Borders drop-down arrow , then select your desired border style.
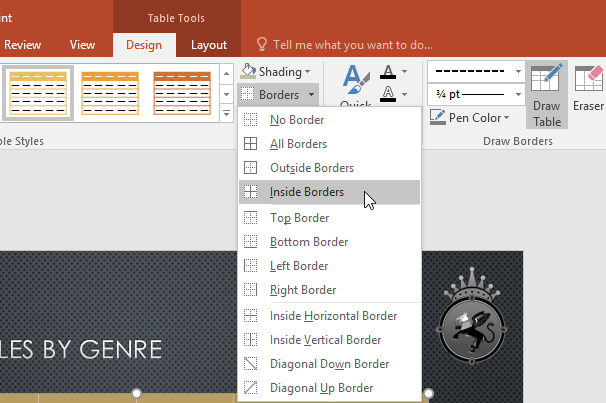
4. A border will be added to the selected cells.
5. To remove the border, select the desired cells, click the Borders command , and choose No Border.
Was this article helpful?
Your feedback helps us improve.
Related Articles
 MS PowerPoint 2007 - Lesson 8: Insert tables in PowerPoint6 minutes read
 PowerPoint 2019 (Part 1): Getting Started with PowerPoint6 minutes read
 Use effects for tables and charts in PowerPoint2 minutes read
 How to transfer tables from Word to PowerPoint3 minutes read
 PowerPoint 2019 (Part 11): Presenting Slideshows7 minutes read
 PowerPoint 2019 (Part 6): Applying Themes4 minutes read
Reader Comments 0
Sign in with email or Google to join the discussion.