Table of Contents
In PowerPoint 2019, choose Insert > Video > Video on My PC to add a local clip, or Online Video to insert a supported web video. Local files can be trimmed with PowerPoint’s Playback tools; online videos stream from their provider and need an internet connection.
Decide whether the video must work offline before choosing the source. Test the completed presentation on the computer and network you will use with the audience.
How to insert a video from a file
Select the target slide first. Microsoft recommends an MP4 file with H.264 video and AAC audio for compatibility. A file extension alone does not identify the codecs inside it.
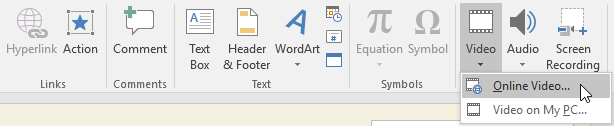
1. From the Insert tab, click the Video drop-down arrow , then select Video on My PC.
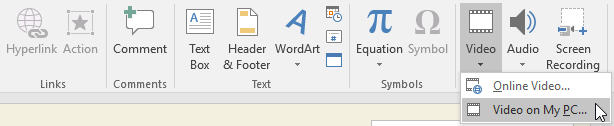
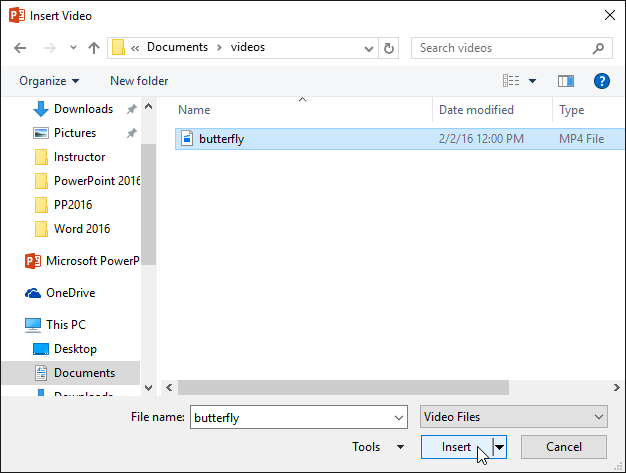
2. Locate the video and click Insert to embed it in the presentation. If you choose Link to File instead, keep the source video accessible and copy it with the presentation when moving to another computer.
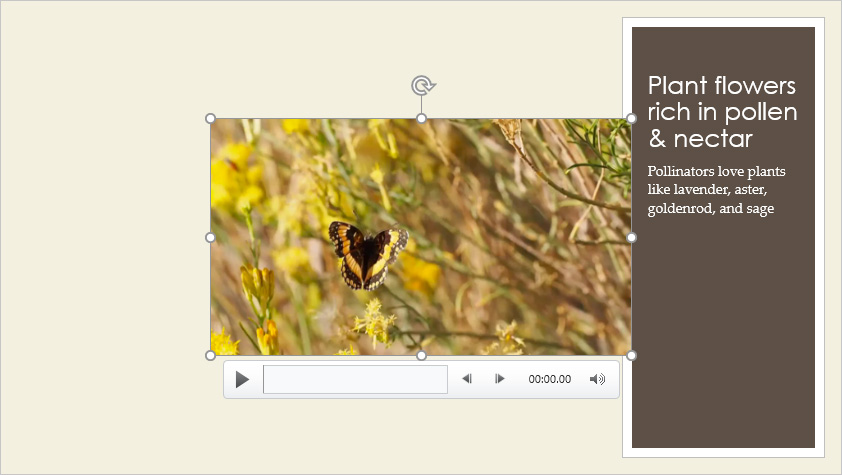
3. The video will be added to the slides.
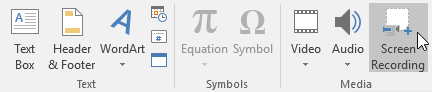
With the Screen Recording feature on the Insert tab , you can create videos of whatever you're doing on your computer and insert them into your slides.
Insert an online video
A supported online video plays from its original website; PowerPoint does not download an offline copy. On the target slide, choose Insert > Video > Online Video, then enter the URL or embed code requested by your version’s dialog and select Insert. A web address and an iframe embed code are different inputs, so use the format the field requests.
Provider support and controls depend on the PowerPoint installation. Check Microsoft’s online video instructions if a URL is rejected. Network access, account restrictions, or changes on the hosting site can affect playback.
Working with video
How to preview a video
1. Click on a video to select it.
2. Click the Play/Pause button below the video. The video will start playing, and the timeline next to the Play/Pause button will appear.
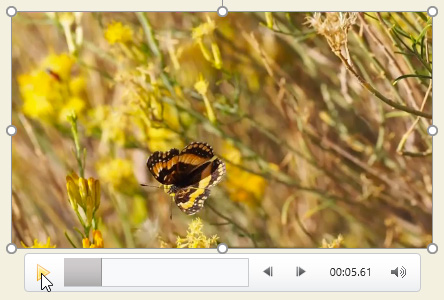
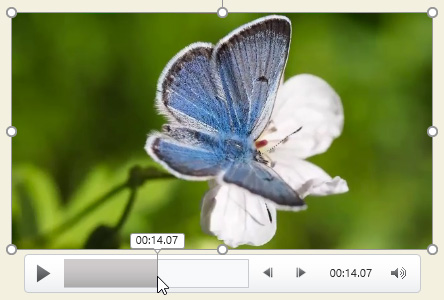
3. To move to a different section of the video, click anywhere on the timeline.
How to resize a video
Click and drag the resizing handles in the corners until the video is the desired size.

The resizing handles at the corners will resize the video while maintaining the original aspect ratio. If you use the resizing handles at the edges, the video will be distorted.
How to move videos
Click and drag to move the video to a new position on the slide.

How to delete videos
Select the video you want to delete, then press the Backspace or Delete key on your keyboard.
Video editing and formatting
The Playback tab offers several options you can use to edit your video. For example, you can trim your video to play a segment from the original, add fade-in and fade-out effects, and add bookmarks that allow you to jump to specific points in the video.
Most features on the Playback tab can only be used with videos inserted from a file. They do not apply to online videos. A locally embedded video can still use the supported editing controls.
How to trim a video
1. Select the video, then click the Playback tab on the Ribbon.
2. Click on the Trim Video command.

3. A dialog box will appear. Use the green handle to set the start time and the red handle to set the end time.
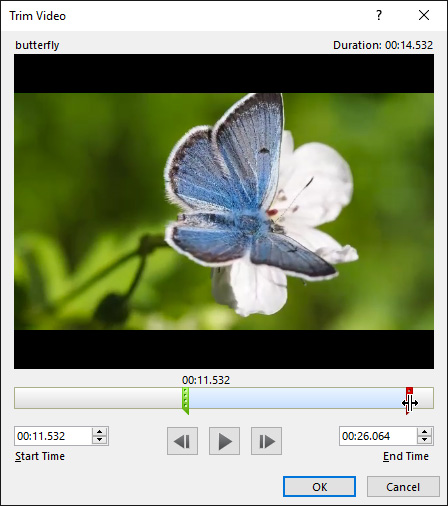
4. To preview the video, click the Play button.
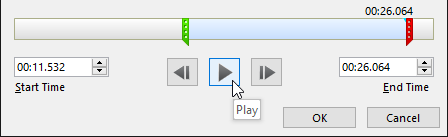
5. Once you've finished trimming the video, click OK.
How to add Fade In and Fade Out effects
1. On the Playback tab , find the fields Fade In: and Fade Out:.
2. Enter the desired values or use the up and down arrows to adjust the time.

How to add bookmarks
1. Click on the timeline to find the desired section of the video.
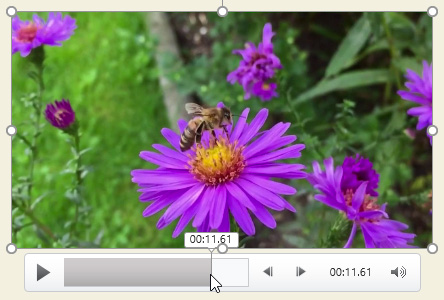
2. From the Playback tab , click the Add Bookmark command.

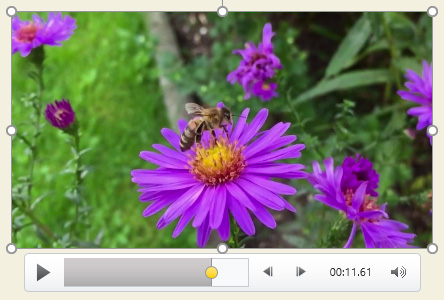
3. The bookmark will appear on your timeline. Click on the bookmark to go to its location.
Video options
There are other options you can set to control how the video will play. These can be found in the Video Options group on the Playback tab.
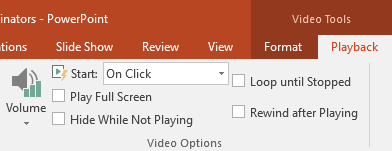
- Volume: This action changes the video volume.
- Start: Choose automatic playback, playback when the video is clicked, or playback in the slide’s click sequence where offered. Test the chosen behavior in Slide Show view.
- Play Full Screen: This allows the video to fill the entire screen while playing.
- Hide While Not Playing: Hides the video when stopped. Use an automatic start or another suitable trigger so viewers can still start it.
- Loop until Stopped: Repeats the video until playback is stopped.
- Rewind after Playing: This action will return the video to the beginning when it finishes playing.
Change the video’s appearance and poster frame
Like photos, PowerPoint allows you to format the appearance of a video by applying video styles, adding borders, changing shapes, and applying various effects.
How to create a poster frame
You can add a poster frame to your video; this is a placeholder image that viewers will see before the video starts playing. A poster frame is usually a frame taken directly from the video.
1. Click on the timeline to find the desired section of the video.
2. From the Format tab , click the Poster Frame command. Select Current Frame from the menu that appears.
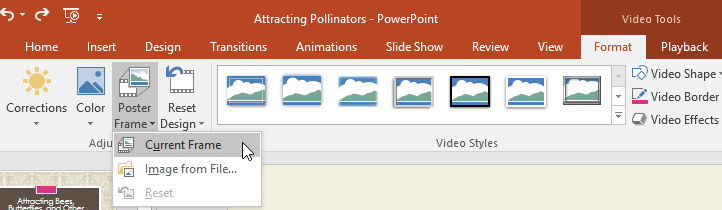
3. The current frame will become the poster frame.
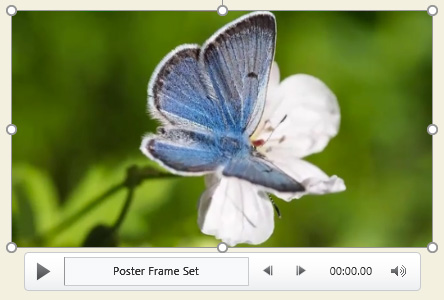
4. If you want to use an image from your computer, select Image from file .
How to apply video styles
1. Select the video, then click the Format tab on the Ribbon.
2. In the Video Styles group , click the More drop-down arrow to display the available video styles.
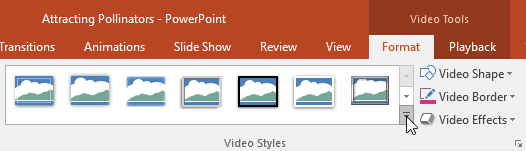
3. Select your desired style.
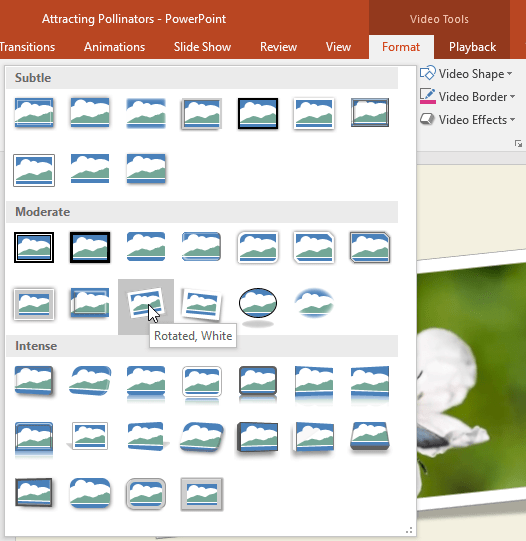
4. A new style will be applied to the video.
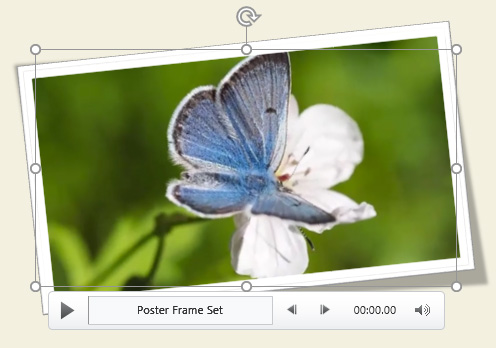
The image formatting guide explains related appearance controls. Keep video borders and effects subtle so they do not obscure the content.
If the video will not play
Check the local file’s format or the online video’s availability first, then confirm the Start setting and sound output. Test linked media after moving the deck; the original file path may no longer exist. If you need to distribute a recorded presentation, follow the PowerPoint recording and export workflow and verify the exported video, including its sound.
Related Articles
 PowerPoint 2019 (Part 16): Shapes: Explained7 minutes read
 PowerPoint 2019 (Part 14): Inserting Images: Explained7 minutes read
 PowerPoint 2019 (Part 29): Link: Explained7 minutes read
 PowerPoint 2019 (Part 23): SmartArt Graphics: Explained7 minutes read
 PowerPoint 2019 (Part 20): Inserting Audio: Explained7 minutes read
 PowerPoint 2019 (Part 22): Charts: Explained9 minutes read
Reader Comments 0
Sign in with email or Google to join the discussion.