Table of Contents
Explore powerpoint 2019 (part 29): link, including the key concepts, practical examples, important considerations, and useful guidance.
Introduction to links
A link has two basic parts: the address of the website, email address, or other location it links to; and the display text, which can also be an image or shape. For example, the address might be https://www.youtube.com , and YouTube could be the display text. In some cases, the display text might be the same as the address. When creating a link in PowerPoint, you will be able to choose both the address and the display text or image.
How to insert a link
1. Select the image or text you want to create a link to.
2. Right-click the selected text or image, then click Link. You can also go to the Insert tab and click the Link command.
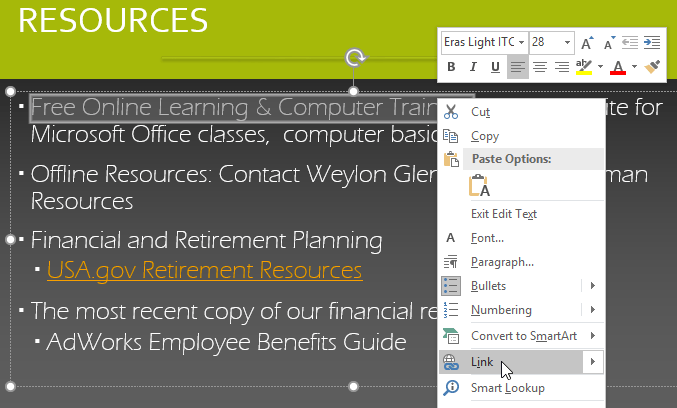
3. The Insert Hyperlink dialog box will open.
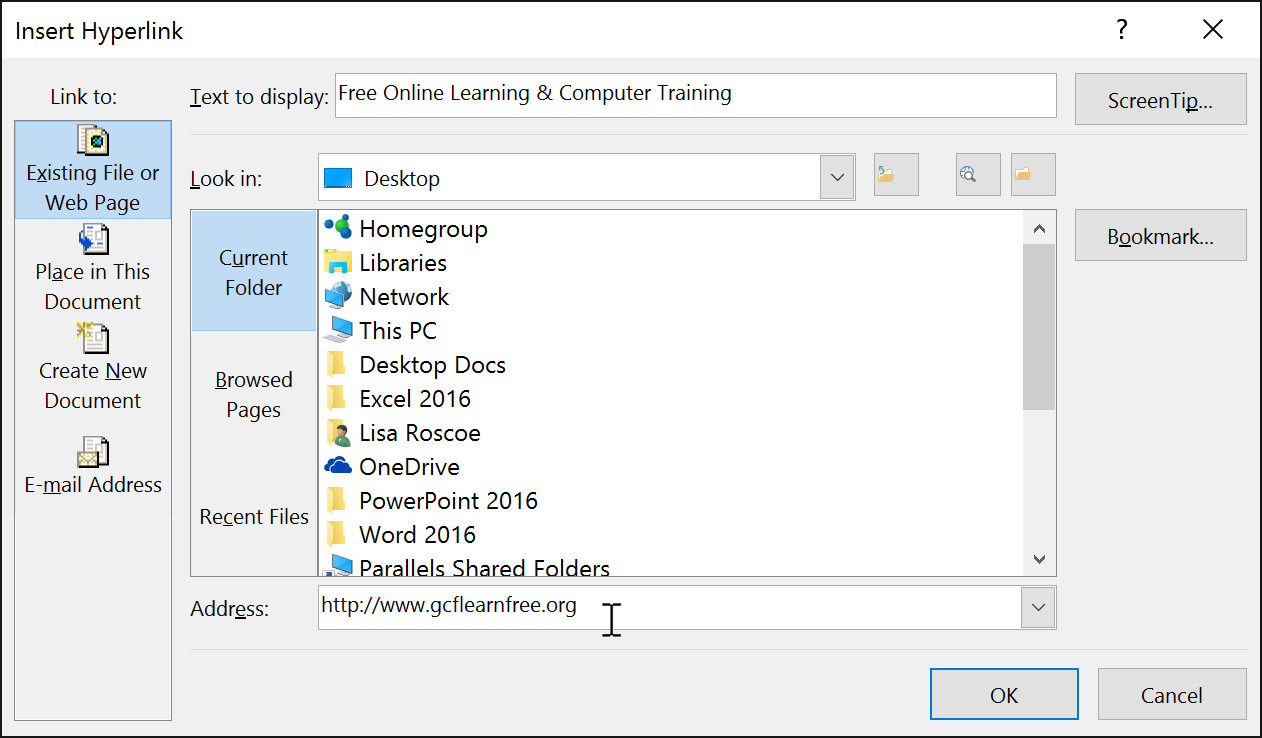
4. If you have selected text, the words will appear in the "Text to display" field at the top. You can change this text if you wish.
5. Enter the address you want to link to in the Address field.
6. Click OK. The text or image you selected will now be a link to a web address.

How to insert a link to an email address
1. Right-click on the selected text or image, then click Link.
2. The Insert Hyperlink dialog box will open.
3. On the left side of the dialog box, click Email Address.
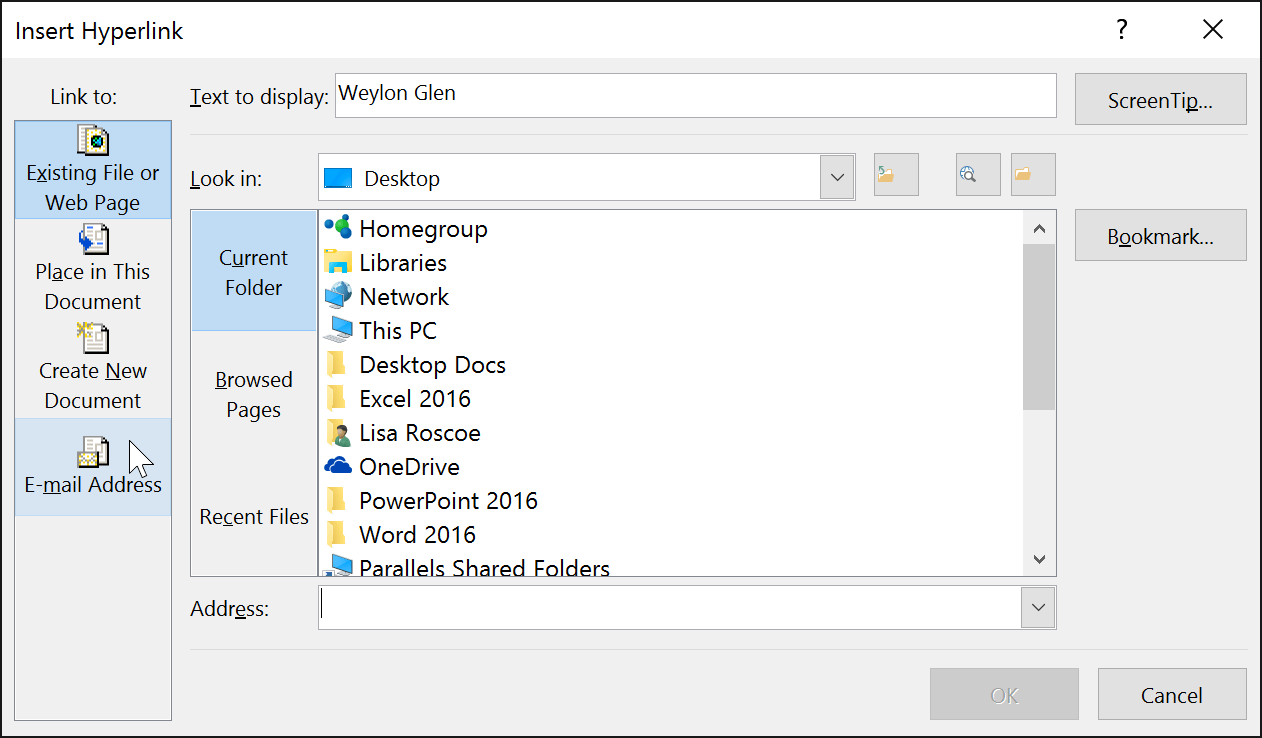
4. Enter the email address you want to connect to in the Email Address box, then click OK.
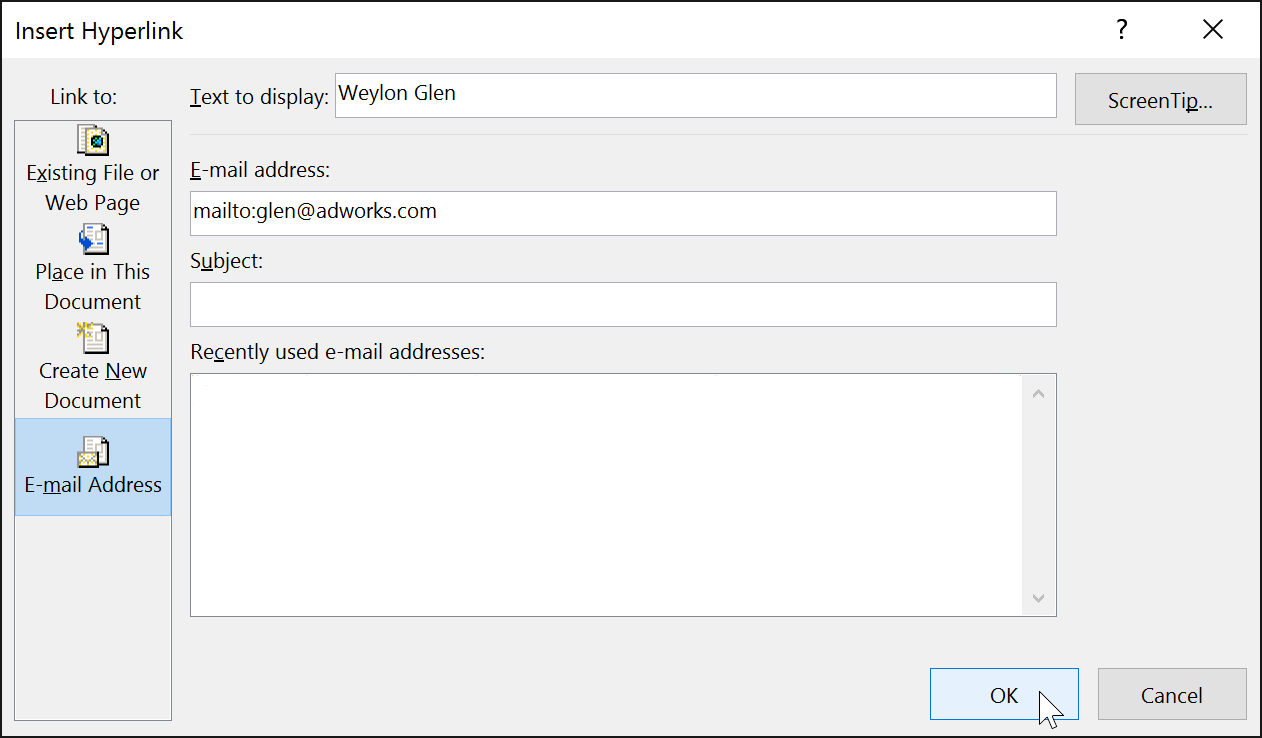
PowerPoint typically recognizes email addresses and web addresses as you type them and will automatically format them as links after you press Enter or the spacebar.
How to open and check a link
1. After creating a link, you should test it. Right-click on the link, then click Open Link.
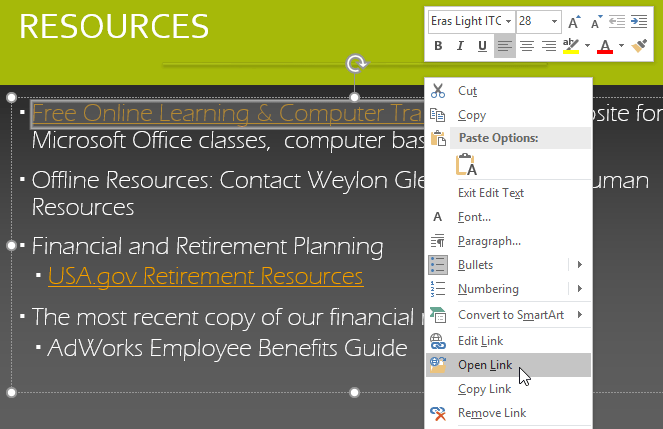
2. Your web browser will open and then navigate to the linked page. If it doesn't work, check the link address for any spelling errors.
To open a link while viewing the slideshow, click the link.

How to delete a link
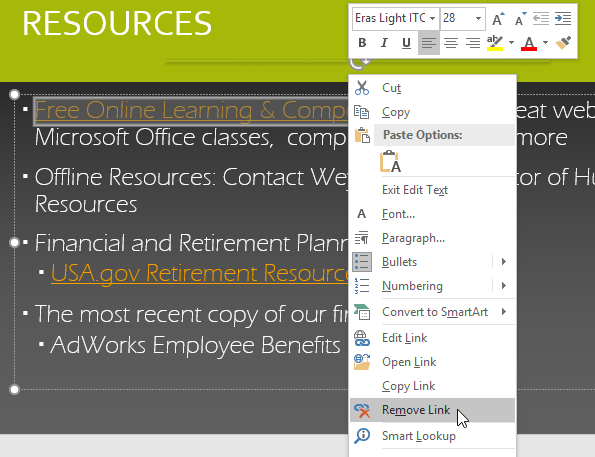
1. Right-click on the link.
2. Click on Remove Link.
Other links
In PowerPoint, you can use links to connect to offline resources. To quickly create a reference to another slide in your presentation, you can create a link to that slide. If you need to access a file stored on your computer, you can create a link to that file. Additionally, PowerPoint allows you to format images and shapes as links.
Use shapes and images as links
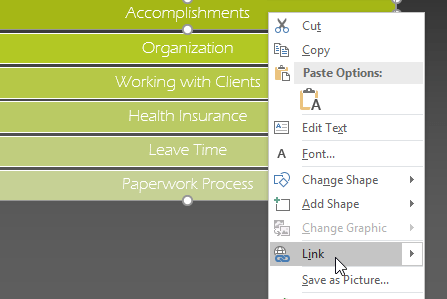
Sometimes you might want to format objects—including shapes, text boxes, and images—as links. This is especially useful if you want the object to behave like a button. To do this, right-click the desired object and select Link from the menu that appears. Click on the object during the presentation to open the link.
How to insert a link to another slide
1. Right-click on the selected text or image, then click Link.
2. The Insert Hyperlink dialog box will appear.
3. On the left side of the dialog box, click Place in this Document .
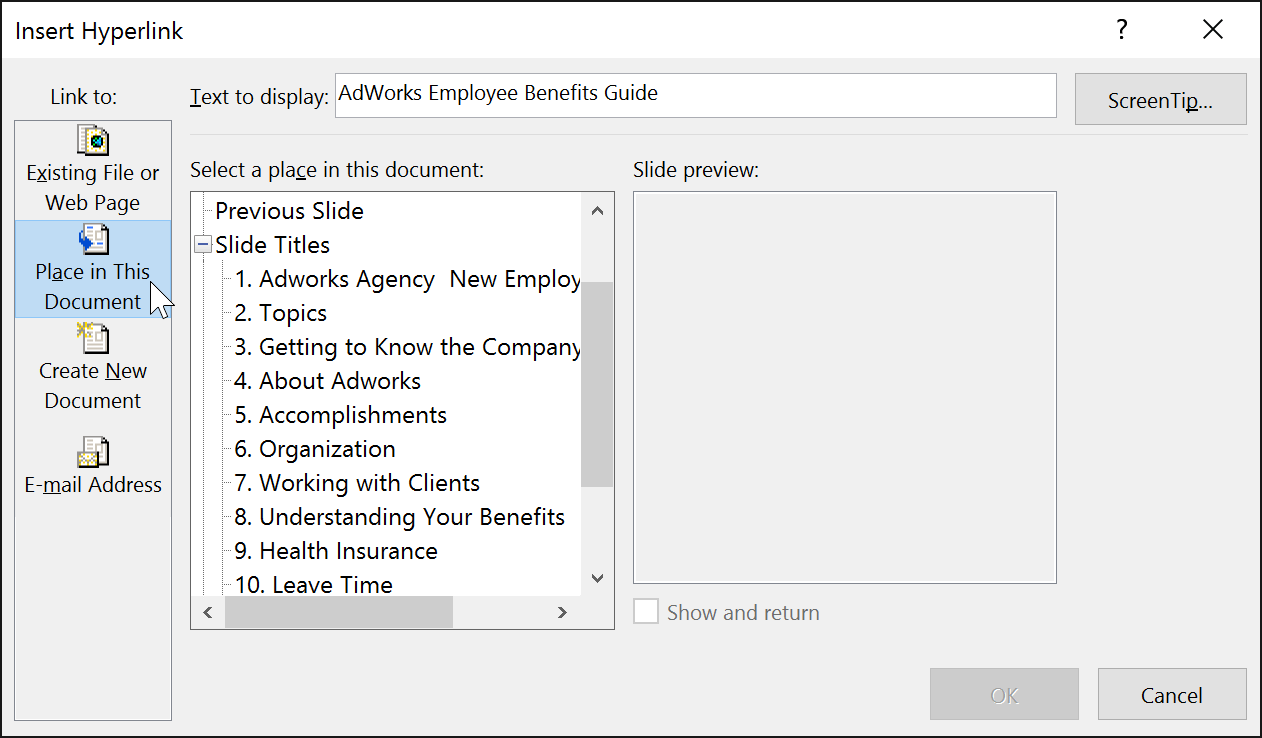
4. A list of other slides in the presentation will appear. Click on the name of the slide you want to link to.
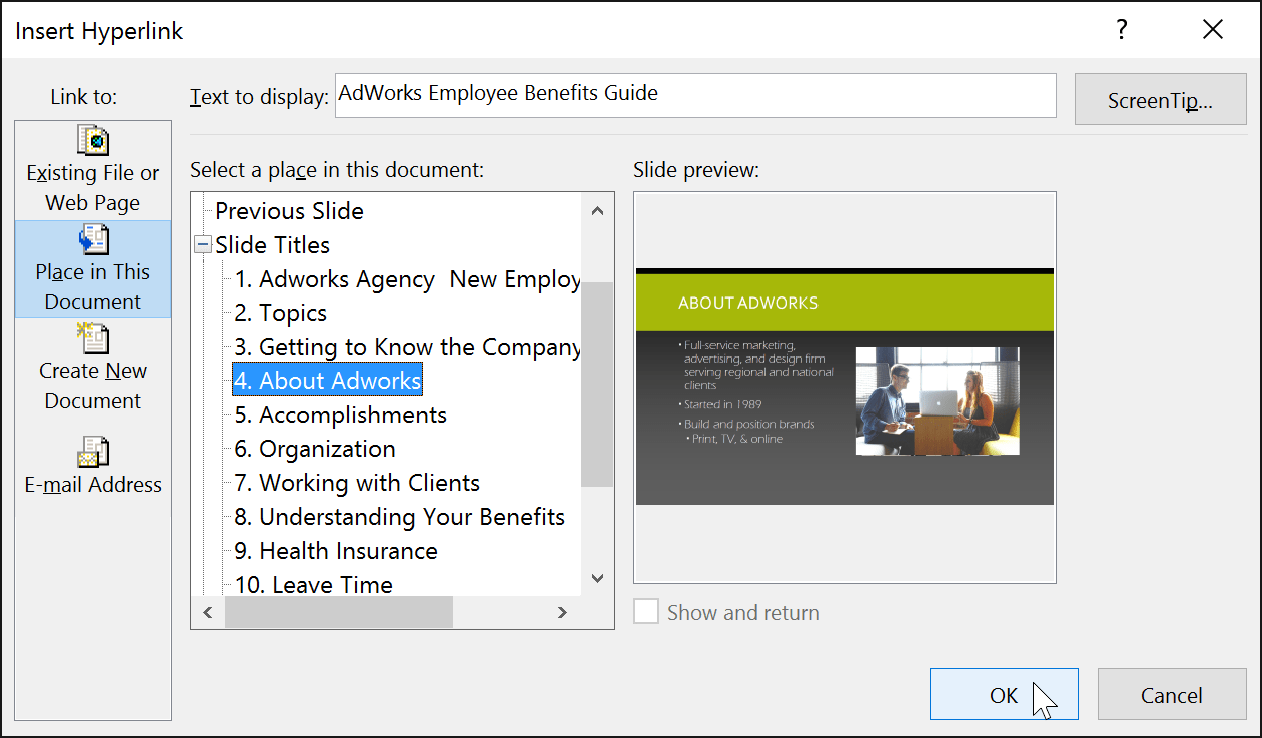
5. Click OK. The text or image will now be a link to the slide you selected.

Adding a link to a shape is similar to creating an action button.
How to insert a link to another file
1. Right-click on the selected text or image, then click Link. The Insert Hyperlink dialog box will appear.
2. On the left side of the dialog box, click Existing File or Webpage .
3. Click the drop-down arrow to browse for your file.
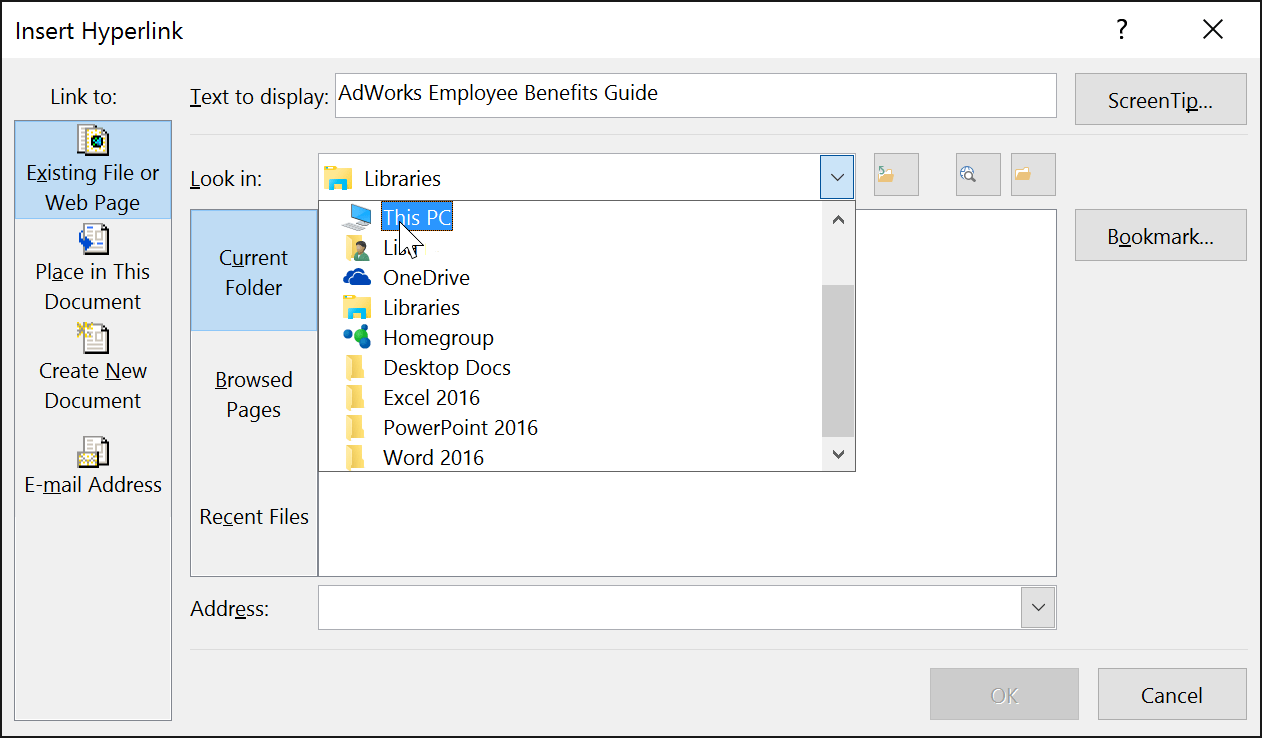
4. Select the desired file.
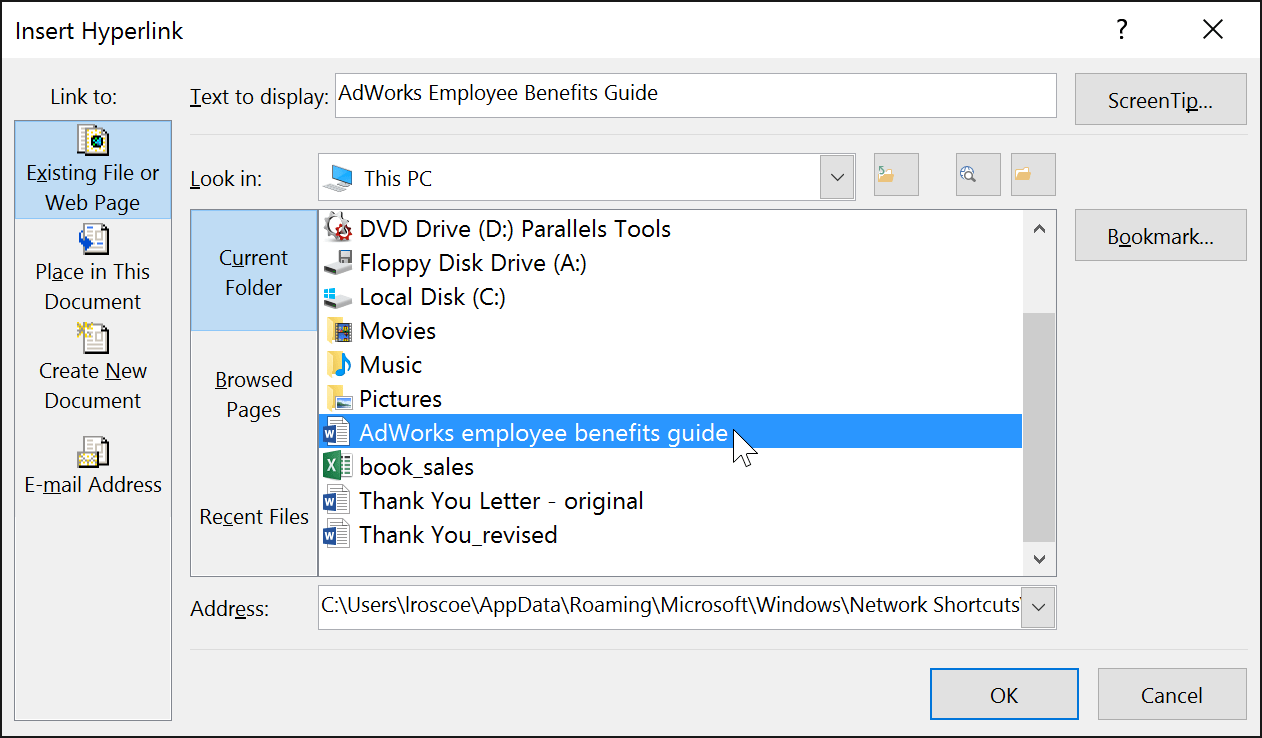
5. Click OK. The text or image will now be a link to the file you selected.

If you want to display your presentation on a different computer than the one you used to create the slides, your link to a different file might not work. Make sure you have a copy of the linked file on the computer you're using for the presentation and always check that the links are working before presenting.
Final Thoughts
Understanding powerpoint 2019 (part 29) makes it easier to evaluate the information and apply the most relevant recommendations. Focus on the key points above and verify details that may change over time.
FAQ
What is powerpoint 2019 (part 29)?
Explore powerpoint 2019 (part 29): link, including the key concepts, practical examples, important considerations, and useful guidance.
What key points does this article cover?
The article focuses on Introduction to links, How to insert a link, How to insert a link to an email address, with practical explanations and examples.
How can you use this information in practice?
Use the explanations to compare options, verify important details, and make a more informed decision. Apply the recommendations that best match your goals and situation.
Related Articles
 When Should You Embed a Video and When Should You Link to a Video5 minutes read
 How to Create Links in PowerPoint: Create a PowerPoint Link7 minutes read
 Link to Download Microsoft PowerPoint 20196 minutes read
 PowerPoint 2019 (Part 1): Getting Started with PowerPoint: Explained7 minutes read
 PowerPoint 2019 (Part 11): Presenting Slideshows: Explained9 minutes read
 PowerPoint 2019 (Part 6): Applying Themes: Explained5 minutes read
Reader Comments 0
Sign in with email or Google to join the discussion.