PowerPoint 2019 (Part 14): Inserting Images
PowerPoint even includes tools to find images online and add screenshots to presentations..
Adding images can make your presentation more interesting and engaging. You can insert images from files on your computer into any slide. PowerPoint even includes tools to find images online and add screenshots to your presentation.
How to insert images from a file
1. Select the Insert tab , then click the Pictures command in the Images group.

2. A dialog box will appear. Locate and select the desired image file, then click Insert.
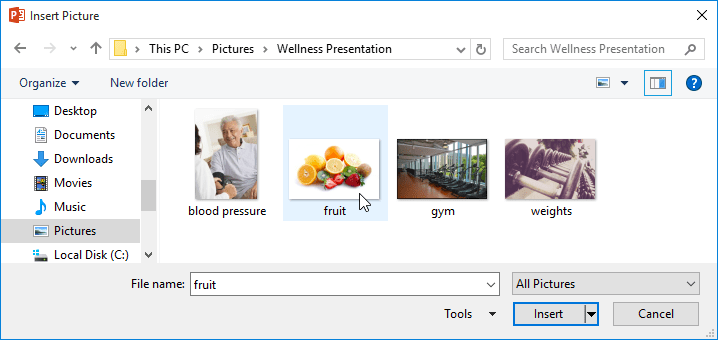
3. The image will appear on the selected slide.

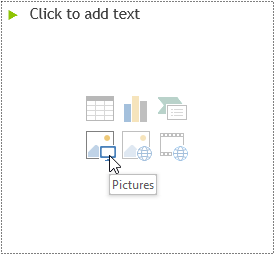
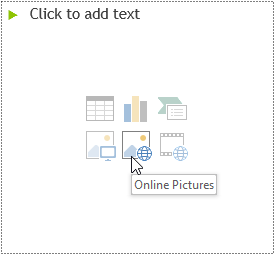
You can also click the Pictures command in the placeholder to insert an image.
Insert images online
If you don't have the image you want on your computer, you can find images online to add to your presentation. PowerPoint offers two options for finding images online.
Bing Image Search : You can use this option to search for images on the internet. By default, Bing only displays images licensed under Creative Commons, meaning you can use them for your own projects. However, you should visit the image's website to see if there are any restrictions on how to use that image.
OneDrive : You can insert images stored on your OneDrive . You can also link other online accounts to your Microsoft account, such as Facebook or Flickr.

How to insert an image online
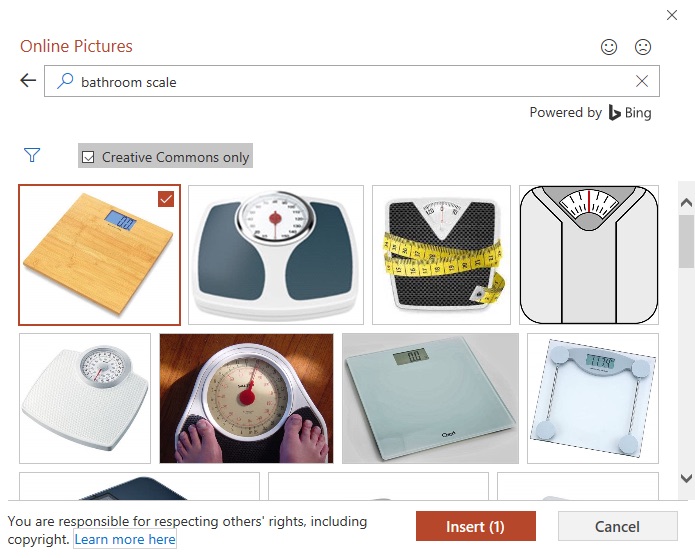
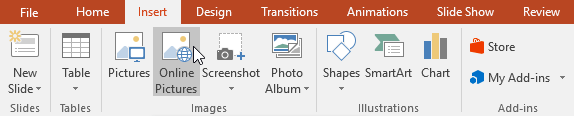
1. Select the Insert tab , then click the Online Pictures command.
2. The Insert Pictures dialog box will appear.
3. Select Bing Image Search or your OneDrive . The example will use Bing Image Search .
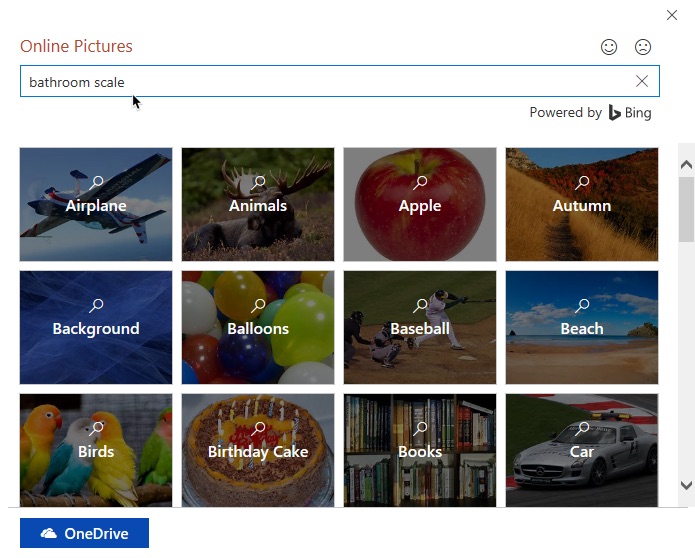
4. Press the Enter key . Your search results will appear in the dialog box.
5. Select the desired image, then click Insert.

6. The image will appear on the selected slide.

You can also click the Online Pictures command in the placeholder to insert online images.
When adding images, videos, and music to your own projects, it's crucial to ensure you have the legal right to use them. Most things you buy or download online are copyrighted, meaning you may not be allowed to use them.
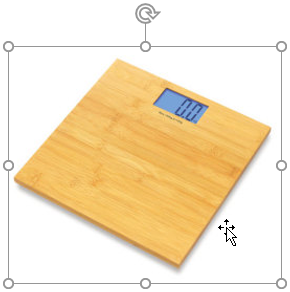
Move and resize images
After inserting an image, you might want to move it to a different location on the slide or resize it. PowerPoint makes it easy to arrange images in your presentation.
How to choose photos
Before you can edit an image, you need to select it. Simply click to select an image. A solid line will appear around the selected image.
How to resize an image
Click and drag the resizing handles in the corners until the image is the desired size.
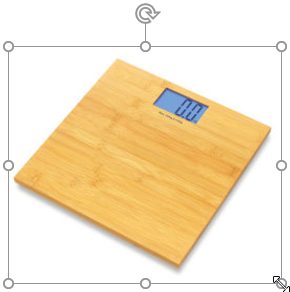
The resizing handles at the corners will resize the image while maintaining the original aspect ratio. If you use the resizing handles at the edges, the image will be distorted.
How to rotate an image
Click and drag the arrow above the image to rotate it to the right or left.

Hold down the Shift key on your keyboard while rotating an image to change the image rotation angle in 15-degree increments (increasing by 15 degrees with each rotation).
How to move images
Click and drag to move the image to a new position on the slide.
How to delete photos
Select the image you want to delete, then press the Backspace or Delete key on your keyboard.
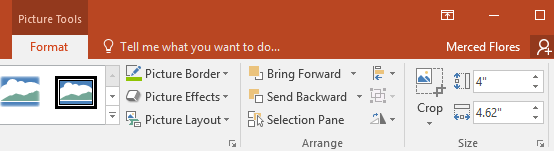
You can access more image formatting options from the Format tab.
Insert screenshot
You can take screenshots of almost any open program, website, or window. PowerPoint makes it easy to insert screenshots of entire windows or screenshots of parts of windows into your presentation.
How to insert a screenshot of a window
1. Select the Insert tab , then click the Screenshot command in the Images group.
2. The available windows on your screen will appear. Select the window you want to capture as a screenshot.

3. The screenshot will appear on the currently selected slide.

How to insert a screen crop.
1. Select the Insert tab , click the Screenshot command , and then select Screen Clipping.
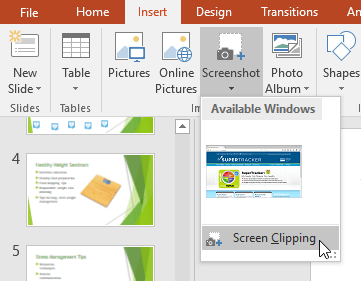
2. A view of other open windows will appear. Click and drag to select the area you want to capture as a screenshot.

3. The screenshot will appear on the currently selected slide.