How to Transfer Photos from iPhone to Mac
If you've saved a lot of pictures on your iPhone, it might be time to save them to your computer and free up your phone's memory. Determining how to transfer photos from your phone to your Mac can be confusing, especially if you've never done it before. Luckily, there are many ways you can transfer photos, whether it's transferring all of them at once or just a few at a time..
Use the Photos app (Photos)
Connect iPhone to Mac. Attach one end of the iPhone charging cable to the iPhone's charging port, then attach the other USB end to one of your computer's USB ports.
If your phone isn't connected to your Mac, there may be a problem with the cable you're using. Try using a new cable to see if that fixes the problem.
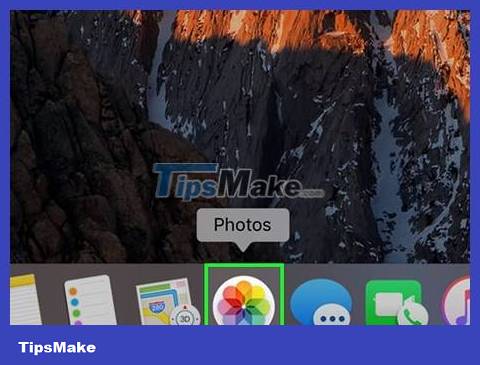
Open the Photos app. Click the multicolored flower icon in your Mac's Dock.
It's possible that the Photos app will automatically appear when the iPhone is connected to the computer. If so, you don't need to do this step.

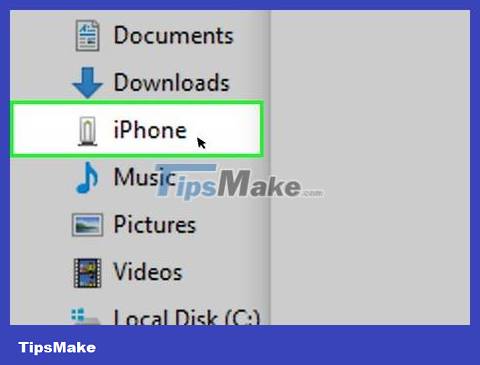
Select your iPhone. Click to select your iPhone's name in the column on the left side of the window. This option is below the "Devices" heading.
First, make sure your iPhone is unlocked if you don't see its name displayed in the "Devices" section on the left.
If iPhone asks you to trust this computer, you'll choose Trust to allow the device to access your photos.
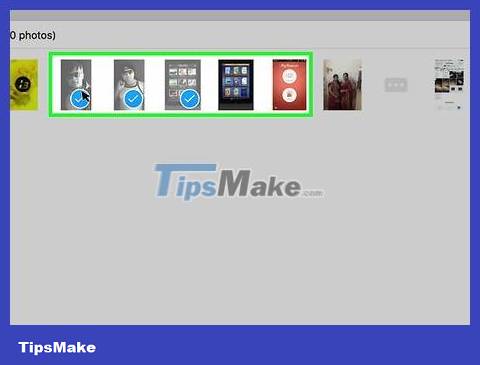
Select the photo you want to download. Click each photo and/or video you want to transfer to your Mac.
If you want to transfer all your photos that aren't already on your Mac, skip this step.

Click Import Selected . This is the option in the top right corner of the window. This gray button also displays the number of selected photos (e.g., Import 34 Selected).
If you want to transfer all new photos from your iPhone, click the blue Import All New Photos button .

Wait for the image transfer process to complete. Once your iPhone photos have been transferred to your Mac, you can click My Albums on the left side of the window to view the photos.
Use AirDrop

Turn on AirDrop on Mac. To do this, you'll open Finder, click AirDrop on the left side of the Finder window, click the Allow me to be discovered by link , and click Everyone in the list. selection list is displayed.
If you see the Turn On Bluetooth button in the center of the AirDrop window as soon as it appears, click it to turn on your Mac's Bluetooth.
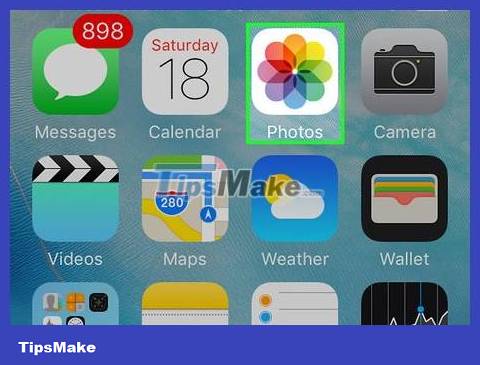
Open the iPhone's Photos app. Tap on the app with the multicolored pinwheel icon on a white background.
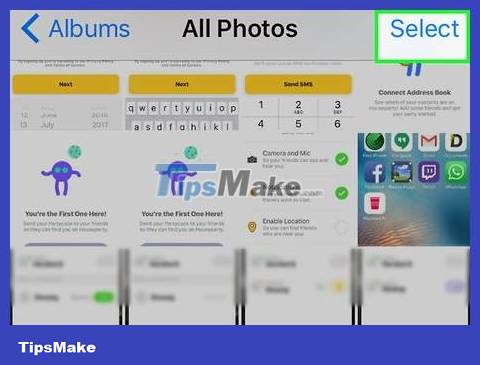
Tap Select . This is the option in the top right corner of the screen. This will open another menu where you can share the photo via email, text, or airdrop.

Select the photos you want to transfer. Tap each photo you want to transfer to Mac. You'll see a blue and white checkmark icon appear in the corner of the selected photo.

Tap "Share" . This is the arrow icon in the bottom left corner of the screen. A menu will appear here.

Tap the "AirDrop" icon. It's the icon with concentric circles displayed near the top of the "Share" menu. This will turn on your iPhone's Bluetooth and Wi-Fi (if they're turned off) and display your Mac's name.
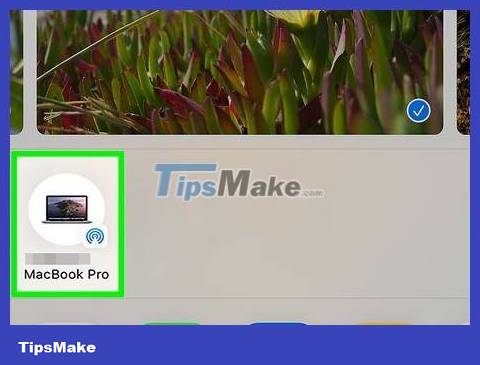
Tap your Mac's name. This option appears in the AirDrop menu. You will see your iPhone automatically send AirDrop messages with photos to your Mac.
Make sure you're standing close to your Mac so you can see its name in the selection list.
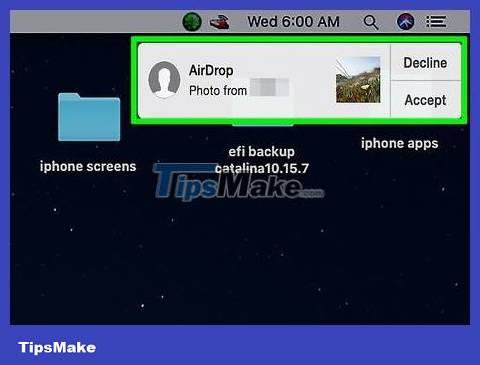
Accept files to save them on Mac. A notification indicating that someone wants to send you an Airdrop message appears in the upper right corner of the computer screen. Click Accept to download the images, then find them in the 'Downloads' folder.
Make sure you have WiFi and Bluetooth turned on on your iPhone and Mac computer.
Use iCloud Photo Library (iCloud Photo Library)
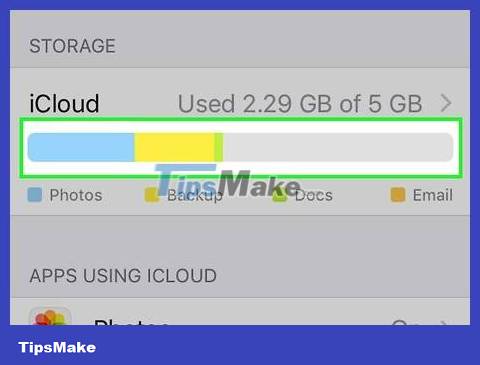
Make sure your memory has free space. This method allows you to upload all your photos to iCloud so you can download them to any computer with an internet connection; however, your iCloud storage must be larger than the photo capacity. You initially have 5GB of free iCloud storage available, but you need to upgrade your storage before you can save photos.

Open your iPhone's Settings. Tap the Settings app with the gray box icon with gears.
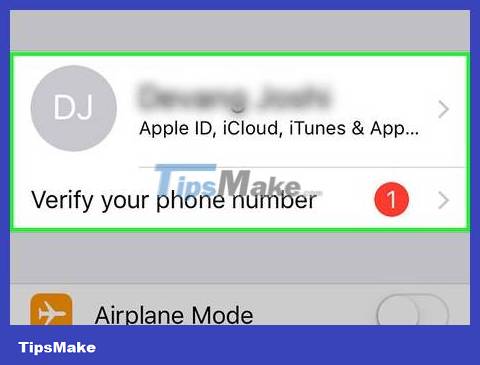
Tap Apple ID. This is the option at the top of the Settings page.
If you're not signed in, tap Sign in to iPhone , enter your Apple ID and password, then tap Sign In .
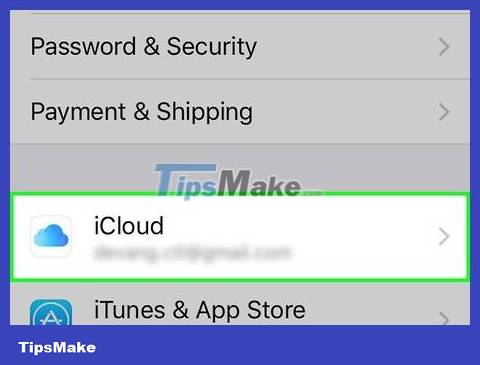
Tap iCloud . This is the option near the middle of the screen.
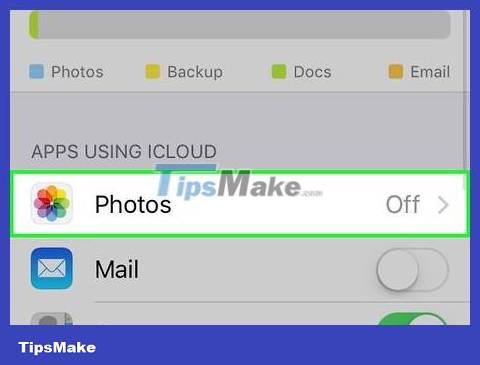
Tap Photos . You'll find this option near the top of the "APPS USING ICLOUD" section of this page.
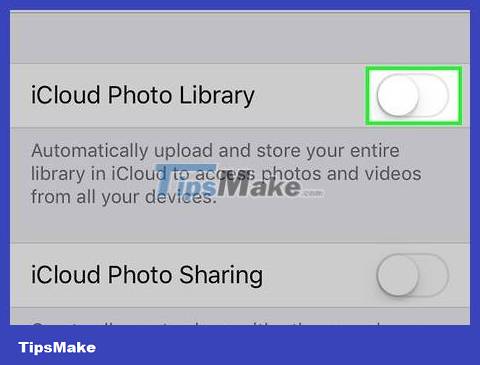
Tap the white slider next to "iCloud Photo Library." With this operation, the slide button immediately turns green. Thus, photos on iPhone will be uploaded to iCloud.
Photo upload time will vary depending on the number of photos; So, make sure your iPhone is fully charged (or charging) and has a Wi-Fi connection.
If you want to save storage space on your iPhone, you can select Optimize iPhone Storage when asked.
You can make sure future photos are uploaded to iCloud by tapping the white slider next to "My Photo Stream" on this page.
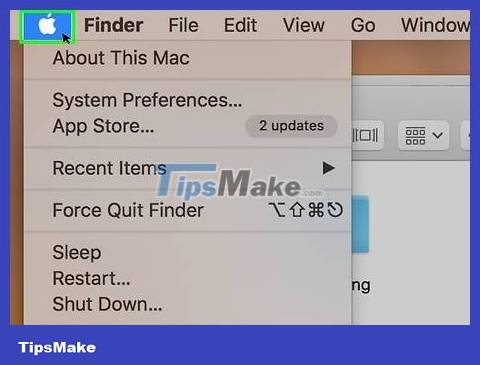
Open the Apple menu on Mac. Click the Apple logo icon in the top left corner of the screen. A menu will appear here.
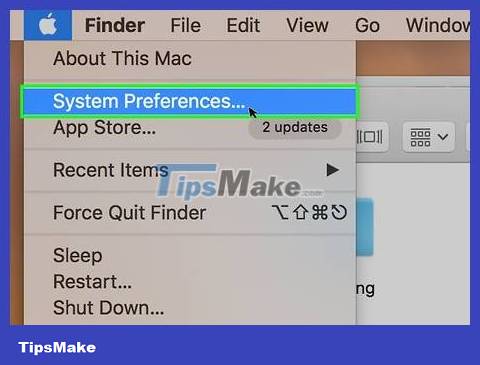
Click System Preferences… (System Preferences…). This is the option at the top of the menu that appears. The System Preferences window immediately appears on the screen.
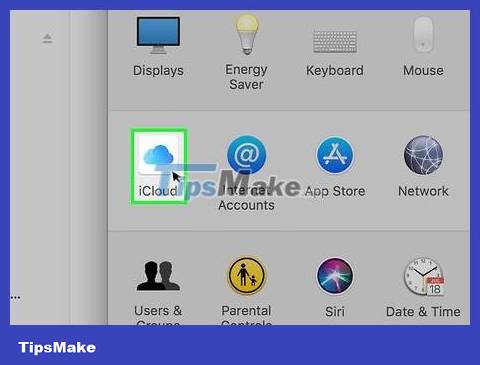
Click . You'll see a cloud icon on the left side of the System Preferences window.
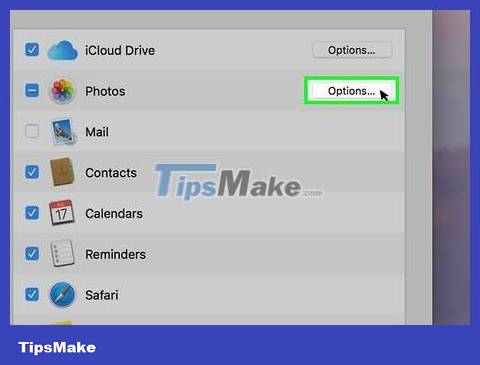
Click Options . This is the option to the right of the "Photos" heading near the top of the page. A new window will appear.
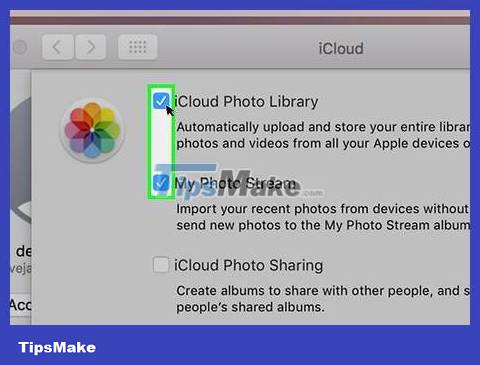
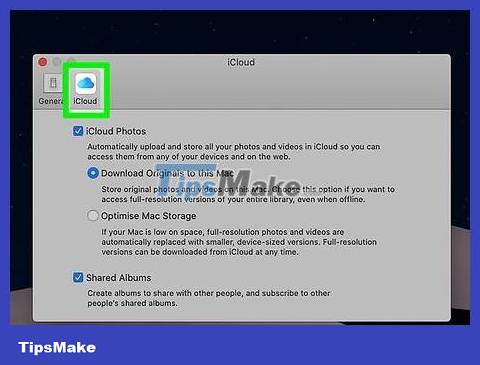
Turn on photo sync mode. Check the "iCloud Photo Library" box and the "My Photo Stream" box. This ensures photos on the iPhone will display on the Mac.
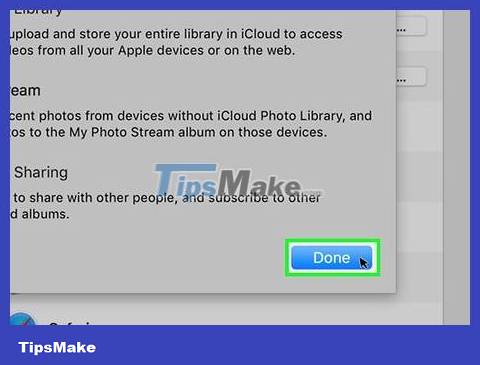
Click Done . This is the blue button at the bottom of the window. This will save the changes. You can now view your iPhone's photos in the Photos app, but you'll have to wait a while to see them.
From now on, all your photos will be automatically saved to your iPhone and Mac, including any edits you've made.
Use Image Capture
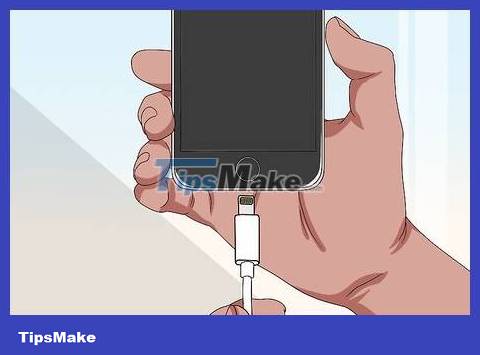
Connect your iPhone to your Mac computer using a USB cable. Make sure your iPhone is unlocked. If iPhone asks you if you trust this computer, you'll click Trust to allow the device to access your photos.
If you choose to trust the computer, you probably won't be asked again.
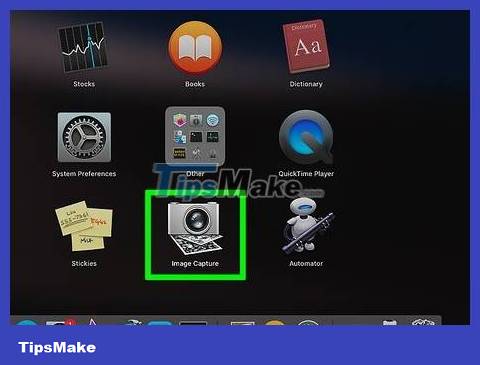
Open the Image Capture application on Mac. You can use Launch Pad or find it in your Folders. This is an app with an icon that looks like a small snapshot of a webcam.
Using Image Capture gives you more control over where downloaded images are saved. You can save photos to another folder on your Mac, instead of having them automatically saved to the Pictures folder.
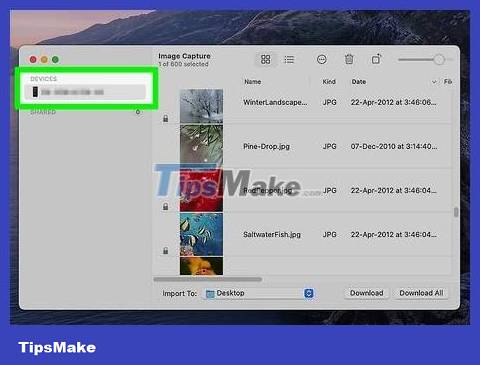
Select iPhone in the Devices list. This is the option on the left side of the screen. Click the iPhone's name to select it.
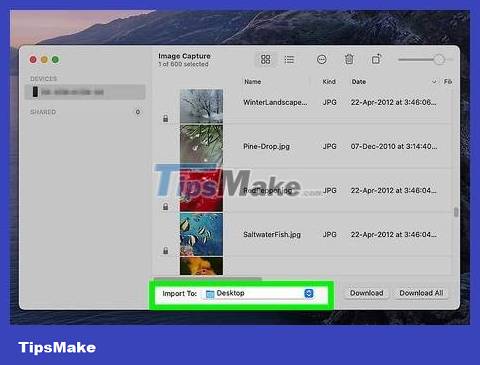
Click the Import To menu . Once your iPhone has been selected, you will receive a notification asking where you want to save the photo. Click this box to customize where the image is saved.
If you don't see this box, try selecting your iPhone again in the Devices menu.
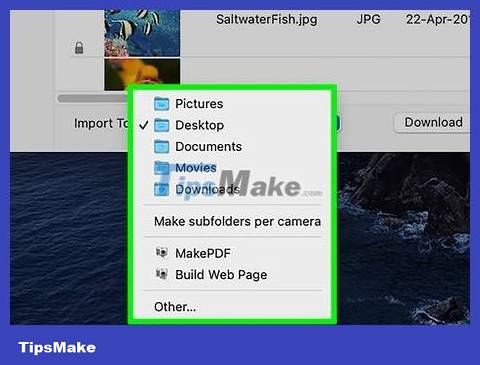
Choose where you want to save the photo. You can save photos in your Downloads folder, an existing folder on your computer, or a new folder. Just look at the folders on your computer to choose the right place to save your photos.
You can also choose which application to use to open the image after it is downloaded.
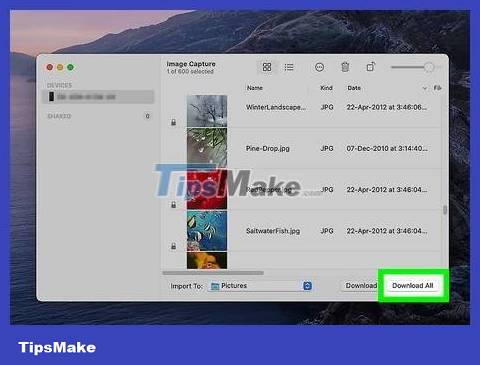
Select the photo, then click Import . Click each photo to select it, then click Import. If you want to transfer all the photos, select Import All.
Once the photos have been transferred to your computer, you can delete them on your iPhone to free up memory.
Using My Photo Stream (My Photo Stream)
Open your iPhone's Settings app, then select Photos . The Settings app has a gray gear icon on a gray background. Tap on the app, then find the Photos section.
You can also use the search bar at the top of the Settings app to find the Photos section.
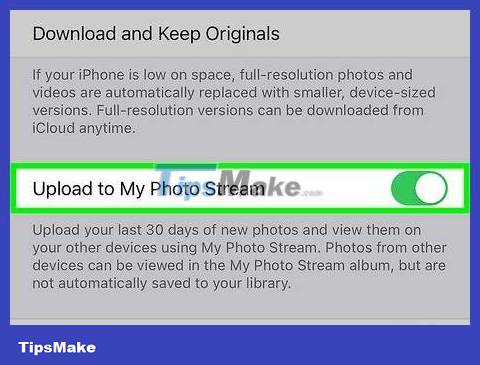
Turn on Upload to My Photo Stream . Tap the slider to enable My Photo Stream. If the slider is already in the on position, you do not need to do this step.
My Photo Stream automatically shares your latest photos across all the iOS devices you use. You'll see the photos in the 'Albums' section of the Photos app on iPhone.
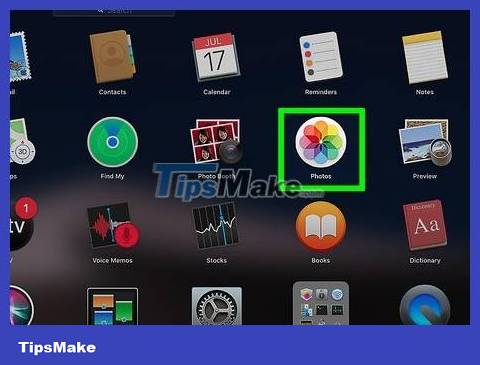
Open Photos on Mac. This is an application with a rainbow flower icon on a white background.
Click Photos > Preferences > iCloud . This will take you to Photos and iCloud settings so you can customize your photo settings. Perhaps you've done this step before to view iCloud settings.
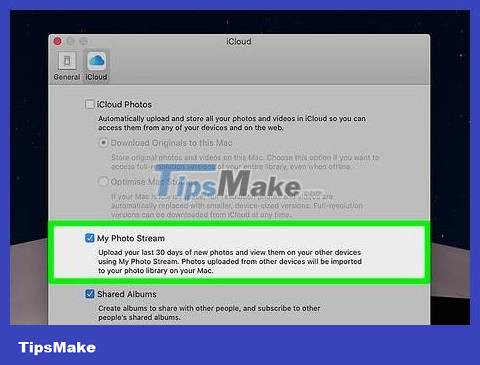
Check the box next to My Photo Stream . This will turn on My Photo Stream so you can access it on your Mac. Now, your latest photos on iPhone (photos taken in the last 30 days) will be shared directly with your Mac.
You can always turn this feature off on your iPhone or Mac if you don't like using it.
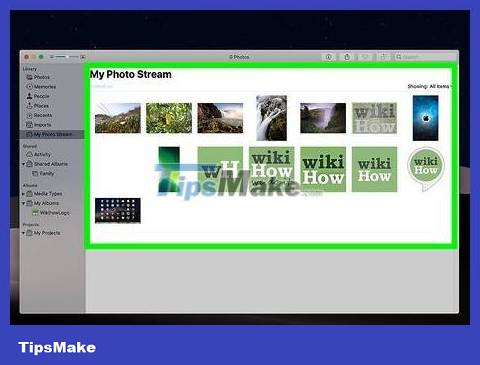
Right-click the photo, then select Save . In the My Photo Stream section of Photos, you will right-click on the photo you want to keep on your computer, then select Save to download the photo to the Photos app.
If you don't save photos on your Mac, they disappear from your computer after 30 days, but they're still saved on your iPhone.
Use Email

Open the Photos app on iPhone and tap a photo. The Photos app has a rainbow flower icon on a white background. Tap the app, then select the photo you want to share.
Sharing photos via email is convenient when you only want to download 1 or 2 photos.

Click the share icon in the bottom left corner. This is the blue arrow icon at the bottom of the screen. This will show you a menu with more sharing options.
If you want to choose to share multiple photos, you can drag the photo scroll bar left or right and select each photo.

Tap the Mail icon. It's a blue square icon with a white envelope in the middle. A new email composing window will appear with the attached photo below.
You can send up to 5 photos at once if using email.

Enter your email address, then select Send. You can email photos to your Mac by sending them to your email address. When you're ready, just tap Send in the top right corner.
You can now check emails on Mac and download photos from emails.
If you want to send photos to friends and relatives, enter their email addresses.