How to set a password to protect photos on a Mac
There are many ways to enhance image security on a Mac, especially for personal, private images you don't want anyone else to see.
There are many ways to enhance the security of images on a Mac, especially personal, private images you don't want anyone to see. Depending on the method and your personal preference, you can find a password protection that suits you best. Below is a guide on how to set a password to protect your photos on a Mac.
How to set a password to protect photos on Mac
Convert to PDF and lock the file.
Step 1:
Press and hold the Control key and click one or more images in the Finder folder or on the desktop, then select Quick Actions > Create PDF .
Step 2:
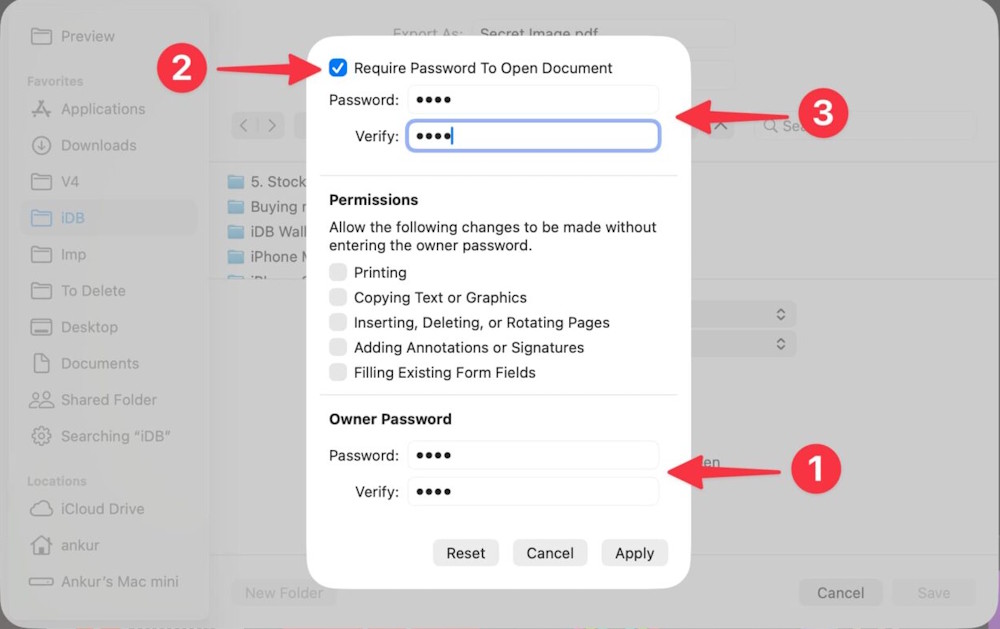
Open the PDF file using the Preview application on your Mac and set a password . Click File > Export > Permissions. Then check the box for "Require Password To Open Document" and click Save to save the changes.
Compress the images into a ZIP file and set a password.
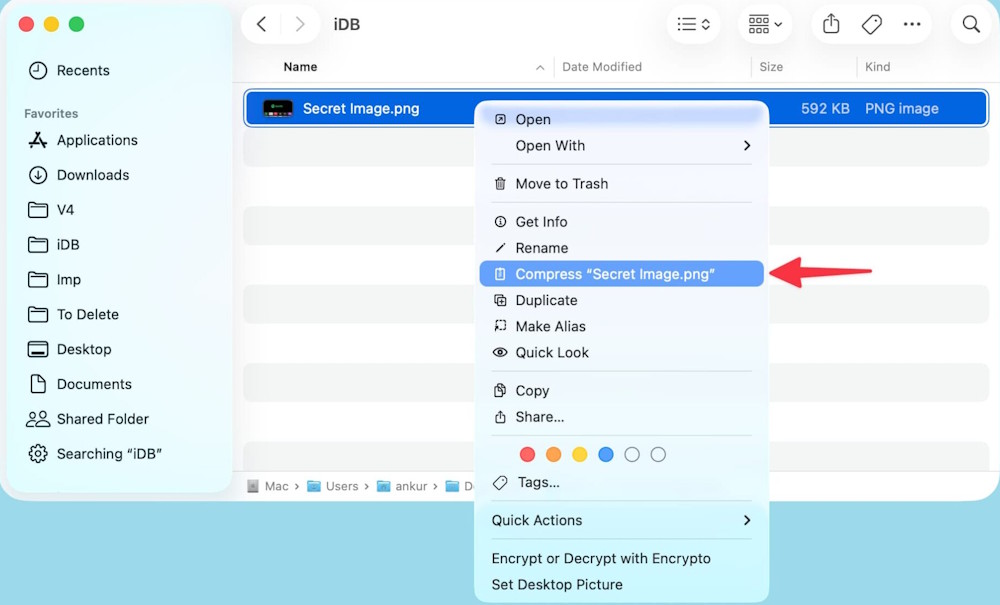
Select one or more images in Finder, hold down the Control key and click , then select Compress to convert them into a ZIP file. Afterward, set a custom password for the ZIP file.
Create a password-protected virtual drive.
You use macOS's built-in Disk Utility to create a virtual drive that is encrypted and password-protected. Then you can add photos, videos, documents, and other file types to it. They will remain locked until you enter the password to unlock them.
Open Disk Utility and click File > New Image > Image from Folder .
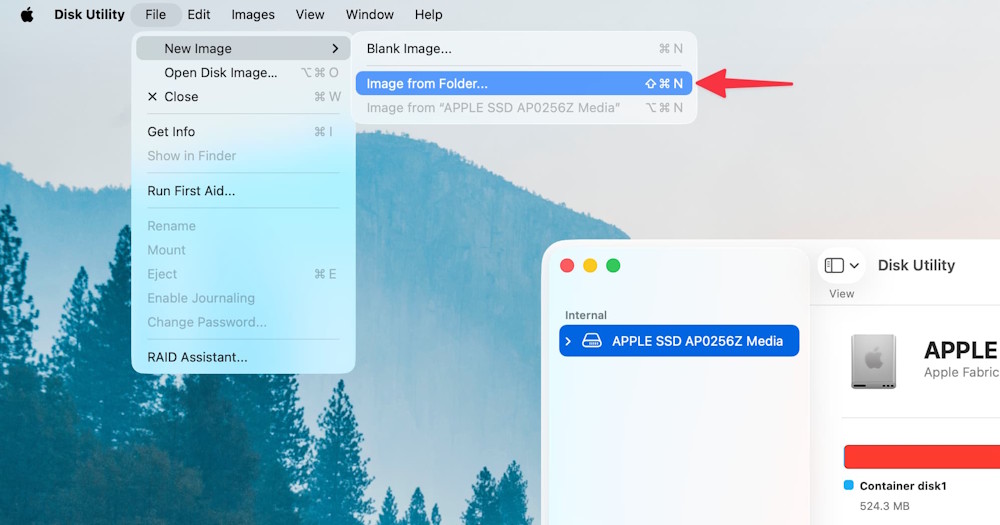
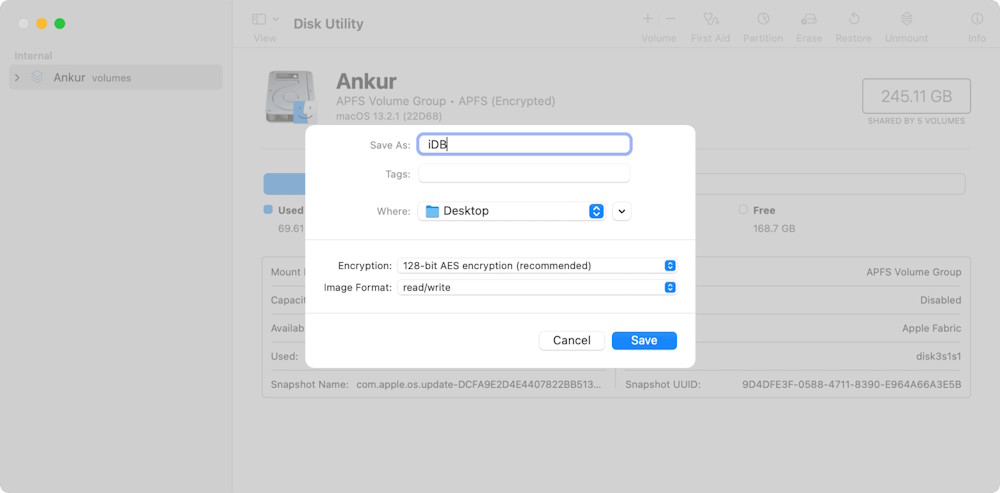
Click on the folder you want to protect and select Choose below. Next, choose the location to save the virtual drive and then click Encryption . Choose between AES 128-bit or AES 256-bit encryption.
Click on Image Format, then select Read/Write, and then Save .
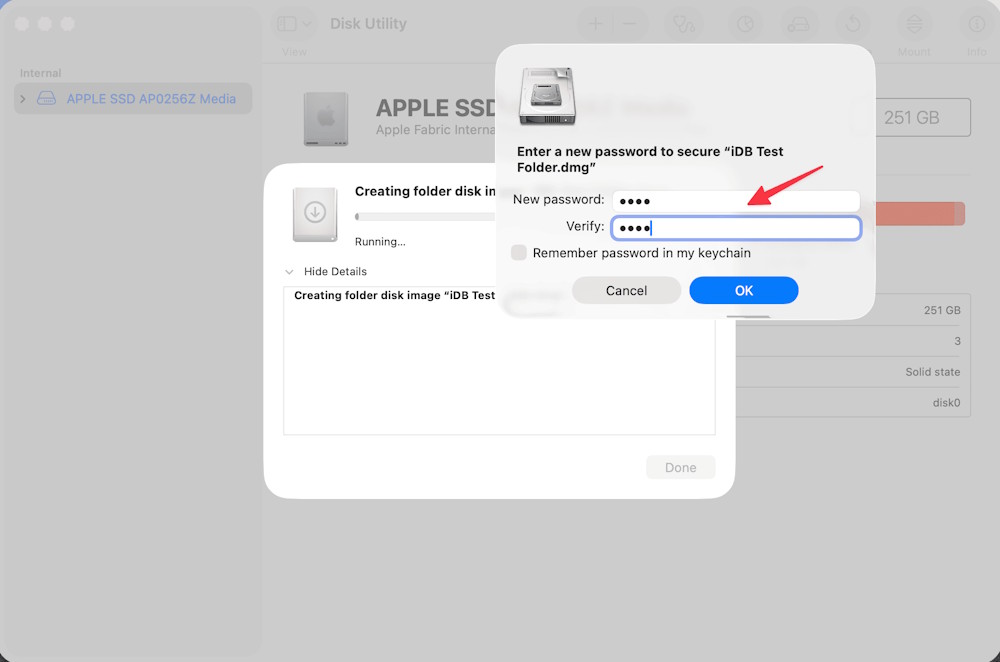
You will then be asked to set a password for the folder.
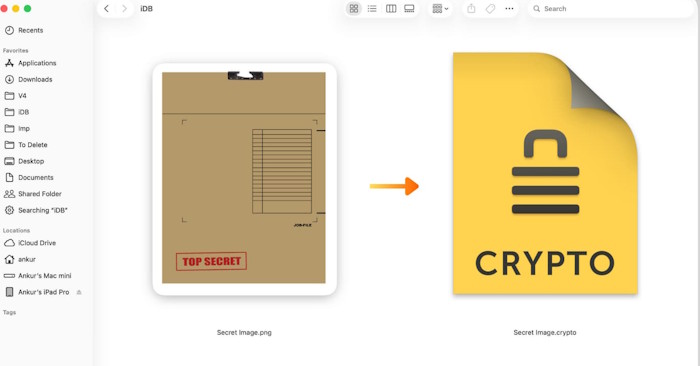
Use Encrypto for encryption.
Download the Encrypto application using the link below. Then drag and drop the image into the corresponding window and set a password to encrypt the file. Finally, save it.
- Download the Encrypto app for Mac
- How to change iCloud password?
- How to Password Protect a Website
- How to set Excel password to secure data file
- How to Set Password for Folder and File in Windows
- 8 ways to protect simple digital personal information
- How to Password Protect PDF Files
- How to set password to protect files on Windows 10
- Set BIOS and UEFI password to protect data on your Windows 10 computer safely
- Set password, password protect USB data safely
- How to set password protection folder on Mac
- How to Open Applications With Root Privileges on a Mac
- How to create Hackintosh USB with Clover Bootloader
- How to Toggle WiFi on and Off with a Keyboard Shortcut on Mac
- How to fix 'Dyld: Library not Loaded' error on macOS
- How to Add a PowerPoint to iMovie
- How to Open an EMZ File on PC or Mac
- How to Create Credits in iMovie
- How to Bypass Parental Controls on a Mac
- How to Use Telnet on Mac OS X
- Making Linux look like macOS with these easy tweaks!
-
 How to view your Facebook password on your phone or computer.
-
Instructions on how to change your Spotify password
-
How to unlock your Acer laptop quickly and effectively when you forget your password.
-
4 Quick Ways to View WiFi Passwords on Windows and Mac Laptops
-
How to unlock a laptop safely and easily after forgetting the password.
-
Forgot your saved Wi-Fi password? Here's how to view your Wi-Fi password on your computer.
 How to view your Facebook password on your phone or computer.
 Instructions on how to change your Spotify password
 How to unlock your Acer laptop quickly and effectively when you forget your password.
 4 Quick Ways to View WiFi Passwords on Windows and Mac Laptops
 How to unlock a laptop safely and easily after forgetting the password.
 Forgot your saved Wi-Fi password? Here's how to view your Wi-Fi password on your computer.