How to Put Photos Into iPhoto
The iPhoto application is Apple's very own image management and manipulation software. It comes pre-installed with every Macintosh computer and is mainly used to edit, print, and share image file formats. Before you can do all this stuff,...
Table of Contents
Part 1 of 2:
Connecting Your Device
-
 Pick the device you want to get photos from. You can connect any digital imaging device you have—smartphone, tablet, digital camera, or even a flash drive—that has photos saved inside.
 -
 Connect your device to your computer. Get the device's data cable, and connect it to the port on the device itself. Take the other end, and plug it into a vacant USB port on your Mac.
 - Wait for the computer to read your device. It will take only a few seconds for your Mac to read the device you connected and its contents.
Part 2 of 2:
Importing Photos to iPhoto
-
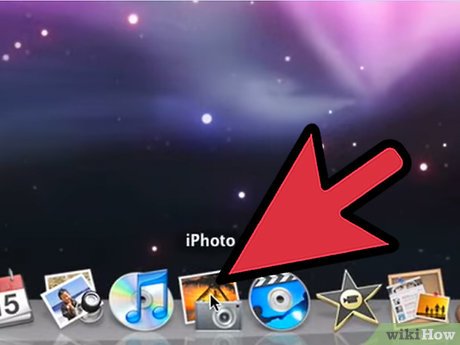 Open iPhoto. Click its shortcut icon from the applications dock at the bottom of the screen or click 'Applications' from the menu bar at the top left-hand area of your desktop, and select 'iPhoto' from the list.
 -
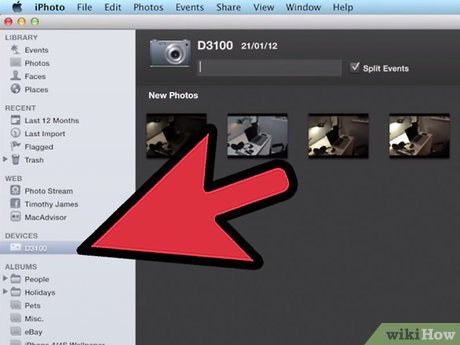 Select the device you want to get the photos from. On the left menu panel of the open iPhoto window, click the name of the device where you're going to import the images from. The contents of the device will then be displayed on the main iPhoto window.
 -
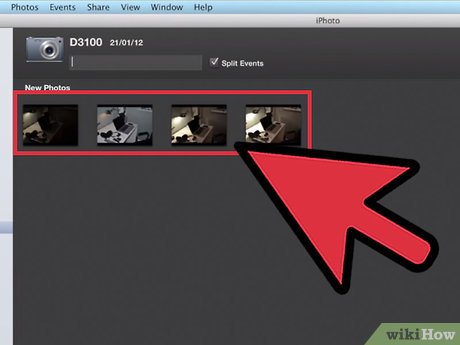
 Select the photos you want to import. Click the thumbnails of the pictures that you want to put into the iPhoto gallery.
 -
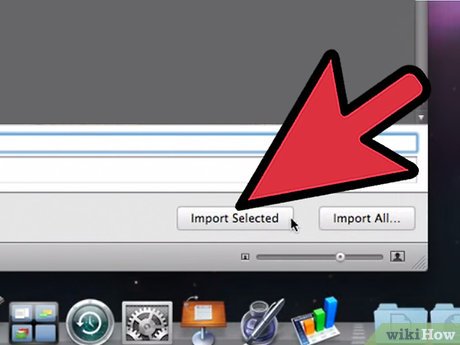 Import the photos. Once you've chosen all the pictures you want to copy, click the 'Import Selected' button on the top right-hand corner of the window to start the importing process. This will take a few seconds to several minutes depending on the number of photos you want to copy.
- After the process is complete, you may now edit, print or share these photos straight from the iPhoto app.
Was this article helpful?
Your feedback helps us improve.
Related Articles
 How to move your iPhoto library to the Photos app on your Mac.3 minutes read
 How to Shrink a Photo in iPhoto4 minutes read
 How to prevent iPhoto from starting automatically?2 minutes read
 How to Crop Images in iPhoto1 minutes read
 Backup iPhoto photo library3 minutes read
 Instructions for using AirPlay Mirroring in Mountain Lion5 minutes read
Reader Comments 0
Sign in with email or Google to join the discussion.