How to Shrink a Photo in iPhoto
Photos can take up a lot of space on your hard drive and in your phone. In order to save space on your devices, it is often recommended that you shrink or compress the size of these files and the easiest way to do so is in iPhoto. Open the....
Method 1 of 2:
Resizing by Exporting
-
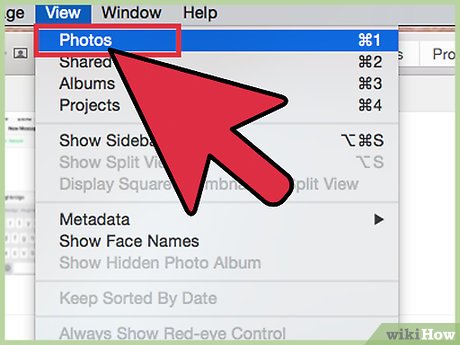 Open the photo you wish to compress. Open iPhoto from your Finder and then select the photo you want to shrink. If the photos are not yet saved in iPhoto, go to "Import" under "File." From here you can select the file or folder that you wish to shrink. Once they have been successfully imported, they will display in the right-hand window of iPhoto.
 -
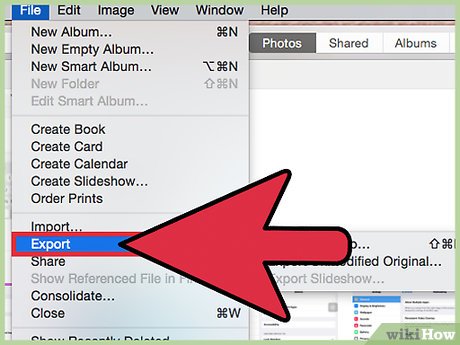 Export your photos. Under "File" select "Export." While it may feel strange to export the files you just imported, this is the easiest way to resize your photos.
- A nice shortcut to export your photos is ⇧ Shift+⌘ Command E simultaneously.
-
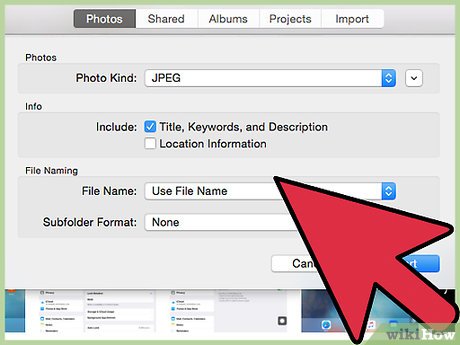 Wait for a window to appear. The window will be entitled "Export Photos" and it is from here that you will be able to compress them.
 -
 Select a size. You can select from the size options, but for most purposes, 40 to 60KB is convenient. To do this, select "Medium" under "Size." If you are really trying to save space, you may want to change the size to "Small," but this will greatly reduce the quality of the images so it is not recommended.[1]
 -
 Select "Export." Once you have resized and exported your photos, you can choose where you would like to save them. You can choose wherever you like, but for simplicity, it is best to save them to your desktop.
 -
 Import the newly sized photos. You can now go back to iPhoto, select "Import" again, and then choose your photos from the desktop.
Method 2 of 2:
Shrinking through Mail
-
 Open the photo you wish to compress. Open iPhoto from your Finder and then select the photo you want to shrink. If the photos are not yet saved in iPhoto, go to "Import" under "File." From here you can select the file or folder that you wish to shrink. Once they have been successfully imported, they will display in the right-hand window of iPhoto.
 -
 Share your photo. At the bottom of the window in iPhoto, there is a share icon that looks like a square and an arrow. Click on this icon. Select "Email" from the menu that appears.[2]
 -
 Resize your photo. When you choose to email the photo, you will have the option of resizing the image. Select "Medium" under "Size." If you are really trying to save space, you may want to change the size to "Small," but this will greatly reduce the quality of the images so it is not recommended.
 -
 Send the image. You can now send the image to yourself via email and then download the resized image from your email account.