Instructions for using Google Photos on Windows 10
In order to serve the needs of image backup, Google has brought users the tool dedicated to storing Google Photos images. With this tool, through a single account users can synchronize images on any device used, thereby accessing and using images anywhere and by any which method.
Recently, Google has continued to release a version of Google Photos for Windows 10 with new and more useful features. So how to install and use Google Photos on Windows 10 is different from other operating systems? Let's find out with the Network Administrator in the article below.
Step 1:
First of all, download Google Photos for Windows 10 according to the link below:
- Download Google Photos to your computer
Step 2:
Next, we proceed to launch the Google Photos file package on the computer. Appears the Google Photos Backup Setup interface . Here, we need to select I Agree to agree to the terms of Google Photos to install the software.

Step 3:
Shortly thereafter, Google Photos will proceed to install on the computer with a quick installation process, without many steps.

Step 4:
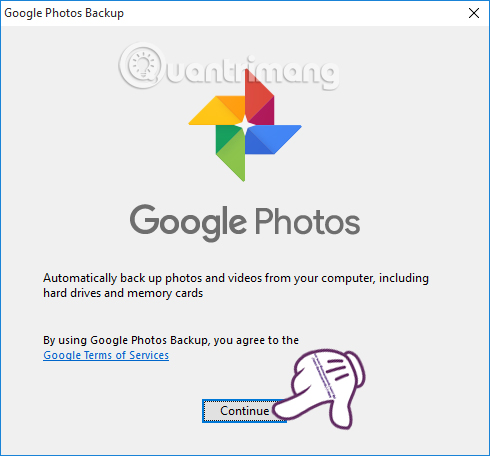
Next when the interface appears as shown below, we click Continue to continue.
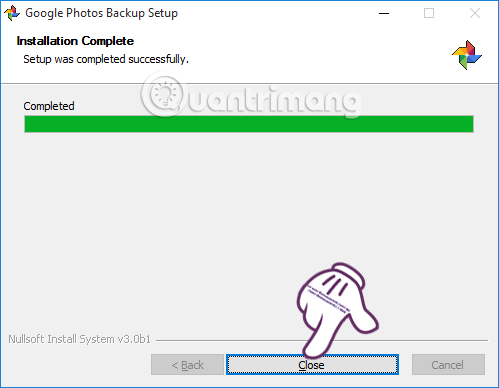
And finally click Close to end the installation of Google Photos on Windows 10 computers.
Step 5:
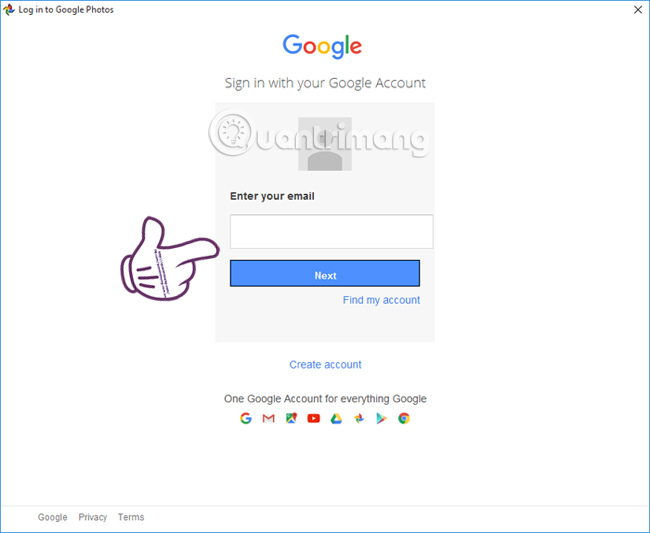
Appear your Google account login interface. Enter your email address and password and click Sign in to access.
Step 6:
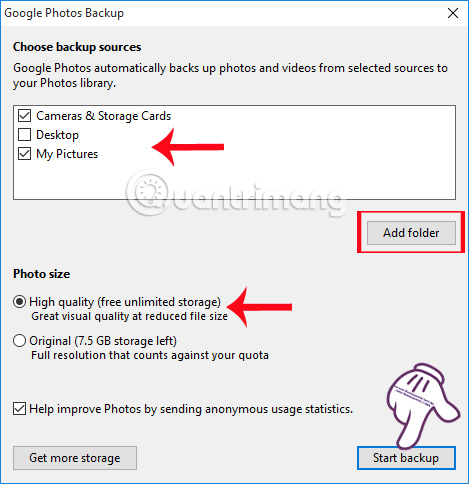
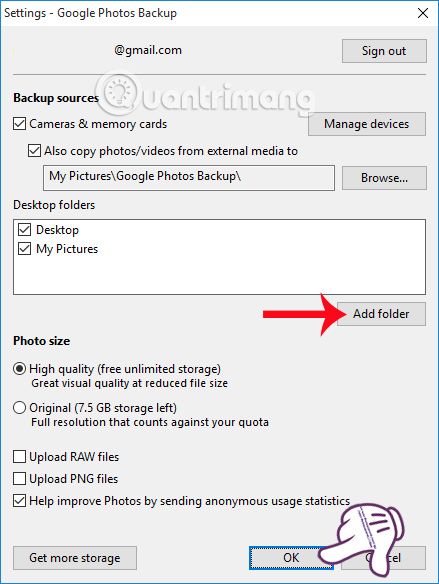
At the next interface, Choose backup sources section , users will have 3 folder options to backup image data from the computer to Google Photos server, including Cameras & Storage Cards , Desktop and My Pictures .
If you do not want to select these default folders, you can remove the checkmark. In addition to adding a photo folder, click the Add folder button below.
Part Photo size , select High quality to select the best quality image without limitation when backing up. Finally, when the setup is complete, we click Start Backup .
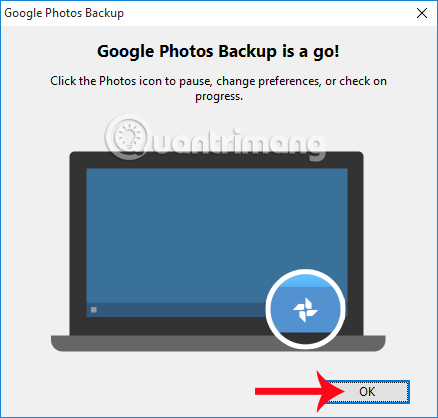
Click OK to proceed with the backup.
Step 7:
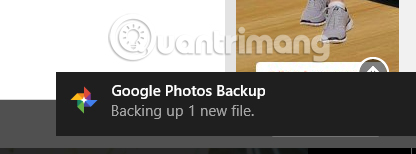
Google Photos will proceed to download images and data in the folders we have selected as soon as we set up the server.
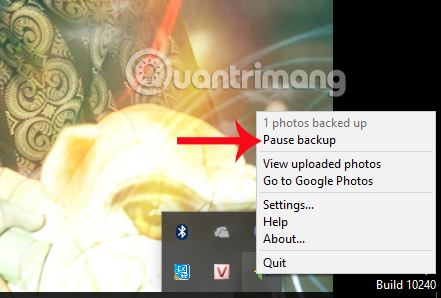
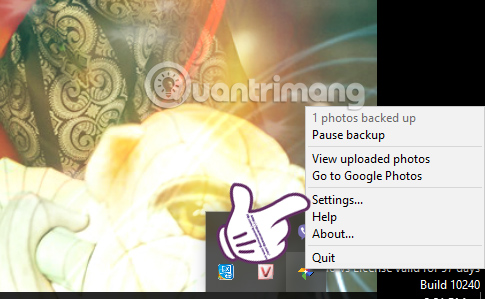
To pause this backup process , we right-click the Google Photos icon in the Taskbar , then select the Pause backup item. When you want to go back to the image downloading process , back up the data, you just need to click the Resume backup item to finish.
Step 8:
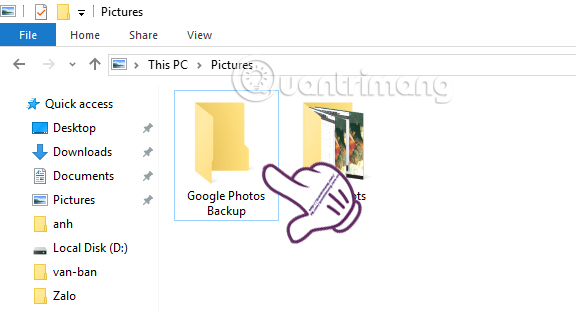
To find the Google Photos folder on your computer, go to Picture. The backup images will appear in this folder. We can move the images we want to upload to Google Photos into this section for direct backup.
Step 9:
To change some settings for Google Photos, right-click the Google Photos icon in the Taskbar and select Settings .
At this Settings interface, we can change some options and click OK to save.
With backup, sync photos and data to Google Photos will help users much more convenient during use. In particular, we can freely download unlimited images with sharp original image quality and change any customization with Google Photos Windows 10 if required.
Refer to the following articles:
- 10 tips to help you master Google Photos
- Use Google+ Photos to manage, edit and create photo sharing clips
- Instructions for storing online data on Google Drive
I wish you all success!
You should read it
- ★ How to save photos to Google Photos
- ★ How does Google Photos work? How to make the most of 15GB of free storage?
- ★ What can Google Photos Assistant do for you?
- ★ Instructions to install Google Photos for computers
- ★ Google Photos sends many private videos of some users to strangers due to technical issues