How to Make Your Word Document Stand Out with a Beautiful Table of Contents
A well-designed table of contents can set your entire document apart. Microsoft Word makes it easy to insert a table of contents. Then, with just a few simple design tweaks, you can make your table of contents really stand out.
1. Choose the right table of contents style for your Word document
The first step to creating a table of contents in Microsoft Word is to choose a style for your document.
To choose a style, go to the References tab and click Table of Contents . Word has several built-in styles, such as Automatic Table 1 or Automatic Table 2 and Manual Table (which is much more difficult!).

Choose from pre-made templates or choose a custom style by clicking Custom Table of Contents . Custom Table of Contents gives you more control over the design.
You can then control the font, alignment, leader lines (the dots between the heading and the page number), and how many levels of headings appear. To put the Table of Contents on its own page, insert page breaks before and after the table of contents by going to Insert > Break > Page Break .
2. Apply heading styles to enhance your table of contents
Tables of contents rely on heading styles (e.g. Heading 1, Heading 2) to create hierarchy. If you manually bold headings or increase the font size, the table of contents won't pick them up. So you should always use styles to format your Word document consistently so that the table of contents works automatically. Then, if the default heading styles look too plain, you can edit them.
Go to the Styles group and right-click a style (for example, Heading 2). Select Modify to change the font, size, spacing, or color. Then set your preferred Formatting .

Tip : Check New documents based on this template if you want to reuse your settings. Word will pick the new style and display the table of contents accordingly.
3. Add visual flair with images and formatting
There are many ways to format your table of contents. You can use images alongside your table of contents as images can speak a thousand words and are an easy way to grab attention.
Search online for a photo or illustration that fits the theme of your document. You can access Word's built-in image collection (from Insert > Pictures ). For something a little unique, check out some lesser-known free stock photo sites.
Arrange the images vertically. Many people prefer illustrations with decorative motifs that are easy to print. Finally, paste the images onto the index page. Don't worry about the layout, we'll arrange them step by step.

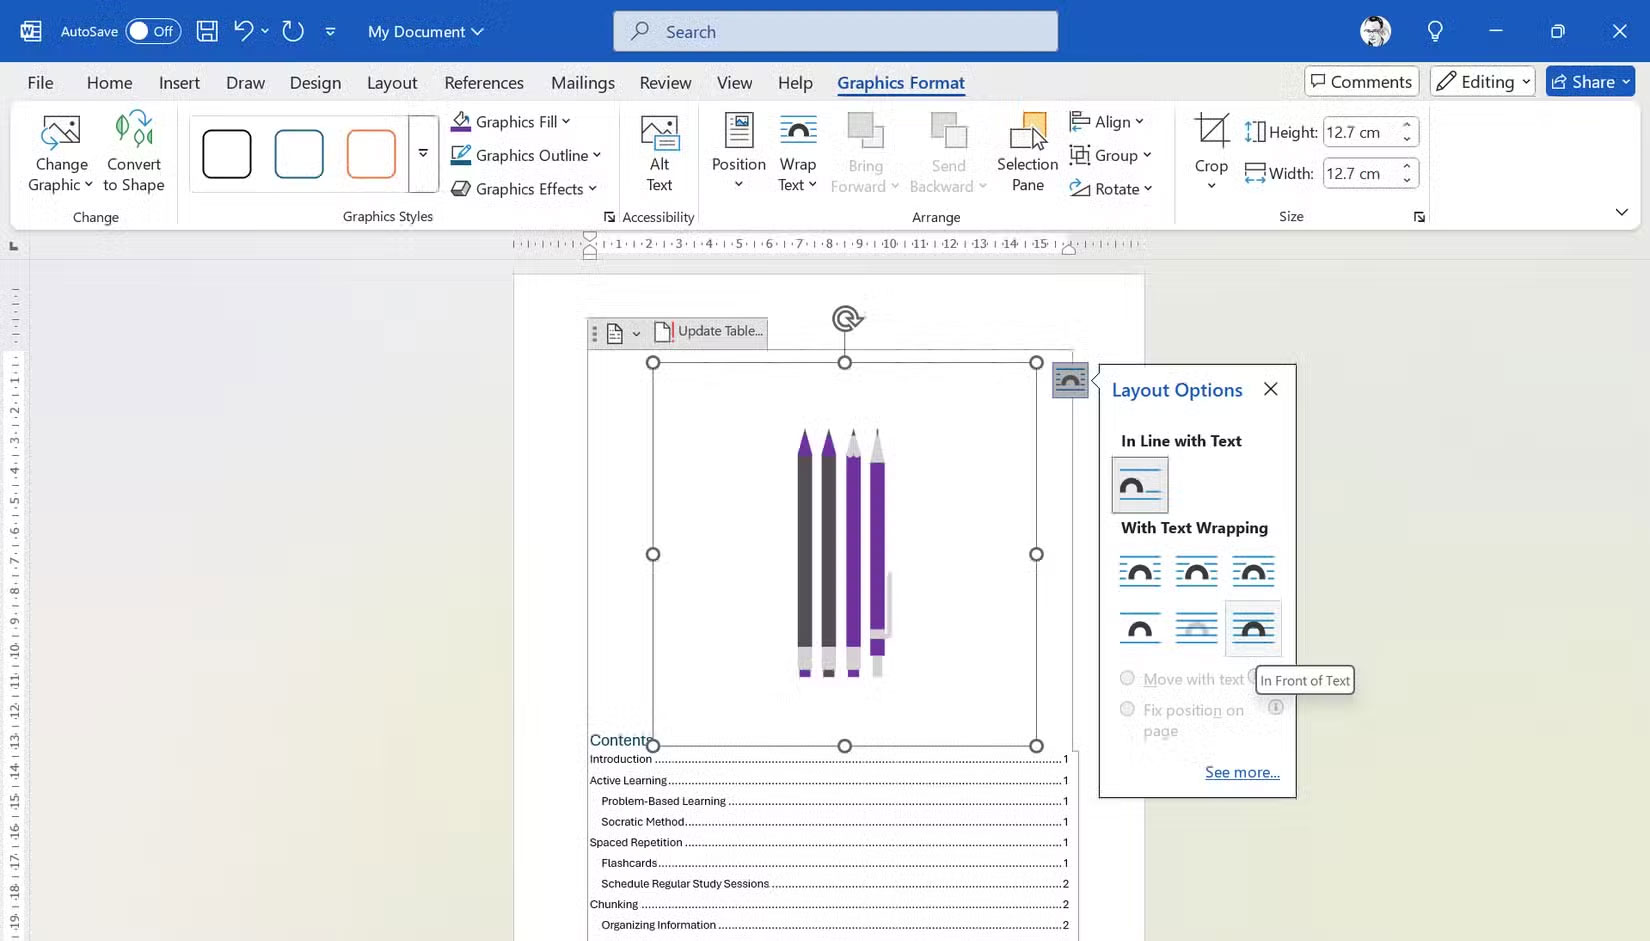
Select the Layout Options button (it looks like an arc) next to the image. Then, click the In Front of Text option in the lower-right corner. The image will now 'float' above the table of contents text, so you can easily move it around the page.
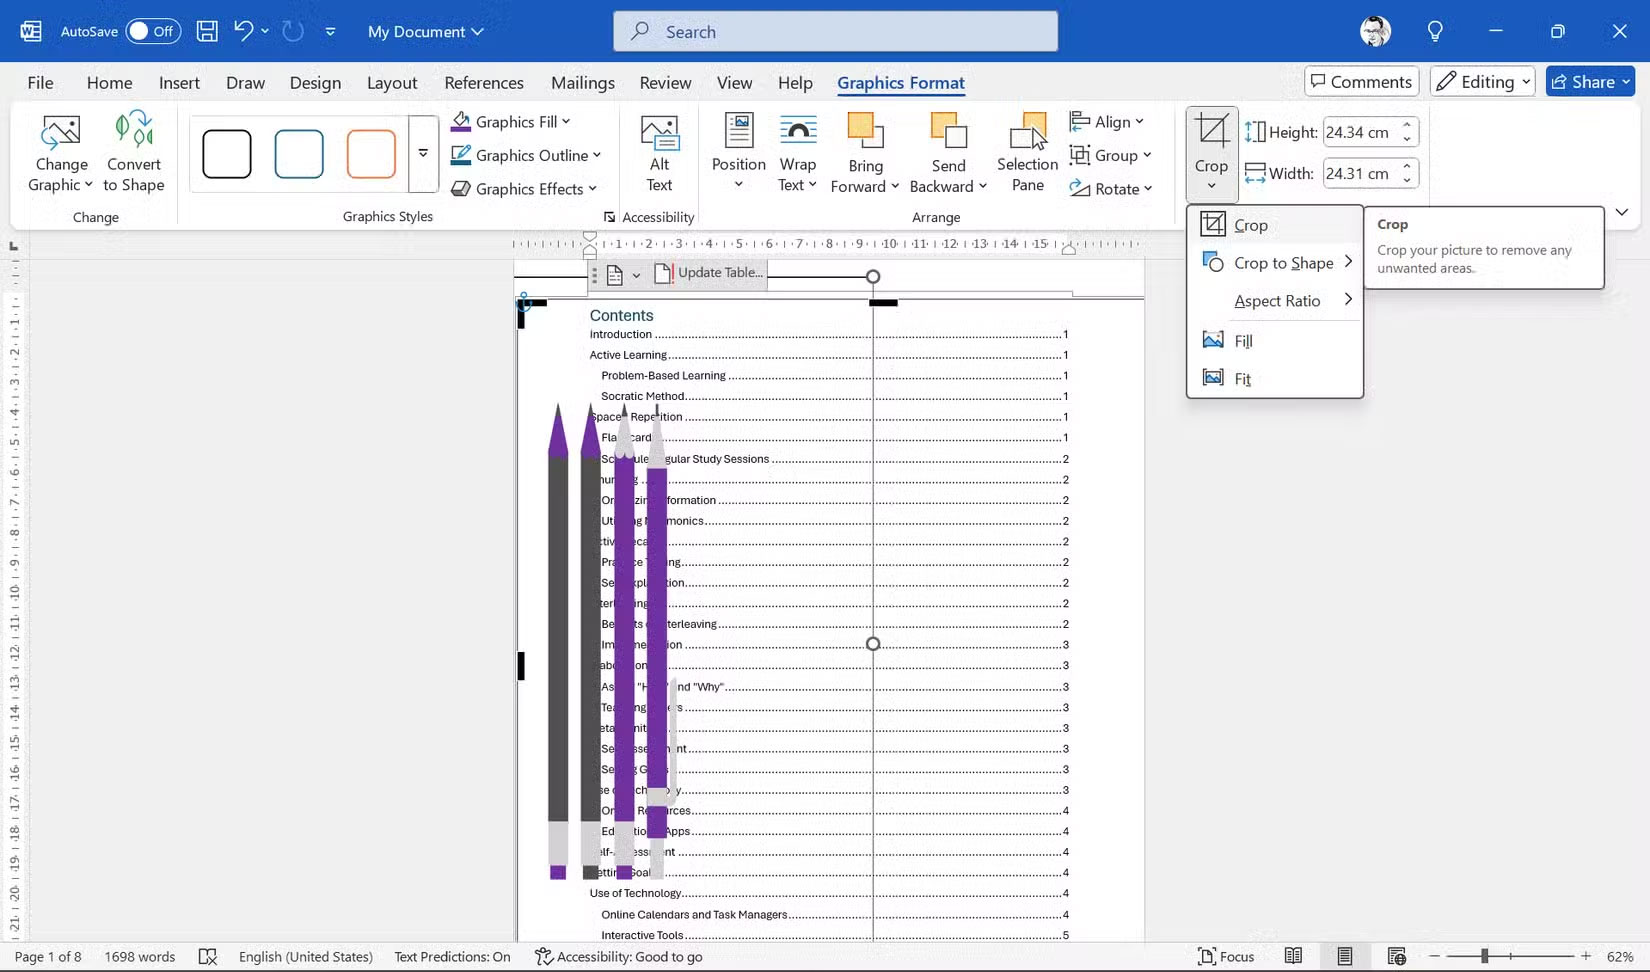
Drag the corners of the image and arrange it to cover the entire table of contents page. Go to Picture Format (or Graphics Format ) > Crop and crop out a portion of the image (as in the screenshot below). You'll need to make some creative decisions here depending on the nature of the inserted image and where you want it to be positioned.

If the table of contents is still obscured by the image, we'll adjust a few custom settings to perfect the design in the next steps.
4. Fine-tune with advanced customization
The final step is to move the table of contents text to the right. Since you have a good idea of where the images are, indenting the table of contents text should be easy. Click on the table of contents page (not on the images).
Go to References > Table of Contents > Custom Table of Contents .
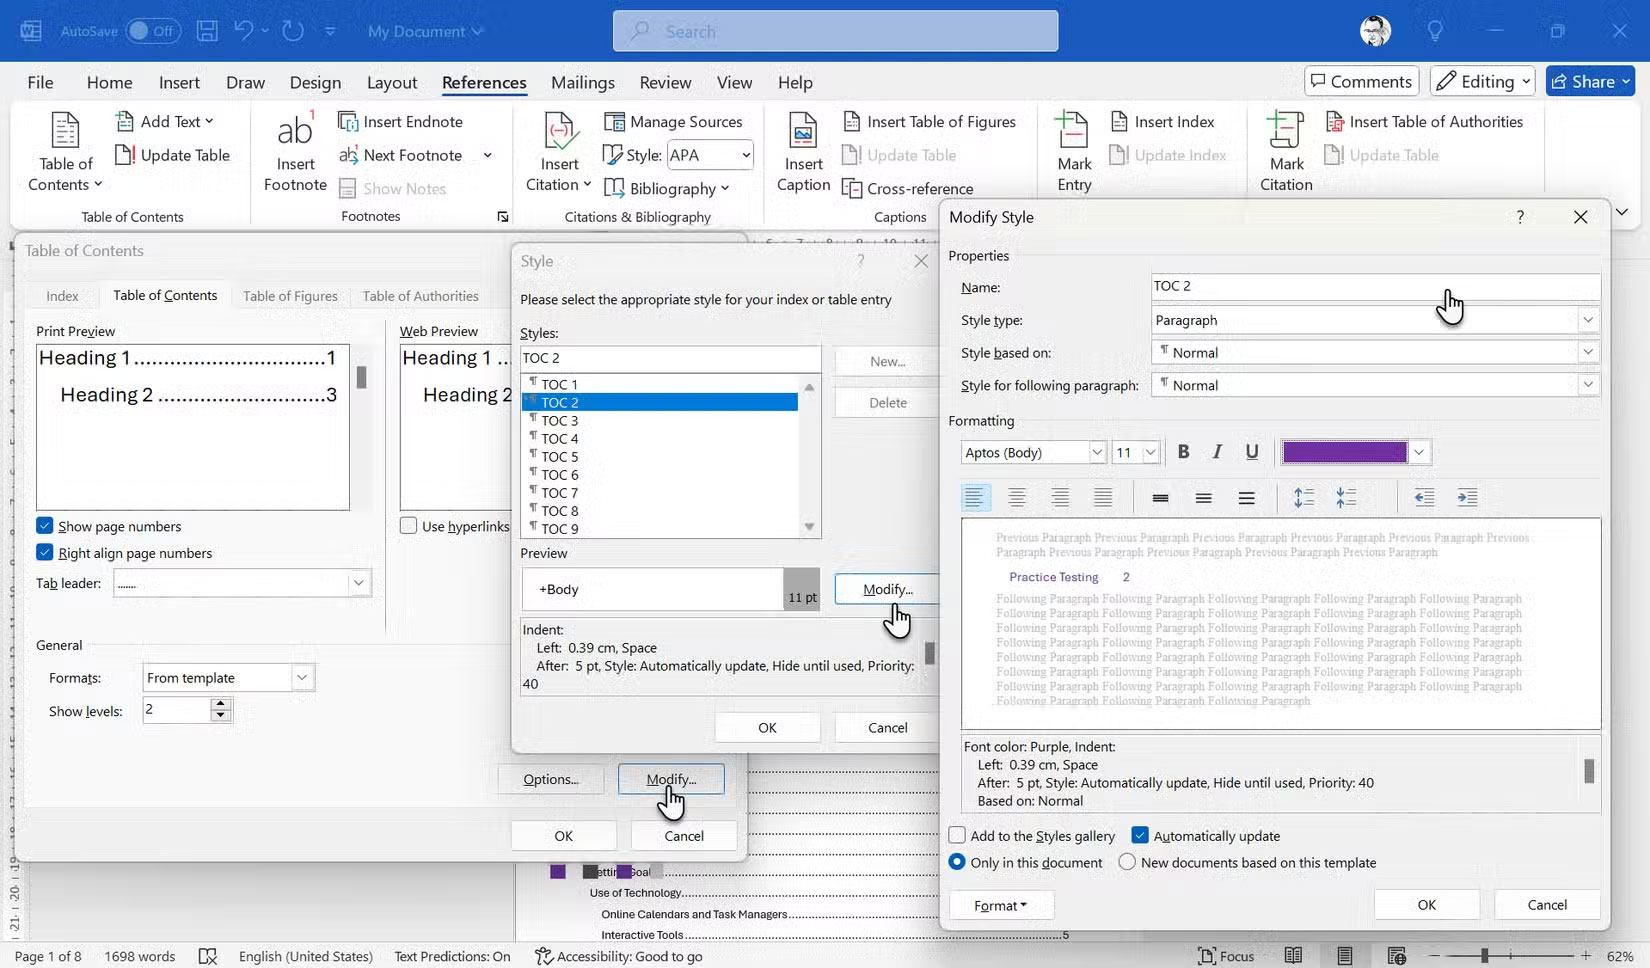
This is the dialog box that allows us to customize the table of contents as we wish. For example, you can change the number of levels to set the hierarchy of the headings. Or, use a specific tab leader style (lines leading to page numbers).
Click Modify . Use the Style dialog box to make custom adjustments for each heading level. TOC1. TOC2.TOC3 correspond to the style headings in the document.
You can choose a new or bolder font, use different colors or italics… you can make any creative choice. People often pick a color from an image and use that for the font.

Click Format . The Format menu displays more ways to customize the layout. To move the table of contents away from the image, select Paragraph > Indentation . Enter a number in the Left field to move the text. You must select each table of contents level and indentation separately.
Click OK several times to complete the changes and exit the dialog box.

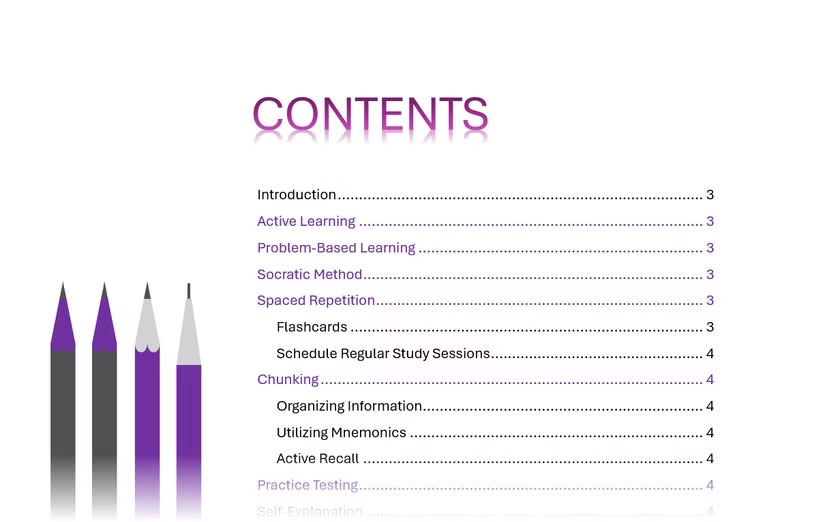
To finish, you can replace the default "Contents" title and insert your own title. Insert a Text Box above the table of contents and format the "Contents" title to make it more decorative. It's best to use the same font but in a larger size.
Align the text box with the table of contents. And that's it!

Tip : Don't overdo fonts and colors. Stick to a consistent theme that suits the nature and content of the document!
Once you've styled your table of contents, keep it up to date. Whenever you add or change a heading, right-click the table of contents and select Update Field . Select Update entire table to reflect the new headings and page numbers.
You should read it
- ★ Create automatic table of contents in Word for Word 2007, Word 2010 to Word 2019
- ★ Instructions for creating a table of contents in word 2007 and above and word 2003 fastest
- ★ How to make a table of contents in Word 2010
- ★ How to create automatic table of contents in Word 2016
- ★ How to create an image table of contents in Word?