How to Enable HDR Screenshot Color Corrector in Snipping Tool
When HDR Screenshot Color Corrector is enabled, Snipping Tool will automatically adjust the color of HDR screenshots to ensure more beautiful and vivid photos..
When taking screenshots on an HDR-enabled display, colors may appear washed out or inaccurate due to the difference in color processing between SDR and HDR. When HDR Screenshot Color Corrector is enabled, Snipping Tool will automatically adjust the colors of HDR screenshots to ensure a more vibrant and beautiful image. This feature is especially beneficial for creators and gamers who frequently work with HDR content. If you are using an SDR display, you should not enable this feature. Here is how to enable HDR Screenshot Color Corrector in Snipping Tool.
How to Enable HDR Screenshot Color Corrector in Snipping Tool
Step 1:
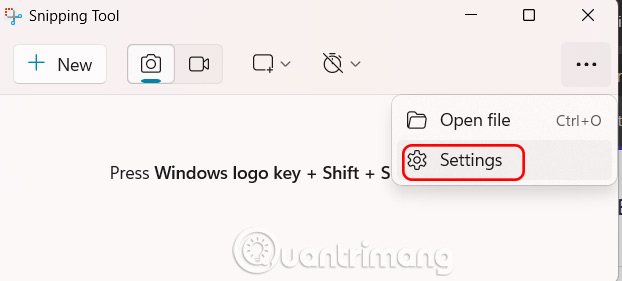
Open the Snipping Tool application, then click on the three horizontal dots icon and select Settings in the displayed menu.
Step 2:
Switch to the settings interface for Snipping Tool, we scroll down below and just turn on the HDR Screenshot Color Corrector option to use on Snipping Tool.

Step 3:
Next, update the Snipping Tool to the latest version. Next, open the Snipping Tool to take a screenshot of your HDR content on your computer. The tool will automatically apply color correction to ensure the screenshot looks the way you want it to.