How to create word art in Word
Sometimes reading plain text is just a simple font that will be boring and not create accents in your text. Therefore, I introduce to you the tool for inserting artistic words in Word..
Sometimes reading plain text is just a simple font that will be boring and not create accents in your text. Therefore, I introduce to you the tool for inserting artistic words in Word.
1. Insert image
Select photos on the computer
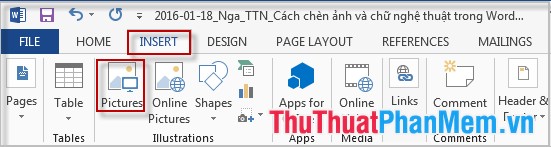
Step 1: Click the Insert tab -> Pictures .
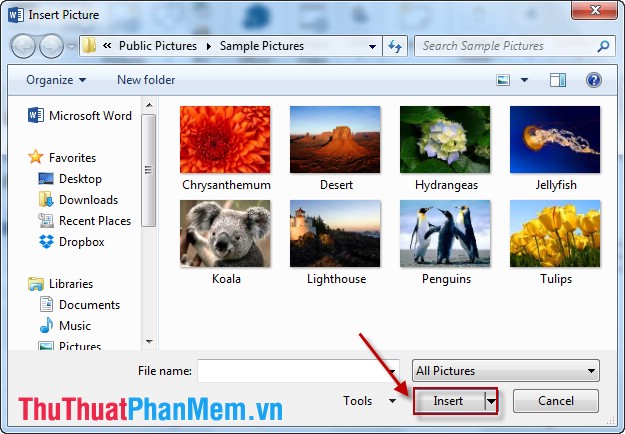
Step 2: A dialog box appears -> Select the path to the image you want to insert -> Insert .
Choose a picture Online
In addition to the image selection feature on Office 2013 computers, users can choose images online.
Step 1: Click the Insert tab -> Picture Online .

Step 2: A dialog box appears -> type the name of the image you want to search -> Insert .

Edit photos after inserting
Click the image to display Picture Tools Format -> You can resize the image, the type display border .
2. Insert word art
Step 1: Click Insert -> WordArt .
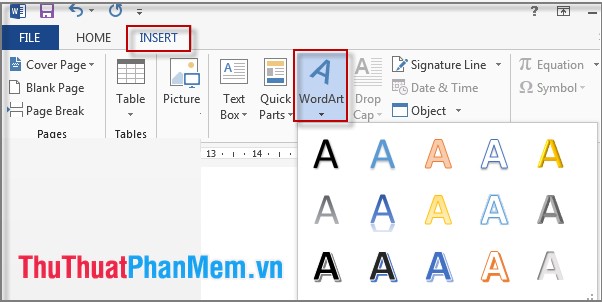
Step 2: Type the word to create word art.
Step 3: Edit word art.
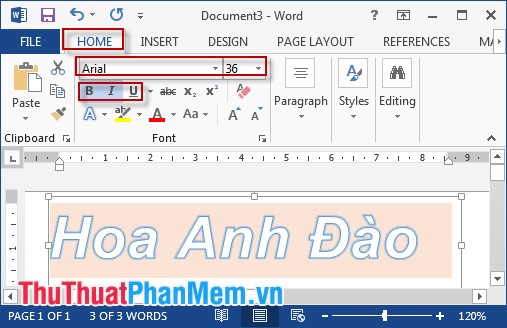
1. Change the font size and font
- Select Tab Home to change the font and font size as shown:
2. Change the WordArt Style
Select the Format tab to change the font style.

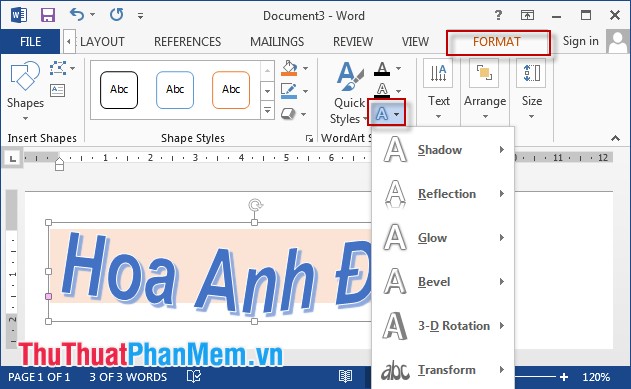
3. Create effects for artistic words
Select the Format tab -> click the small letter A below => Transform and choose the effect you like.
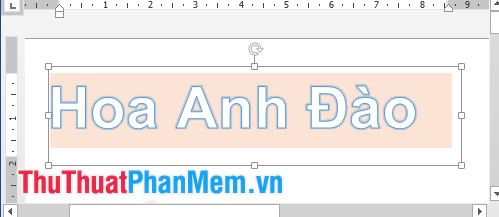
Results after inserting pictures and text art:

Good luck!