MS Word - Lesson 3: Customize the Word environment
Word 2007 provides a customizable area that allows you to create better Word documents. To see the basic options you do the following:
Table of Contents
Custom area create Word document
• Click the Office Button .
• Select Word Options .
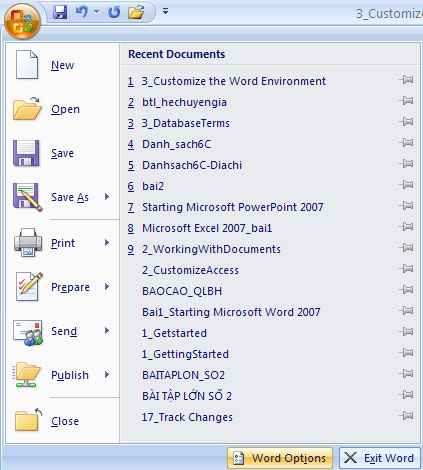
Figure 1: Word Options
Popular
These features allow you to define the working environment with custom languages, color schemes, user names and allow you to access the Live Preview feature. The Live Preview feature allows you to preview the results of the design and format of changes within the document.
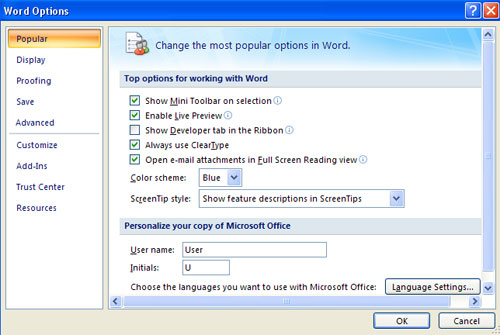
Figure 2: Popular feature
display
This feature allows you to edit the document content displayed on the screen and printed. You can choose to display or hide the page element.
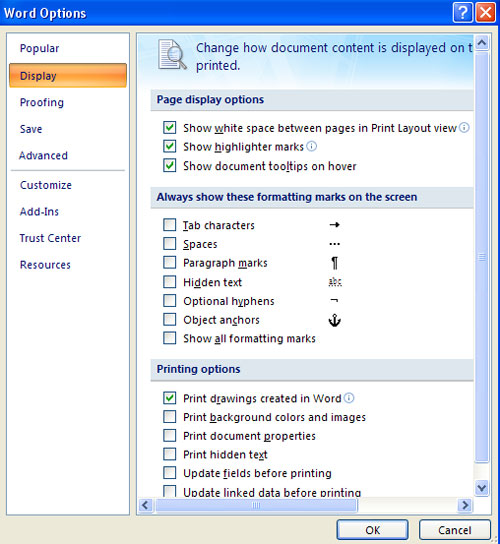
Figure 3: Display feature.
Proofing
This feature allows you to accurately identify words and format text. You can customize the settings automatically and ignore some words or errors in the document.
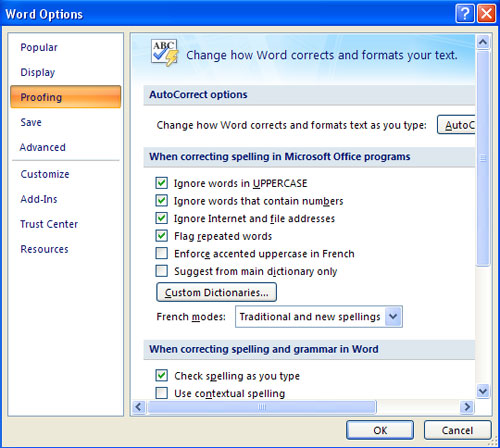
Figure 4: Proofing feature
Save
This feature allows you to determine how documents are saved. You can define how to save automatically to execute and where you save the document.
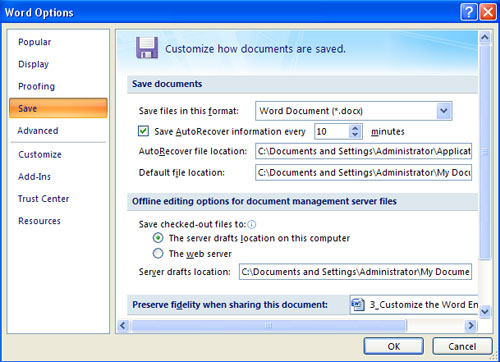
Figure 5: Save feature
Advanced
This feature allows you to specify options for editing, copying, pasting, displaying, printing and saving documents.
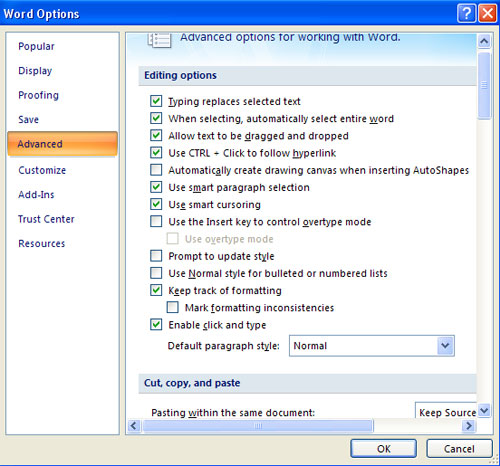
Figure 6: Advanced feature
Customize
This feature allows you to add features to the Quick Access Toolbar. If there are tools you use regularly, you can add them to the Quick Access Toolbar.

Figure 7: Customize feature.
Set up the Word environment
Before you start creating documents in Word, you may want to set up a Word environment and familiarize yourself with some of the main tasks like minimizing and enlarging Ribbon, configuring Quick Access Toolbar (Quick access toolbar). , display ruler, use Word Count and Zoom tools.
Zoom out and enlarge Ribbon
- Right-click anywhere in the main menu.
- Select Minimize the Ribbon in the menu that appears. This will enable and disable the Ribbon.
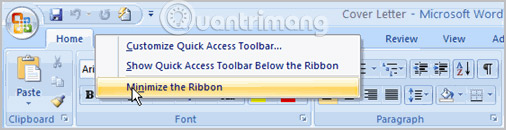
Select Minimize the Ribbon to indicate that the feature is active.
The new Tab ribbon system replaces the traditional menus in Word 2007. It is designed to meet your current task and is easy to use. However, you can choose to minimize the Ribbon if you want to use different menus or shortcuts.
Add commands to the Quick Access Toolbar:
- Click the arrow to the right of the Quick Access Toolbar .
- Select the command you want to add from the drop-down list. It will appear in the Quick Access Toolbar .

Save, Undo and Redo commands appear by default in the Quick Access Toolbar. You can add other commands for specific Word features to make it easier to use, if desired.
Show or hide the Ruler
- Click the View Ruler icon in the scroll bar.
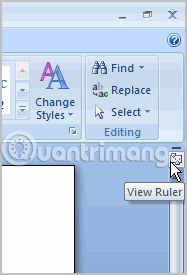
The View Ruler icon acts as a toggle button to enable and disable the Ruler tool.
Practice!
- Open Word 2007 on your computer. A new blank document will appear on the screen.
- Make sure your Ribbon is enlarged.
- Display Ruler.
- Add any command you want to the Quick Access Toolbar.
- Close Word without saving the document.
Next article: MS Word - Lesson 4: Editing a Word document
Was this article helpful?
Your feedback helps us improve.
Related Articles
 Explore the MS Word toolbar7 minutes read
 10 ways to customize Word 201010 minutes read
 5 install Microsoft Word you should customize12 minutes read
 Customize toolbars in Word3 minutes read
 Set up the working environment in Word4 minutes read
 MS Word - Lesson 15: Numbering at the beginning of lines5 minutes read
Reader Comments 0
Sign in with email or Google to join the discussion.