Table of Contents
This practical guide explains how to change user account picture in windows 11 with clear steps and useful context. It also covers common requirements, potential problems, and the details that can help you get better results.
How to Change User Account Picture for Local Account
If you sign in to Windows 11 without a Microsoft account, your user account is a local account. That account will have the default Windows 11 generic profile picture unless you choose to add a custom image. You can change your user account picture in Settings as follows:
Step 1. First, add the appropriate account profile picture to a folder on your PC.
Step 2. Launch Settings (press Win + I) and select the Accounts tab.
Step 3. Click Your info to view account options.
Step 4. Click the Browse files button.

Step 5. Then, select the account image from the folder where you saved it.
Step 6. Click the Choose picture option.
You should now immediately see an image of the newly selected user account in Settings and on the Start menu. Sign out of Windows to see it on the login screen. Note that selecting a new profile picture via Settings will also change your Microsoft account picture, if you sign in to Windows with an MS account.
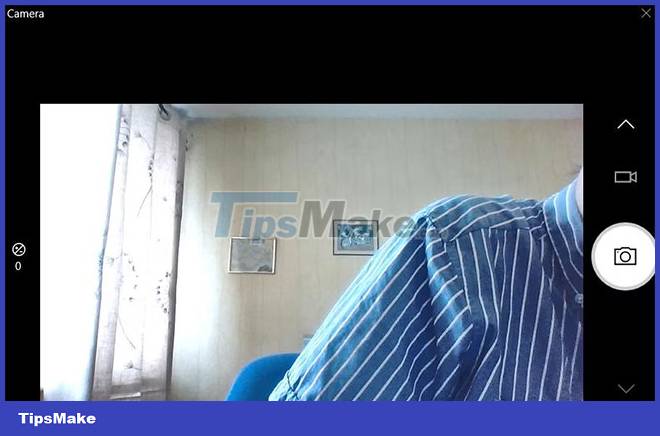
Alternatively, you can choose to take a picture of yourself as your account photo using your PC's camera. Pressing the Open Camera button will bring up the Windows 11 built-in application for taking pictures. Then hit the Take Photo option in the camera and select Done to apply the changes.
How to Change the User Account Picture for a Microsoft Account
Windows 11 shows the user's Microsoft account picture to people who sign in with their MS account. Those users can change their Windows user profile picture through MS account settings. The profile picture you choose for your MS account will show up in all apps used with it.
Here's how to change your PC's user profile picture in a Microsoft account:
Step 1. Save the user image file on your PC or capture a file using the Camera app.
Step 2. Open the Microsoft account page in a web browser.
Step 3. Sign in to your Microsoft account if not already done.
Step 4. Then click the Your info link at the top of the page.
Step 5. Click the Add a Photo button.
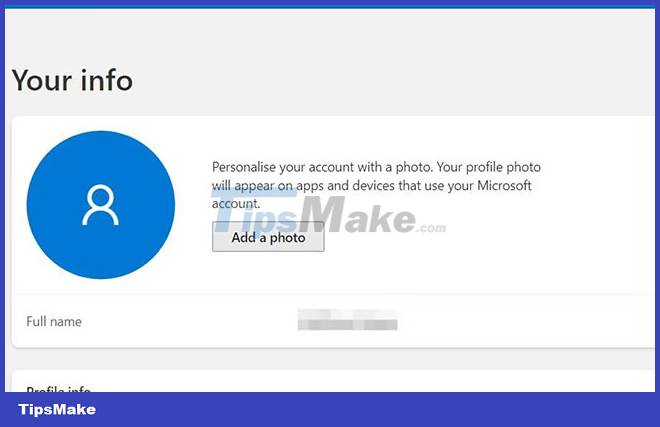
Step 6. Select the Add a Photo option.
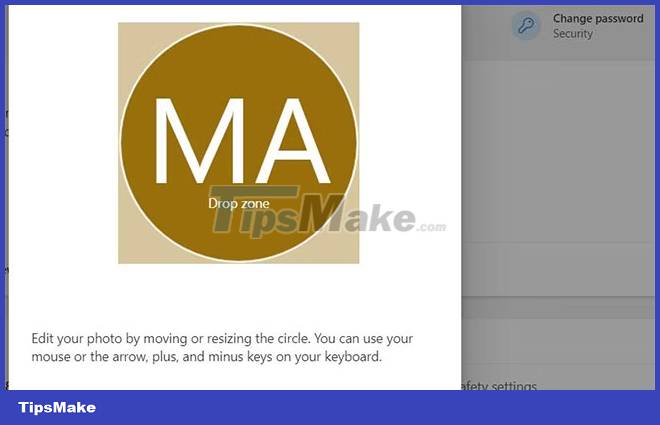
Step 7. Then, select the image for your Microsoft account in the folder you saved it to.
Step 8. Click Open in the folder navigation window.
Step 9. Drag the image to position within the circle of the preview box.
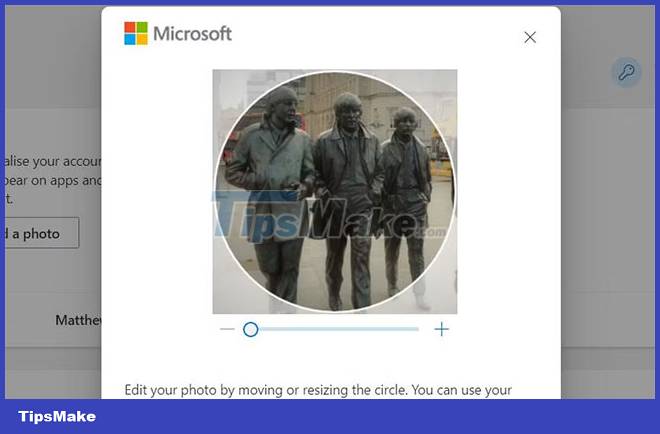
Step 10. Click the - and + buttons to zoom in or out of the photo.
Step 11. Click Save to add a new image.
How to Change the Default User Account Picture of Windows 11
Without setting any custom local user account picture, you will see the default blank avatar profile picture in Windows 11. However, you can change the default Windows 11 account picture to another image of your choice. There aren't any built-in options available to change it, but you can change the default images in the User Accounts Pictures folder. Windows will then display the new default user account picture in that folder.
First, you'll need an alternate profile picture to add to that folder. You can find a lot of suitable images on the IconArchive website. Enter the user account image in the search box there, then select an alternate profile picture; click the Download PNG option and right click on the image to choose Save As. Choose a folder for the images and click Save to download.
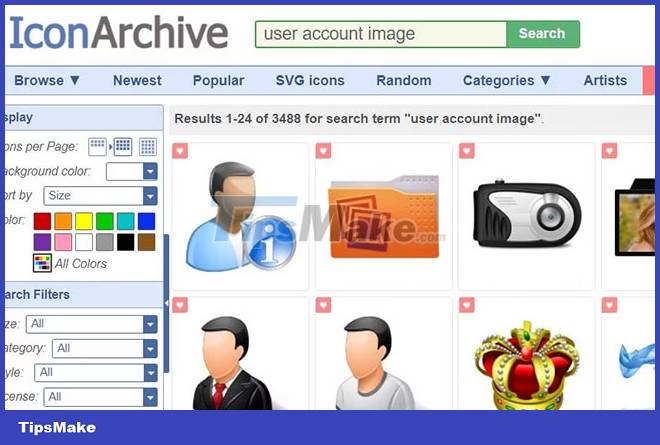
Profile images downloaded from IconArchive will have a default size of 256 x 256 in pixels. You will need to make 5 resized copies of that image with different sizes. Those images must be resized, and saved with the following pixel sizes and filenames:
- user-32.png – 32 x 32
- user-40.png – 40 x 40
- user-48.png – 48 x 48
- user-192.png – 192 x 192
- user.png – 448 x 448
You can resize profile pictures using Windows 11's MS Paint application. This guide to resizing pictures in Microsoft Paint includes complete How to do it. Once you've changed the image to the right size, click File > Save as > PNG Picture. Then, enter a file name for the size specified in the list above, select a folder, and click the Save option.
Once you've done all that, you'll need to move those PNG files into the User Account Pictures folder. You will also need to move the original PNG files to another folder if you want to keep them. Here's how you can move PNG files into that folder to change the default user account picture:
Step 1. To open the file manager of Windows 11, click the button with the folder icon on the taskbar.
Step 2. Next, open the C: ProgramDataMicrosoftUser Account Pictures folder shown directly below by typing that path into Explorer's address bar.
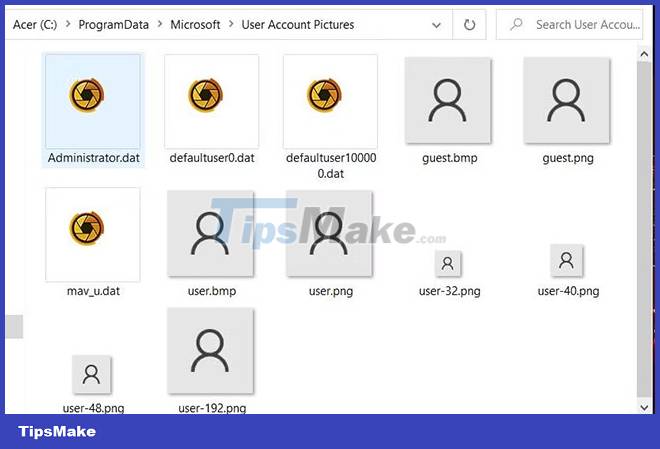
Step 3. Move the user-40.png, user-48.png, user-32.png, user.png and user-192.png files out of that folder by left clicking on them and dragging them in Pictures folder on Explorer sidebar.
Step 4. Then, drag and drop the user-32, user-40, user-48, user-192 and new user PNG image files that you set up in Paint to the User Account Pictures folder.
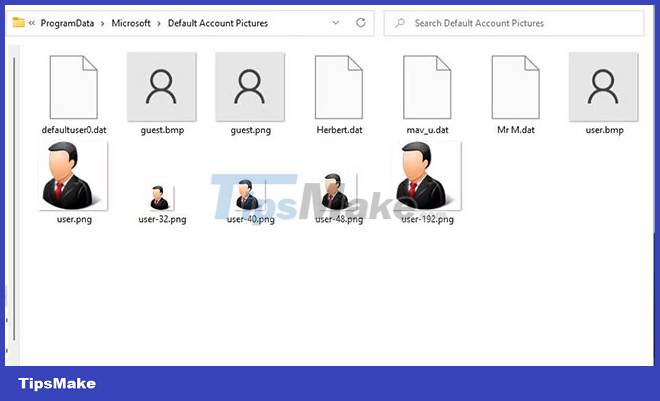
Step 5. Restart Windows 11 to apply the change.
You should now see your new default user account picture on the Start menu, in Settings, and elsewhere in Windows 11. That default user profile picture will be applied to all Windows accounts on your PC. without a custom set of images.
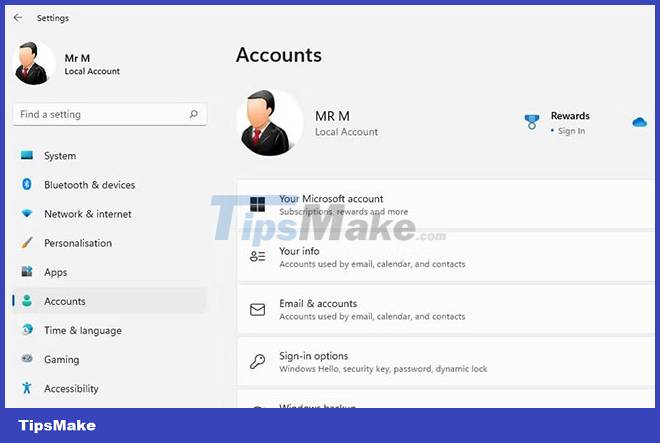
You can restore the original default profile picture by moving the new picture you've added out of the User Account Pictures folder, or deleting the files. Then move the original PNG files back to that folder.
An alternative to preserving the original profile files is to change their extension to BAK. You can change those extensions by right-clicking on them and choosing Rename. Note that File Explorer's name extensions option also needs to be selected to modify the extension. The files after changing will be:
- user-32.bak
- user-40.bak
- user-48.bak
- user-192.bak
- user.bak
Modifying the extensions of those files will prevent new PNG images from overwriting them when moved into the same folder. You can then restore the original default profile picture by deleting the new image in the User Account Pictures folder and changing the BAK file back to PNG format.
In addition, you can also change your Windows 11 account photo into an animated video.
Changing the Windows user account picture to a picture of your choice using those methods will make it easier to identify. You'll instantly be able to recognize your account with a custom image you've added. Custom images will also give your account a more personal touch.
Conclusion
Understanding Windows 11 makes it easier to compare options, avoid common mistakes, and apply the information in this guide more effectively. Review the relevant requirements before making changes or choosing a solution.
FAQ
How do you change user account picture in windows 11?
Follow the steps in this guide in order, confirm the required settings or tools, and verify the result before making additional changes.
Is it safe to change user account picture in windows 11?
It is generally safe when you follow the recommended instructions, use trusted tools, and avoid changing settings you do not understand.
What should you do if the process does not work?
Recheck the requirements, restart the device or application when appropriate, and review each step for missed settings or compatibility issues.
Related Articles
 3 How to Change the User Account Picture on Windows 115 minutes read
 Click: How to Change a User Account Picture in Windows 104 minutes read
 Click: How to Change Your Profile Picture on a Mac Computer4 minutes read
 How to Change Your Account Picture, Avatar, Avatar on Windows 102 minutes read
 How to Delete Account Pictures in Windows 85 minutes read
 How to Change User Account Name in Windows 103 minutes read
Reader Comments 0
Sign in with email or Google to join the discussion.