How to Change a User Account Picture in Windows 10
Part 1 of 3:
Accessing the Account Settings
-
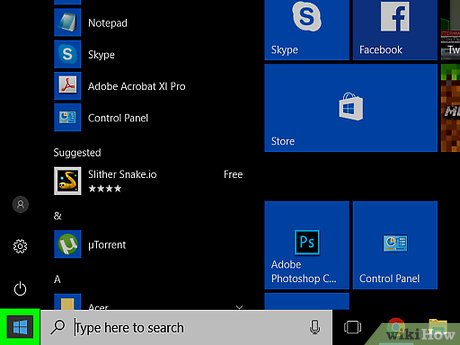
 Launch the Start menu. Click the Startbutton.
-
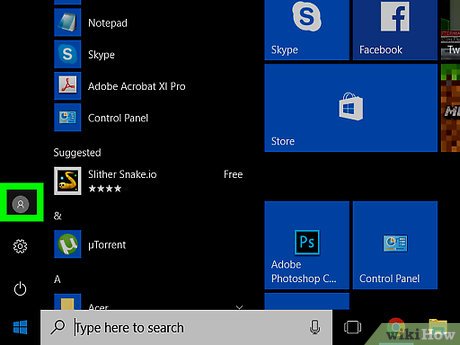
 Click your user profile icon. It's on the left side of start, towards the bottom above the File Explorericon.
- Older Windows 10 versions will have it at the top of the Start menu along with the account name.
-
 Choose Change account settings from the dropdown that appears. It's located at the top of the dropdown.
- You can also go to "Settings > Accounts > Your info".
- Now, skip to Method 2 if you want to use an existing picture. Skip to Method 3 if you want to take a new photo for use.
Part 2 of 3:
Using an Existing Picture
-
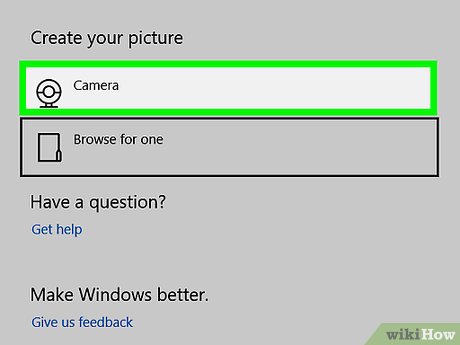
 Click "Browse for one". This option is located under the "Create your picture" header towards the bottom. It has a folder icon next to it.
 -
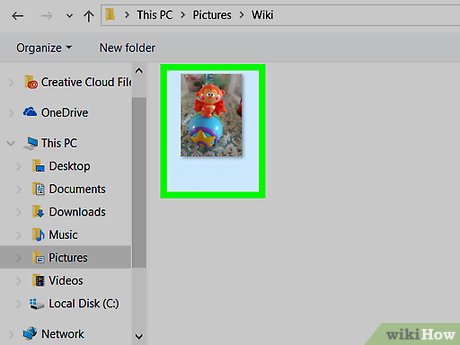
 Browse for a saved picture. The File Open dialog will open. Use the left pane to navigate around your computer.
 -
 Select a picture.
 -
 Submit it for use as an account picture. Click the Choose picture at the bottom-right of the dialog.
 -
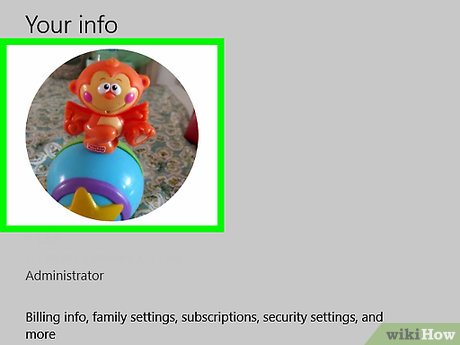
 Finished.
Part 3 of 3:
Taking a New Photo
-
 Click "Camera". This option is located under the "Create your picture" header towards the bottom. It has a webcam icon next to it.
 -
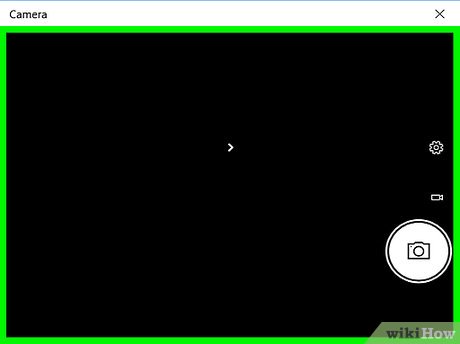
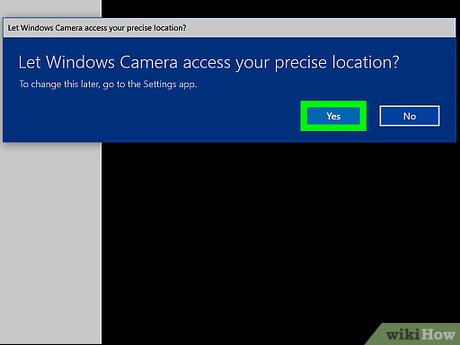
 Wait for the Camera app to open. The built-in Camera app will take a couple of seconds to launch.
 -
 Ensure you're switched to camera mode. Ensure that a big white camera button is located to the right. If not, click it from right below the existing button.
- Using a video as your avatar is pointless as it will extract and use the last frame from the video. Thus, taking a photo is simpler and more efficient.
-
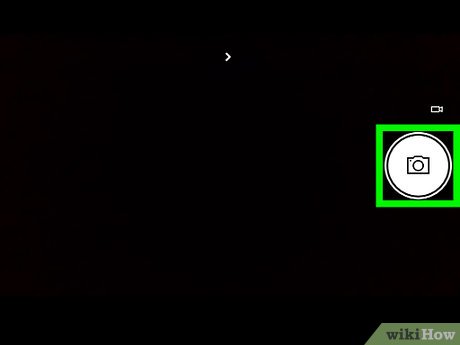
 Snap a photo. Click the big white camera button on the right side of the window.
 -
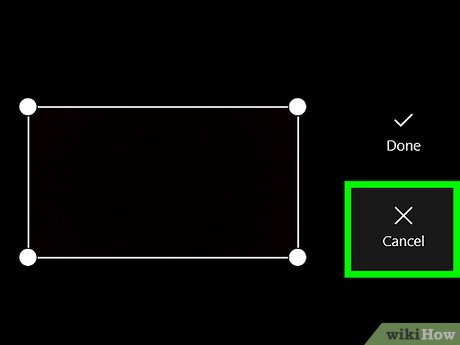
 Review the photo. Is it to your liking? If not, you can retake it by clicking the ✕ Cancel button to the right.
 -
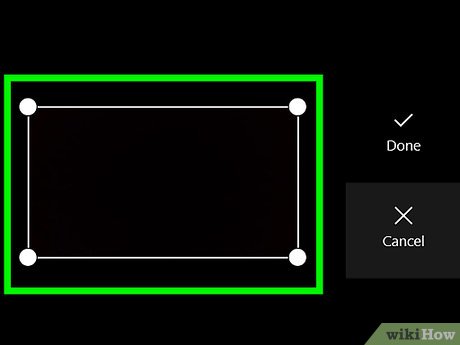
 Crop the photo (optional). Drag the edges of the white box around. Content placed inside of the box will be used as your avatar. While dragging, a white grid will show inside the box.
- Keep in mind that Windows automatically rounds the corners of user avatars. The outcome is that the very edges to be cut off. Customarily, previous Windows versions had a square user account pictures.
-
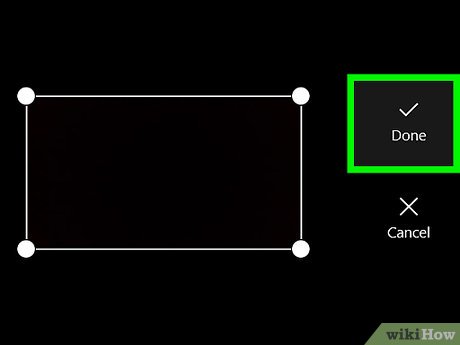
 Save the photo. Click the ✓ Done button to the right. It's right above the ✕ Cancel button.
 -
 Finished.
Share by
Samuel Daniel
Update 04 March 2020
