How to Delete Account Pictures in Windows 8
Your account picture in Windows 8 shows up on your lock screen and on certain Microsoft products, making it important to have an appropriate account picture. While stock Windows 8 users will have a relatively easy time deleting and....
Method 1 of 3:
Using Windows 8
-
 Open your computer's "Charms Bar". You can do this by moving your cursor to the top right corner of your screen, or you can hold down the ⊞ Win button and tap C. The Charms Bar is a quick-access preferences menu that will open from the right side of your computer's screen.[1]
 -
 Click the "Settings" option. This will bring up a list of your computer's settings options.
 -
 Click the "Change PC Settings" option. This will take you to your computer's settings menu.
 -
 Click the "Accounts" option. This will open your personal account settings.
 -
 Click "Your Account". This will take you to your account page, from which you can alter your account pictures.
 -
 Right-click an account photo. Make sure this one you wish to delete before proceeding.
 -
 Click "Delete", then confirm your decision. This will delete your account picture!
Method 2 of 3:
Using Windows 8.1
-
 Open "My Computer". On some renditions of Windows 8.1, this option will be labelled "My PC".
 -
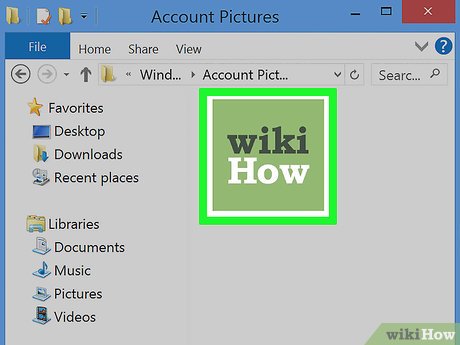
 Type "%appdata%MicrosoftWindowsAccountPictures" into the address bar. Exclude the quotes. The address bar is at the top of the "My PC" screen; it functions exactly like a URL bar in a web browser.[2]
 -
 Tap ↵ Enter when you're done typing. This will take you to the folder in which your account pictures are stored.
- If you can't access this folder, you may have to enable "View Hidden Folders". You can do this by opening the Start menu and typing "Folder Options" into the Search bar, then clicking the Folder Options folder. From here, click the option next to "Show hidden files, folders, and drives" under the "Hidden files and folders" subheading. Click "Apply" to complete the process.[3]
-
 Click the account picture you wish to delete. This will select it.
 -
 Tap Delete. Windows 8 will prompt you to confirm your decision here.
 -
 Click "OK" to finalize the process. Your account picture has now been deleted!
- You can change your default account picture at any time from within the "Your Account" menu. This is accessible from the Charms Bar.
Method 3 of 3:
Adding or Changing an Account Picture
-
 Open your computer's Start menu. You can do this by clicking the Start button in the bottom left corner of your screen, or you can tap the ⊞ Win key.
 -
 Click or tap your user tile. This should be in the top right corner of your screen; doing so will prompt a drop-down menu.[4]
 -
 Click "Change account picture". This will open your Account Picture page.
 -
 Review your options. You have a couple of different ways to change your account picture from here:
- Browse (beneath your current picture) - Locate a previous account picture or an unrelated photo on your computer.
- Camera (beneath "Create account picture" heading) - If your computer has a camera, you can take a picture by clicking this option and following your on-screen instructions.
-
 Click the option that pertains to you. If you click Browse, Windows 8 will open a window with your previous account pictures.[5]
- If you want to choose a photo from your Pictures app, click "Files" in the account photos window, then click "Pictures" when prompted.
-
 Choose a photo. If you've taken a photo with your computer's camera, click "OK" to upload it.
- Click "OK" once you've selected a photo from your library.
-
 Exit your Account Page. You have successfully changed your account picture!