Table of Contents
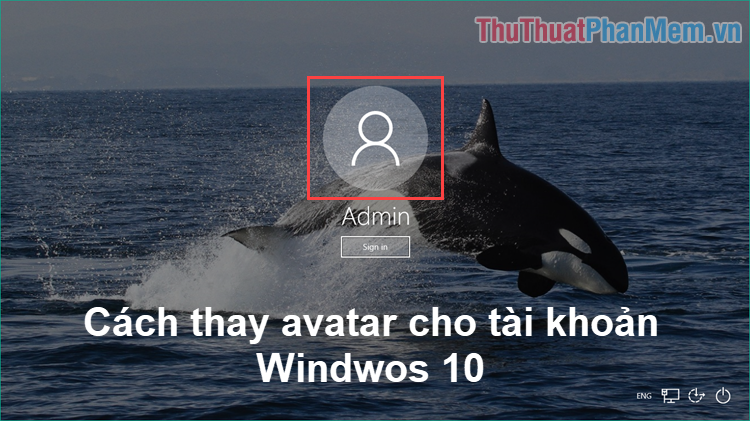
This guide explains how to change Your Account Picture, Avatar, Avatar on Windows 10, with clear steps, practical tips, and important checks before you begin.
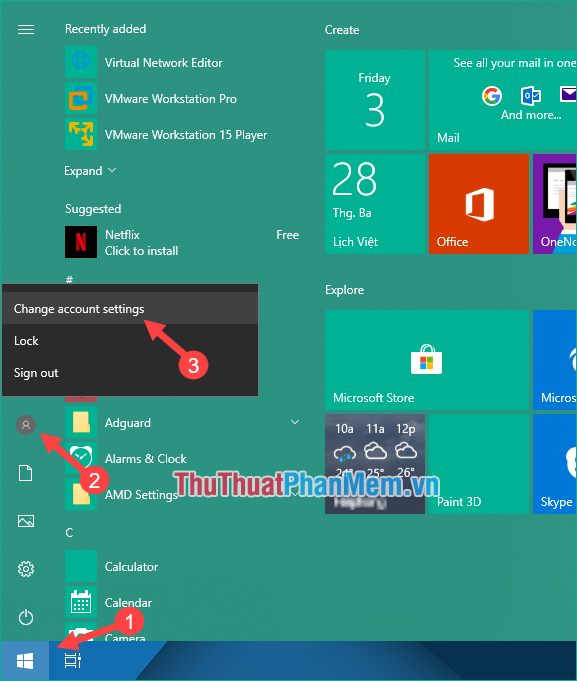
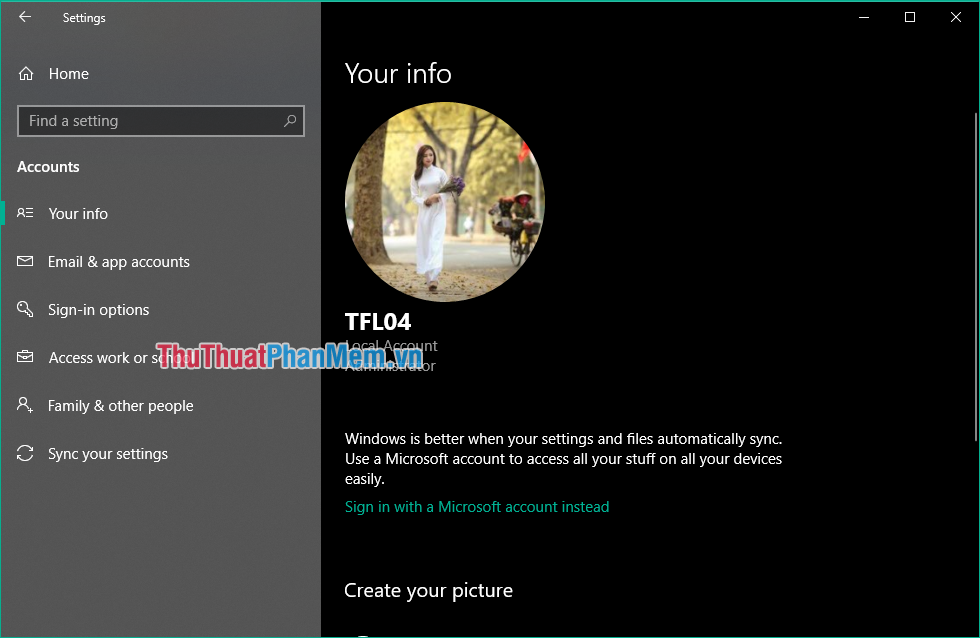
Step 1: Open the Start menu, then click on the account icon and select Change account settings .
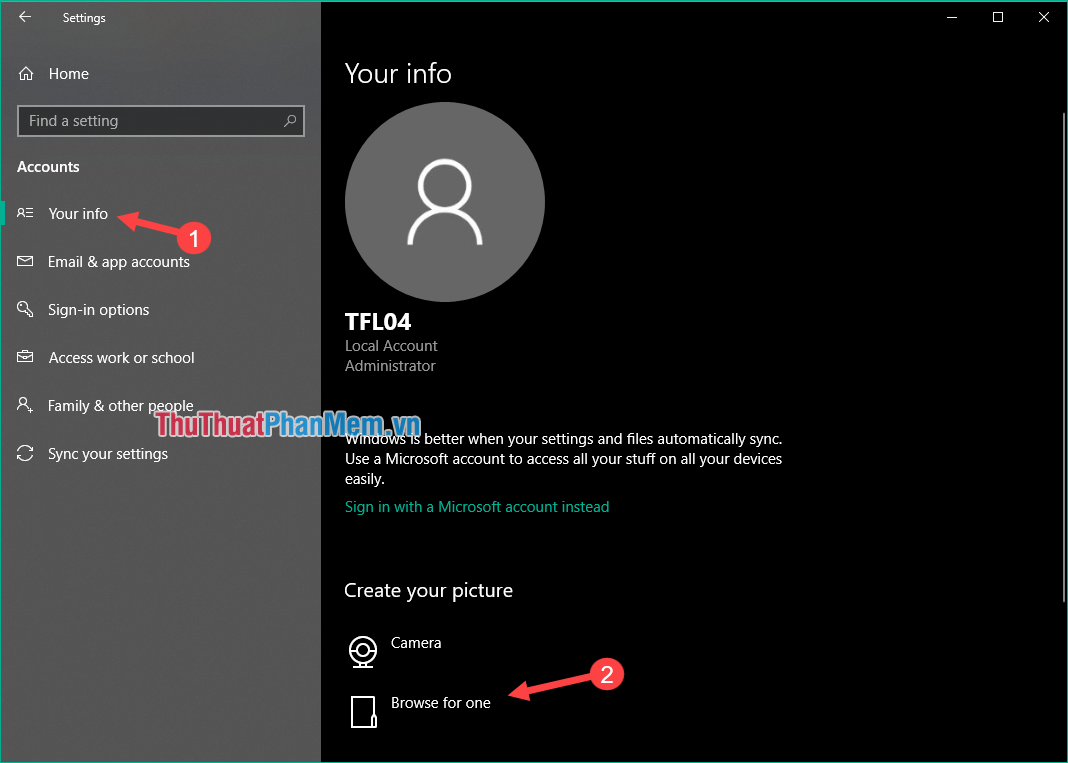
Step 2: The Settings window appears in the Your info section, scroll down to the Create your picture section , here we have 2 options. If your computer has a camera, you can choose Camera to take a avatar, otherwise choose Browse for one to select the image on your computer.
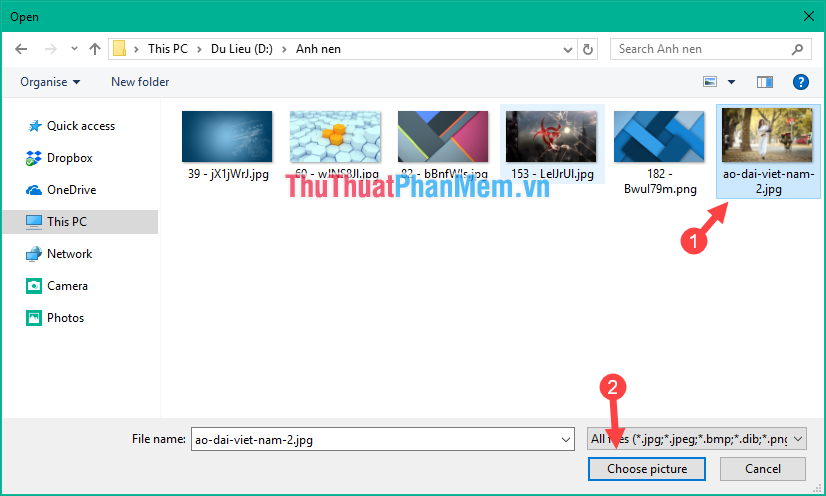
Step 3: Choose photos in your computer and click Choose picture to select photos.
Thus the avatar of the account has been successfully changed!
Thank you for watching!
FAQ
What should I know about Change Your Account Picture, Avatar, Avatar on Windows 10?
Focus on the key features, requirements, limitations, and practical use cases explained in this guide.
How do I get the best results with Change Your Account Picture, Avatar, Avatar on Windows 10?
Follow the recommended steps, use current software or information, confirm compatibility, and review settings before major changes.
Are there any risks or limitations?
Potential limitations depend on compatibility, data quality, cost, privacy, support, and how the product or method is used.
Related Articles
 Instructions to Change Threads Account Avatar3 minutes read
 Click: How to Change a User Account Picture in Windows 104 minutes read
 How to Change the Default User Account Avatar in Windows6 minutes read
 Instructions to Change Your Avatar on Windows 83 minutes read
 How to Change User Account Picture in Windows 119 minutes read
 Guide to Change the Avatar Facebook According to the Fans Team2 minutes read
Reader Comments 0
Sign in with email or Google to join the discussion.