Table of Contents
The following guide provides a clear overview of Figure, with the most relevant background, details, and practical takeaways.
Figure Overview
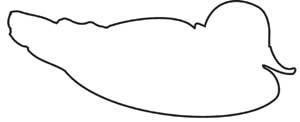 Figure 1
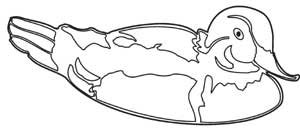 Figure 2
Step 2: Coloring - Coloring as much as you like, the mine part should be colored with cream and added color spots on the mine. After coloring, remove all black lines (Figure 3, 4).
 Figure 3
 Figure 4
Step 3: Draw the lake - Select the rectangle drawing tool ( Rectangle Tool ) to draw a rectangle. - Select the Fill Tool - Fountain Fill, paint from the light green to dark blue. - Attach the duck to the lake (Figure 5).

Figure 5
Step 4: Create movement of duck under water - Draw waves around the duck (Figure 6).
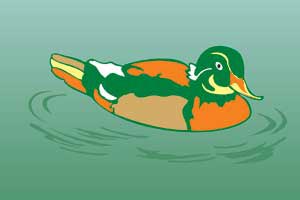
Figure 6
Step 5: Create more flocks - Select the new duck and wave created Group (select Object - Group ). - Click left mouse button to drag out and right click to create the second child. - Select the newly created duck, drag one of the 4 nodes in the 4 corners to get the smaller duck (Figure 7).
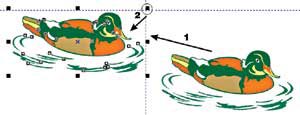
Figure 7
- Similar to the two steps above, we will create a flock of ducks. - We get the result as shown in Figure 8.
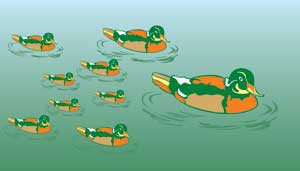
Figure 8
Lam Khe
FAQ
What does Corel Draw 12: Draw the Ducklings Swimming: Figure explain?
The following guide provides a clear overview of Figure, with the most relevant background, details, and practical takeaways.
Who is most affected by Figure?
Figure Overview Figure 1 Figure 2 Step 2: Coloring - Coloring as much as you like, the mine part should be colored with cream and added color spots on the mine.
What are the key takeaways from this topic?
After coloring, remove all black lines (Figure 3, 4).
Related Articles
 Corel Draw: What Is Corel DRAW - Introduction12 minutes read
 Corel Shortcuts - All Shortcuts in Corel Draw You Need to Know4 minutes read
 Corel Draw: Use the Photo Corner Effect in Corel Draw: Image3 minutes read
 Corel Draw 12 - Draw Patterns in Circles: Figure3 minutes read
 Corel Draw 12: Draw the Butterfly: Figure3 minutes read
 Corel Draw: Draw a Burning Candle: Figure4 minutes read
Reader Comments 0
Sign in with email or Google to join the discussion.