How to configure TCP/IP using CMD command on Windows
Configuring TCP/IP with CMD commands helps network administrators easily control IP, DNS and DHCP settings without a graphical interface. Netsh is a powerful tool that supports network connection management, system optimization and quick troubleshooting.
Table of Contents
Instructions for using Netsh to set up TCP/IP on Windows, from setting static IP, enabling DHCP to configuring DNS. Useful solution for administrators and advanced users.
Configure TCPIP using Cmd command
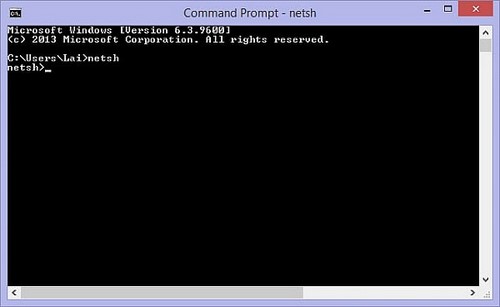
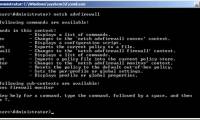
Step 1 : First, open CMD and then enter the netsh command to use Netsh.exe.
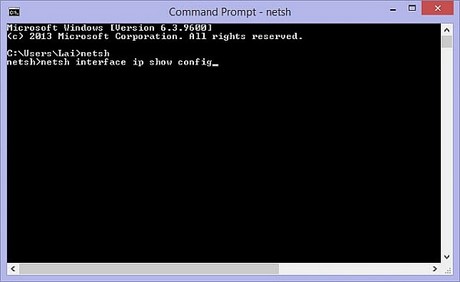
To set up TCP/IP you enter the command.
| netsh interface ip show config |
To set a static IP, enter the command.
| set address local static 192.168.2.2 255.255.255.0 |
In which 192.168.2.2 is the IP, and 255.255.255.0 is the subnet mask

To set up DHCP mode you enter the command.
| set address name= 'Local Area Connection' source=dhcp |

To configure DNS you enter the command.
| set DNS 'Local Area Connection' static 192.168.2.1 |
Where 192.168.2.1 is the DNS address.

To exit the netsh.exe environment you type.
| exit |

If you want to check TCP/IP information using CMD command, you use the command.
| ipconfig /all |

You can use Netsh to configure TCP/IP on Windows flexibly, from setting static IP, enabling DHCP to editing DNS. If you need to manage the network system in depth, CMD commands will help check IP addresses quickly and accurately.
Was this article helpful?
Your feedback helps us improve.
Related Articles
 Secedit: configure command in Windows5 minutes read
 The Scwcmd configure command in Windows4 minutes read
 How to use the Net Use command in Windows9 minutes read
 Configure IP network address with MS-DOS command5 minutes read
 Secedit command in Windows4 minutes read
 Configure advanced firewall in Windows 2008 using NETSH CLI7 minutes read
Reader Comments 0
Sign in with email or Google to join the discussion.