Coreldraw 12: Drawing sports cars (continued)
- To create more effects of glass, we add a steering wheel and a seat.
- To draw the thickness of the chair use the Interactive Extrude Tool command. On the properties bar, select the Color box, select the Use Solid Color box, select the gradient color (Figure 13).
- Arrange chairs and steering wheel in the right position, choose the glass.
- Select Arrange - Order - To Front .
- At this time, we will see the chair and steering wheel blurred because we have to look through the glass (Figure 14).
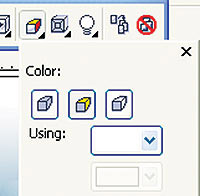

Figure 13
Figure 14
Step 2 : Draw the wheel
- Draw the tires : draw an ellipse, fill it with black and rotate 10 degrees (Figure 15).
- Drawing braces : from the ellipse to create the upper case, draw 9 ellipses with the same center in order of diminishing (Figure 16).
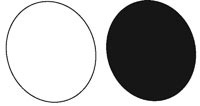
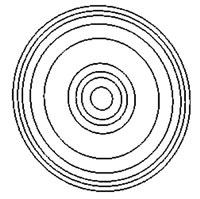
Figure 15
Figure 16
- Select the fourth ellipse from the outside, select the Shape Tool for the gear shape (Figure 17).
- Select the 9th ellipse for the line is 0.85pt.
- 8th image coloring C: 8, K: 10.
- Figure 7 shaded black.
- Figure 6 shows the Fountain (Figure 18).
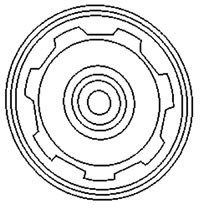
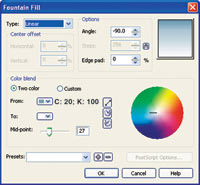
Figure 17
Figure 18
- Figure 5 coloring C: 8, K: 10.
- Figure 4 shows the Fountain (Figure 19).
- Figure 3 black.
- Figure 2 for the line is 0.85pt.
- Figure 1 shows the Fountain (Figure 20).
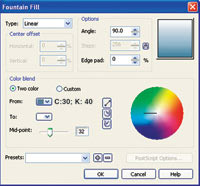
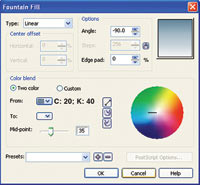
Figure 19
Figure 20
- Arrange shells and braces (Figure 21).
- Attach a new wheel to draw on the front part of the car, draw more water barrier.
- Draw the thickness of the wheel (like the seat drawing, using the Interactive Extrude Tool command) (Figure 22).
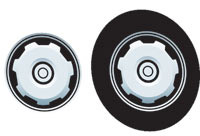
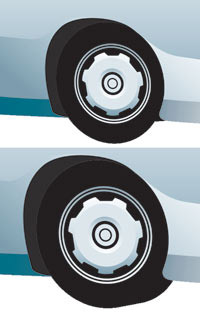
Figure 21
Figure 22
- Drawing the rear wheel of the car is similar to drawing the front wheel (Figure 23).
Step 3: Decorate outside
- Drawing on the trunk of the car behind, painting Fountain (Figure 24, 25).
- Draw the wind-up part of the vehicle (Figure 26).

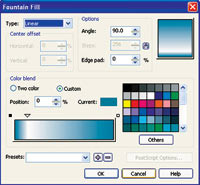
Figure 23
Figure 24
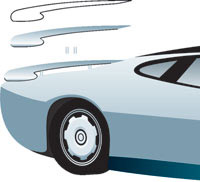
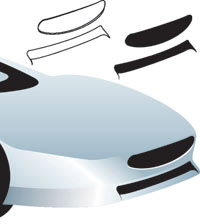
Figure 25
Figure 26
- Draw the wind-up part on the side of the car.
- Draw the ellipse, select the Shape Tool, make the right head slightly smaller than the left, turn to the right 10 degrees.
- Create an ellipse again from the top ellipse, select the Shape Tool, and fill it as shown in Figure 27.
- Choose the Interactive Blend Tool, drag from blue to black, draw the upper and lower borders to create a recessed feeling (Figure 28, 29). (Continue)
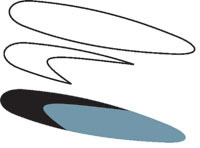
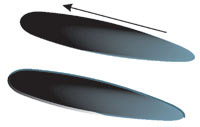
Figure 27
Figure 28
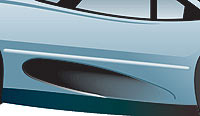
Figure 29
Lam Khe