Table of Contents
Overview
This guide explains how to clean laptop fans in clear, practical terms. It covers the key concepts, recommended steps, common limitations, and useful checks so you can make a better-informed decision.
You are using Laptops for work and study, but you do not know how to care for and clean your Laptop to increase the product's lifespan. Let's refer to this guide's simple and detailed way to clean Laptop fans at home through This guide!
Is cleaning laptop fan important?
Located in the cooling system, the laptop fan has a direct impact on the performance of a laptop. When running, the CPU processor and graphics card generate heat continuously and if the temperature is too high continuously, the laptop's speed will automatically decrease to keep the components operating normally.
In addition, if the CPU and graphics card always operate at high temperatures, it will cause the laptop to have a reduced lifespan and break down quickly. Every 4-5 months, you should clean the heat sink, especially the laptop fan, to avoid the above problems and prolong the life of the device.

Note: If your laptop is still under warranty, you should not remove the bottom cover yourself, because your warranty will be void. In this case, you can wait until the warranty expires or go to the service center for technical support.
Share how to clean laptop fan with cotton swab
Step 1. First unplug the laptop from the power source.
Unplug your laptop from the main power source, turn off your laptop and make sure it is not in sleep mode. Because, when the laptop is in sleep mode, it is very dangerous to open it, the power stored from the battery can still harm you.
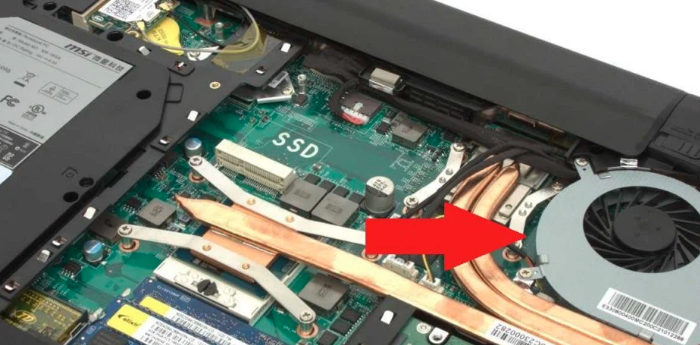
Step 2. Open the bottom panel of the laptop
Most laptops will be closed and stapled with small screws, you can open them easily with a suitable screwdriver. Unscrew all the screws and put them in a separate place. Next, lift the cover and find the laptop's cooling fan.
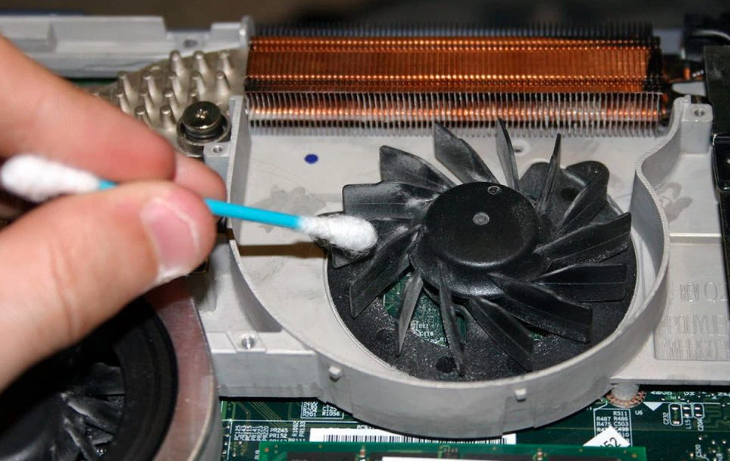
Step 3. Step to clean the fan from contamination
To keep the fan from spinning, hold the fan with your finger or a pen, and carefully clean each fan blade with a cotton swab. Once you have done this, you can use an air bulb to blow away any remaining dust on the fan.
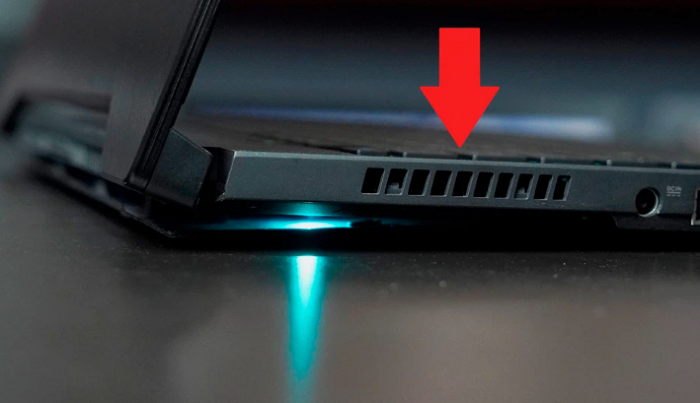
Step 4. Clean the air intake area
Now find the air intake (usually located near the fan) on your laptop and use a cotton swab to clean the air intake holes from the inside out. If possible, use an air bulb or an air can to blow it cleanly.
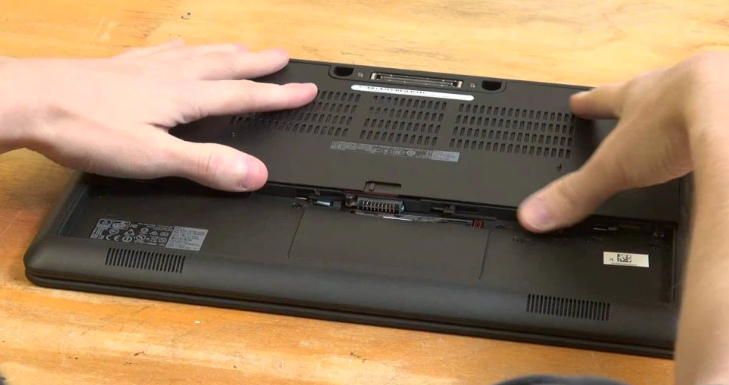
Step 5. Reassemble and close the laptop case
In this step, take all the screws you have set aside and reinstall the cooling fan and the bottom cover of the laptop. Finally, plug in the power and check the laptop's performance after cleaning.
How to clean laptop fan with compressed air
Step 1. First turn off and unplug your laptop.
Make sure your laptop is completely disconnected from the power source to avoid electric shock.
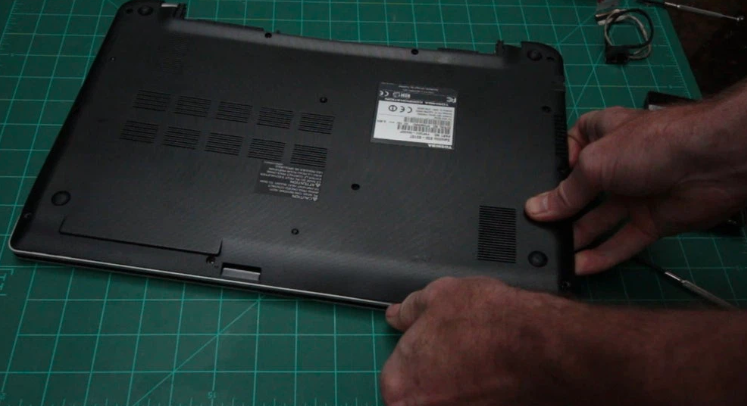
Step 2. Open the bottom panel
Similar to the way to clean the laptop fan with a cotton swab, open the bottom case with a small screwdriver. Then put all the screws in a separate place. If your laptop is still under warranty, carefully take a can of compressed air and blow air into it. This is the maximum you can do, contact your dealer if the overheating problem persists.
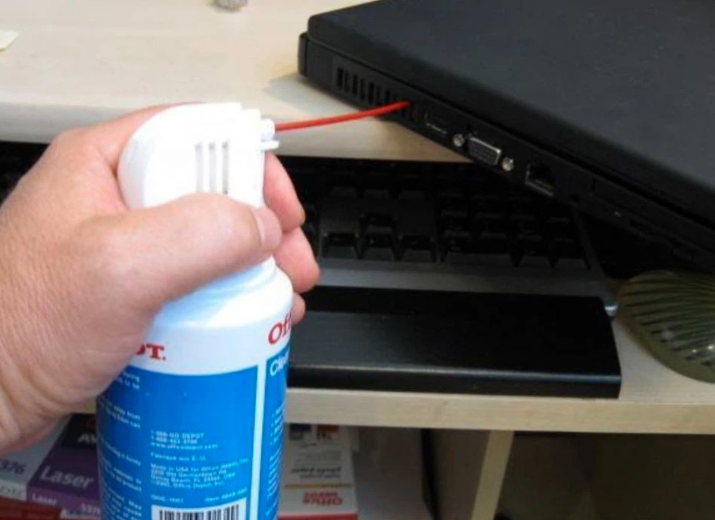
Step 3. Use compressed air to clean the radiator fan.
Use your finger to hold the fan and blow evenly, keeping the compressed air can at a distance of 5-7cm.
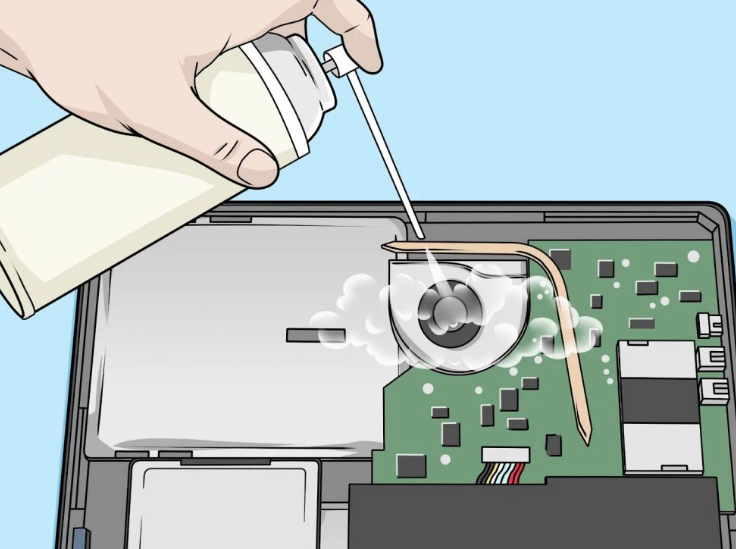
Step 4. Clean the inside of the cooling system air intake
In this step, find the fan vent and blow the air out from the inside.
Step 5. Close the laptop with a screwdriver
Reinstall the screws you removed earlier, and you can finally plug in and use your Laptop.
After referring to the information shared above, you can see that cleaning the Laptop fan is not difficult at all, right? However, it is important to note that you should not open your Laptop if it is still under warranty, especially do not disassemble any part yourself to avoid damaging your Laptop.
Key Takeaways
Use the guidance above as a practical reference for clean laptop fans at home. Check compatibility, follow the steps carefully, and verify important details with official documentation when software, security, accounts, health, or purchases are involved.
FAQ
How do I clean laptop fans?
Follow the steps in this guide in order, confirm each setting before continuing, and save, restart, or reconnect the device when the instructions require it.
What should I check before I begin?
Confirm the correct device, account access, software version, compatibility, and a current backup whenever the process could affect files, settings, or security.
What should I do if the process does not work?
Repeat the steps carefully, check for model or version differences, install available updates, and consult the manufacturer's official support documentation.
Related Articles
 How to Properly Clean the Laptop6 minutes read
 7 Simple Steps to Make Your Laptop as Clean as New5 minutes read
 Table Fans and Box Fans, Which Is the Smart Choice?8 minutes read
 The Simplest Way to Check Laptop Cameras Easily at Home: What to Know9 minutes read
 How to Remove and Clean a Laptop Keyboard and Replace It Yourself5 minutes read
 Instructions on How to Clean Mouse Pads at Home in the Simplest Way Explained14 minutes read
Reader Comments 0
Sign in with email or Google to join the discussion.