Instructions on enabling advanced search in Windows 11
If you want Windows 11 to search for files in any drive or folder, you should enable advanced search..
The default Windows search function only includes specific folders such as documents, pictures, music, and desktop backgrounds. If you want Windows 11 to search files in any drive or folder, you should enable advanced search. Here's how to enable advanced search on Windows 11.
How to enable advanced search on Windows 11
Advanced search will search across the entire computer, but it will affect battery life and increase CPU consumption.
Step 1:
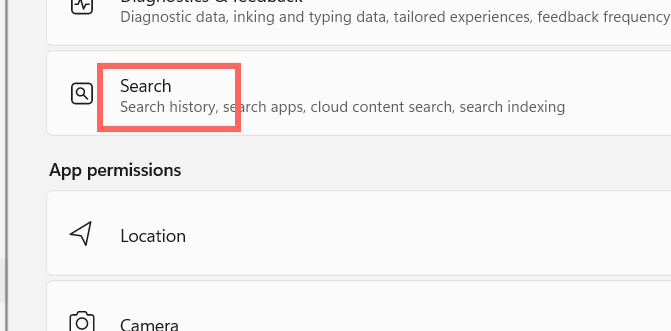
We open the settings on our computer, then click on Privacy & Security on the left side of the interface. Next, look to the side and click on Search .
Step 2:
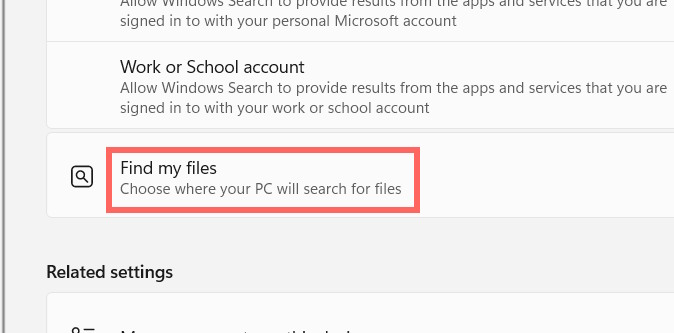
Switch to the new interface, scroll down and find the "Find my Files" section .
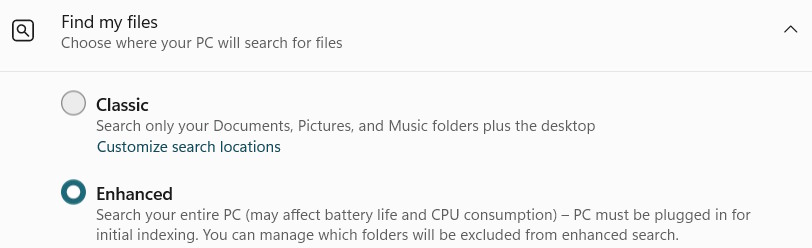
Expanding the settings interface, we select Enhanced instead of Classic.
Step 3:
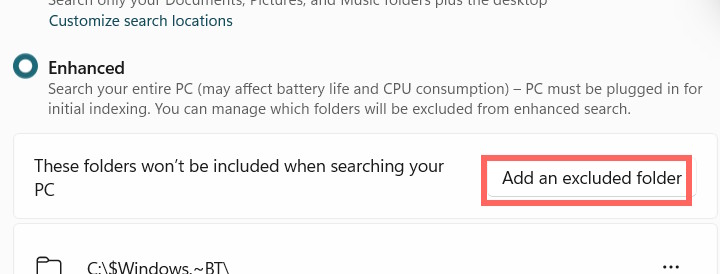
Windows 11 also allows you to add excluded folders that you don't want to be found in the search tool; click "Add an excluded folder" to add them if desired.
Rebuild the Windows search index.
If you experience problems after enabling advanced search, you should rebuild your search index.
Step 1:
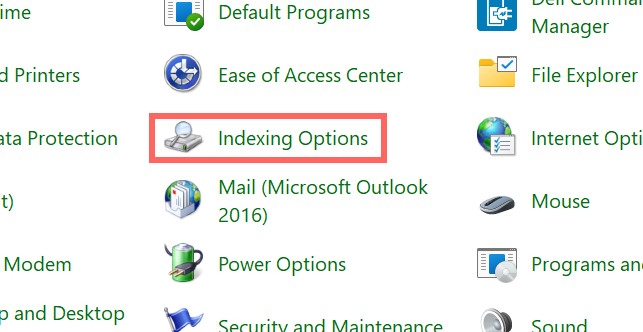
We open the Control Panel and then click on Indexing Options .
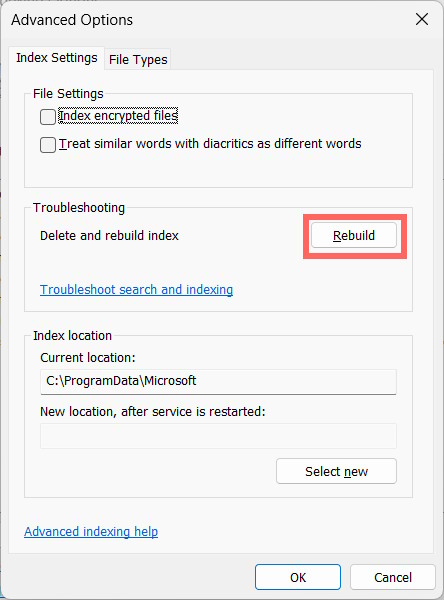
Step 2:
To switch to the new interface, click on the Advanced option below .
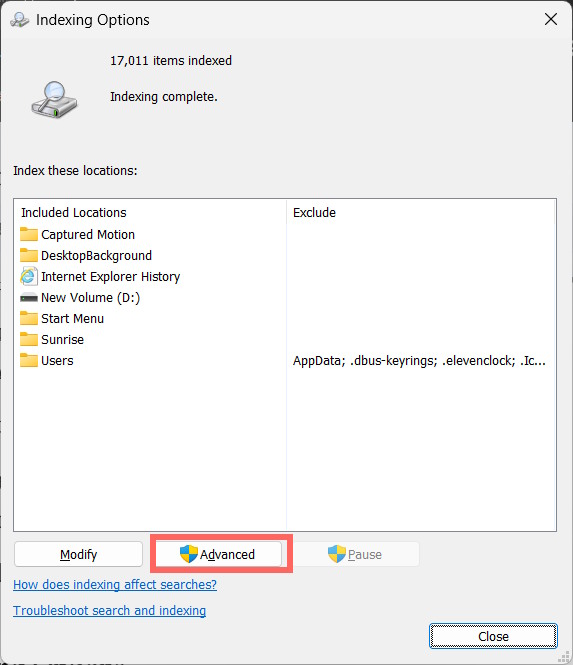
Now, click on Rebuild to rebuild the Windows 11 search index.