Instructions for recording face filter videos on Viber
Viber has just updated its video recording feature with many new filters, giving users an extremely interesting creative experience. With a variety of filters, you can create unique videos, from beautifying your face, adding funny effects to completely changing your style.
Shoot videos and photos quickly and easily and create impressive photos and videos with Viber. You will feel confident sharing them with everyone.
How to record face filter video on Viber
Request :
You need to upgrade Viber to the latest version
- Download Viber for Android: Viber for Android
- Download Viber for iOS: Viber for iPhone
How to do :
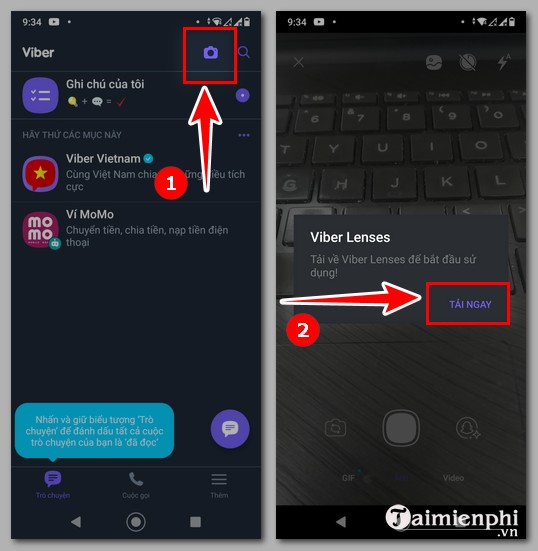
Step 1 : Open Viber and log in. In the upper right corner, click on the camera icon (Image 1). Viber Lenses will appear, click " Download now " (Image 2).
Step 2 : Click " Try Now" ( Image 3). At this time, the system will send a message " The camera will restart when the download is complete " (Image 4).

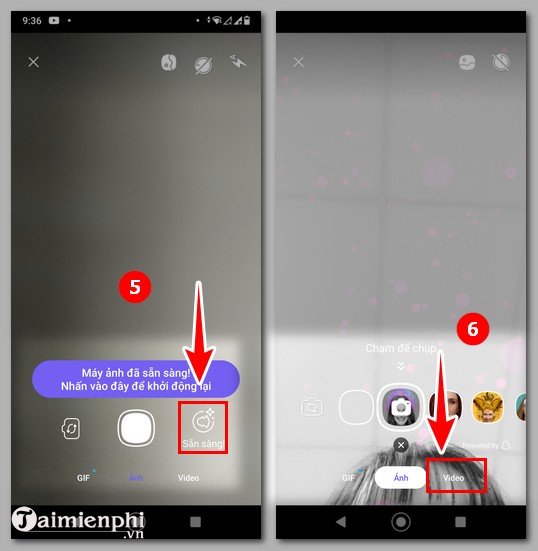
Step 3 : Wait a few seconds, the application will notify that the camera is ready , click on the Snapchat icon (Image 5). If you want to record a video, select " Video " (Image 6).
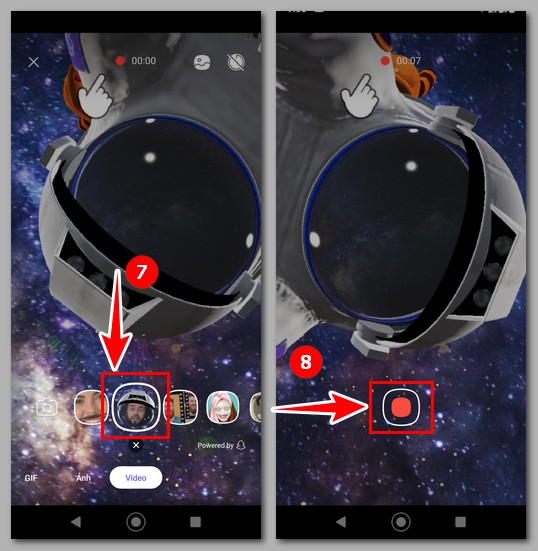
Step 4 : In the filter section, slide to the left to select the appropriate filter. If satisfied, double-click on the face filter (Image 7). Viber will start recording a video with the filter you selected. To stop recording, click on the red button (Image 8).
Note : Clicking once on Filter helps you see the Filter before selecting. To select, you need to click twice on that filter.
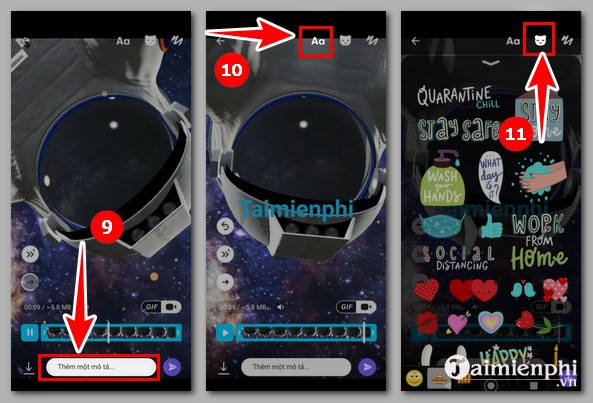
Step 5 : The recorded video will appear (Figure 9), you can edit with the options in the upper right corner:
- Add a description : Click on the bottom of the interface as shown in Figure 9 to write a description for the video.
- Aa : Allows you to write text on the video (Figure 10).
- Bear face icon : Eye-catching, interesting stickers (Figure 11), you can choose those images to make the video more impressive.
- Drawing icon : Lets you draw anything you want.
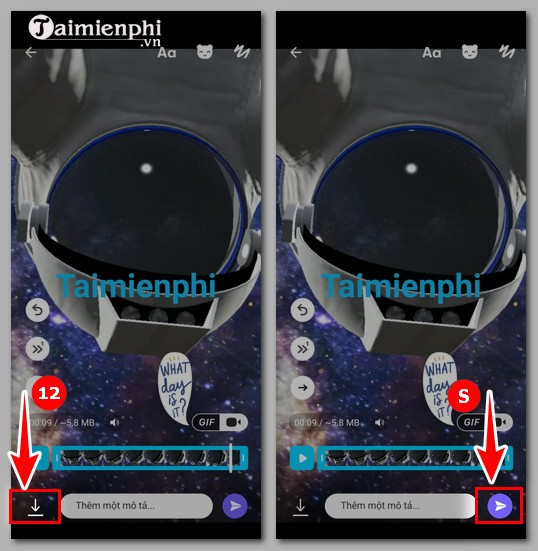
Step 6 : After editing, you:
- Want to download : Click on the download icon in the lower left corner (Image 12).
- Want to send : Click on the send icon in the lower right corner (Image 13).
Surely, after following the steps in this guide to recording face filter videos on Viber, you have created an eye-catching, vivid video. You can use many different face filters to get the most satisfactory video.
Zoom is the most popular online learning support software today. If you don't feel confident appearing on your webcam, use the available Zoom filter to smooth your skin and make it brighter.
- How to make a baby face on Snapchat
- Instructions for sending video messages on Viber
- Instructions for recording cartoon character filter videos on TikTok
- Instructions for sending automatic cancellation messages on Viber
- Viber adds new Game to Android and iOS mobile apps
- Instructions for sending audio messages on Viber
- How to send heart videos on Viber
- How to use filters on Google Meet
- 5 Best Skype Alternatives for International Calling
- Top 5 free video calling apps for smartphones and tablets
- Instructions to block Viber messages on the phone
- How to send files on Viber for PC
- The reasons for success of Zalo
- Viber officially set foot on Chrome OS
- New feature allows Facebook Messenger to send animated images
- How to create Viber chat groups on Windows
- Learn about Viber Public Chat
- Delete Viber messages on the computer


-
 Instructions to delete Viber account on phone and computer
-
Download Viber For PC, Laptop Fastest, Simplest
-
Download Viber for computer, laptop
-
How to recover deleted Viber messages using Google Drive, iCloud
-
How to fix Viber not receiving messages?
-
Detecting a serious security flaw on Viber Desktop, users need to update immediately
 Instructions to delete Viber account on phone and computer
 Download Viber For PC, Laptop Fastest, Simplest
 Download Viber for computer, laptop
 How to recover deleted Viber messages using Google Drive, iCloud
 How to fix Viber not receiving messages?
 Detecting a serious security flaw on Viber Desktop, users need to update immediately
-
Application
-
Web Email
-
Website - Blog
-
Web browser
-
Support Download - Upload
-
Software conversion
-
Social Network
-
Simulator software
-
Online payment
-
Office information
-
Music Software
-
Map and Positioning
-
Installation - Uninstall
-
Graphic design
-
Free - Discount
-
Email reader
-
Edit video
-
Edit photo
-
Compress and Decompress
-
Chat, Text, Call
-
Archive - Share
-
-
System
-
Mac OS X
-
Hardware
-
Game
-
Tech info
-
Technology
-
Science
-
Life
-
Electric
-
Program
-
Mobile