How to add and remove columns in Windows File Explorer
By default, Windows will not show the entire information column to make the interface neater, and users can add or delete information columns as needed..
Data management in Windows File Explorer will be through columns containing the most basic information for people to easily view and manage. By default, Windows will not display all information columns to simplify the interface and users can add or delete information columns when needed. Below are instructions for adding and deleting columns in Windows File Explorer.
How to add and remove columns in Windows File Explorer
Step 1:
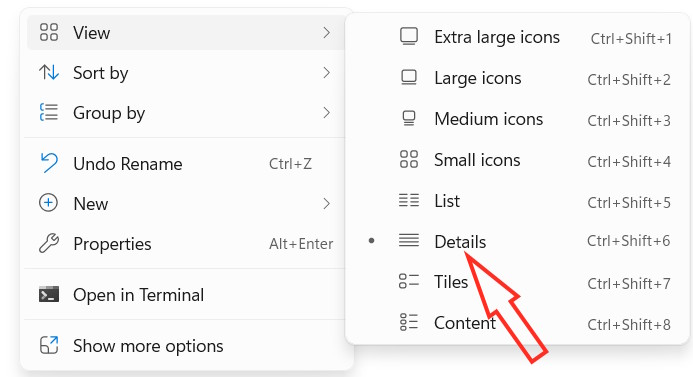
You open Windows File Explorer then open the folder you want to add and delete the column showing data information, folder. Then right click on the white area, select View, select Details to change the view.
Step 2:
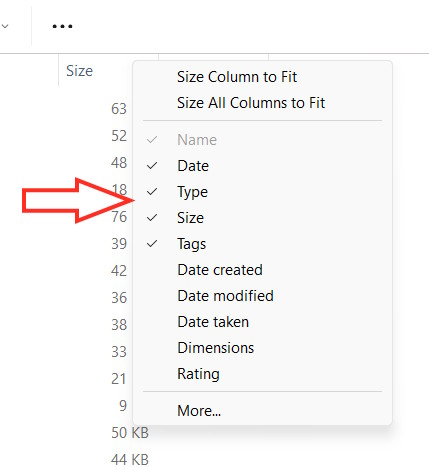
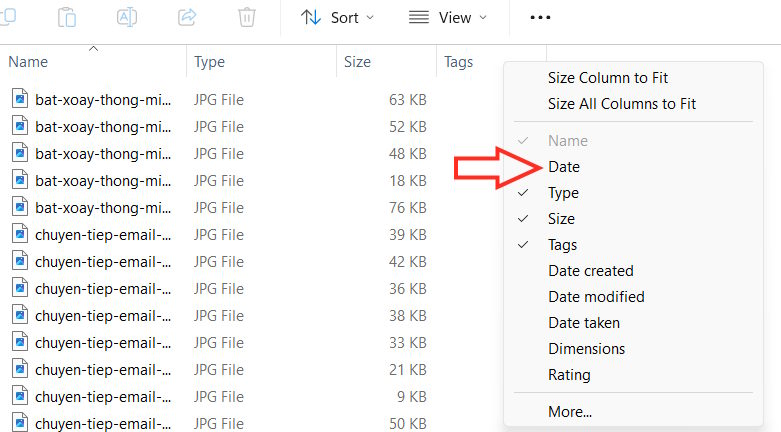
Right-click and hold anywhere on the title bar , and a list of columns of information will appear. The column currently visible in Windows File Explorer will be highlighted.
Step 3:
If you want to show any information column, click to select it . If you want to delete an information column, uncheck it. In addition, we can click More to see all available detailed information.
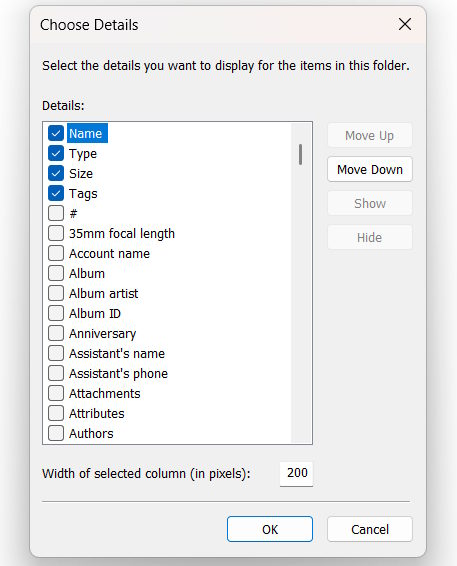
Step 4:
Check (add) or uncheck (remove) the details you want for the columns in the specific folder, then click OK to save your new changes.