How to Synchronize Shared Notebooks in Microsoft OneNote
Not all notebooks in OneNote will be synchronized at all times. If this describes the situation you're in right now, this article may help to get back to the synchronized state most people want to achieve. Open your Microsoft Office....
Method 1 of 2:
OneNote 2007 and 2010
-
 Open your Microsoft Office OneNote program. Only versions 2007 and later have the ability to synchronize these notebooks.
 -
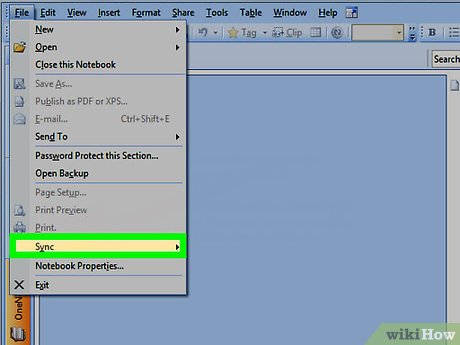 Open the File menu from the top left corner and click the "Sync" option from the drop-down list. If the menu that contains the File menu isn't present, press and release Alt on your keyboard.
 -
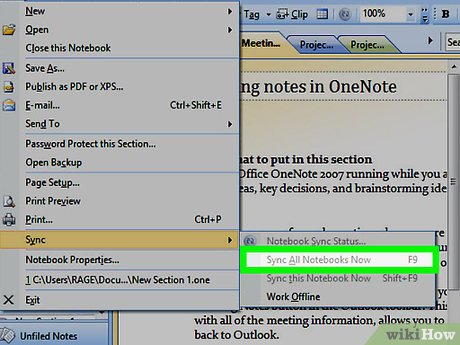 Locate the "Sync this Notebook now" selection on the resulting list and click it.
Method 2 of 2:
OneNote 2013 and OneNote 2016
-
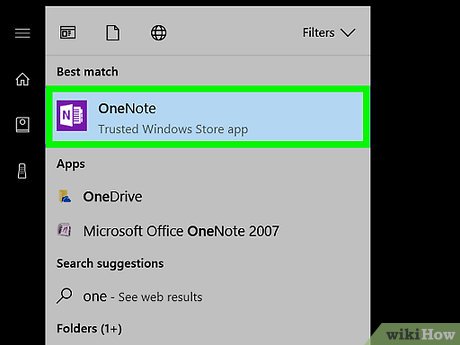 Open your OneNote program.
 -
 Make some edits to a note in your shared notebook.
 -
 Wait for the notebook to auto-sync. Microsoft turned on auto-syncing by default when you install your OneNote program.
 -
 Look for and right click the Notebook's context menu at the top left corner and select "Sync This Notebook Now", if the program doesn't auto-sync. You can also use the keyboard shortcut ⇧ Shift+F9 if you are currently in the notebook you'd like to synchronize.
- You can find out if you've still got the notebook to auto-sync if you right click the notebook and select "Notebook Sync Status". Look for the checkbox to the right of "Sync automatically when there are changes" to be checked. If the "Sync manually" option is checked, you'll need to change it if you'd like to auto-sync, or you can click the notebook you want and click "Sync now". To sync all notebooks that are open in your OneNote program, you can also use the "Sync all" button to have a sync of it in one fell swoop.