Table of Contents
Overview
This guide explains how to split Windows and mac computer screens in half in clear, practical terms. It covers the key concepts, recommended steps, common limitations, and useful checks so you can make a better-informed decision.
There is a great tip to do many things at the same time, increasing work efficiency many times over. Today this guide explains how to split the computer screen in half on both Windows and MAC OS, let's follow along!
Why split computer screen?
In fact, splitting the computer screen in half brings many benefits such as:
- Minimize time spent moving between tabs
- Compare and contrast data information quickly and accurately.
- Can do many things at the same time like watching movies and chatting with friends without interruption
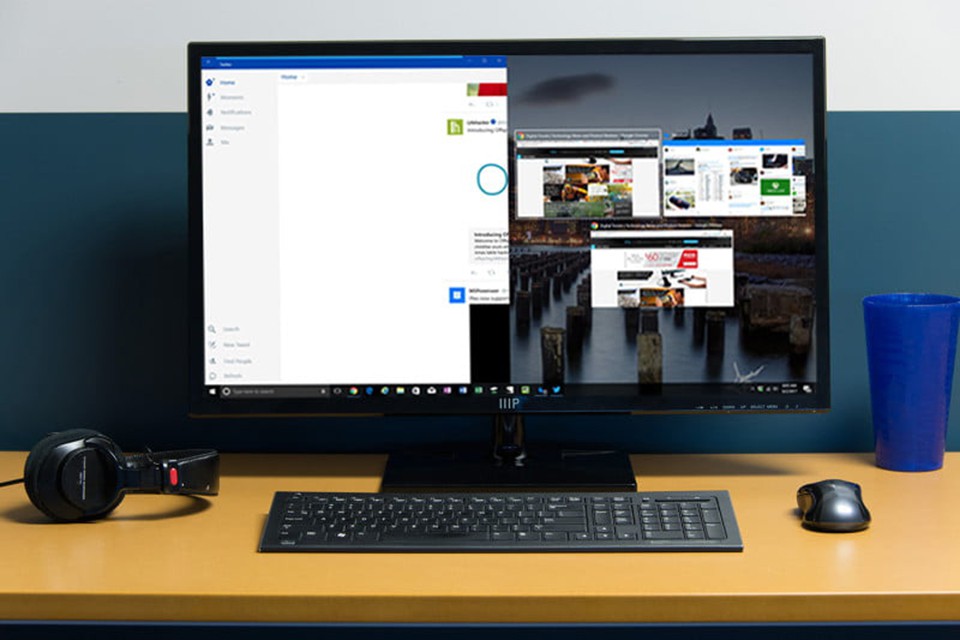
How to split Windows computer screen
1. How to split the computer screen in half using the keyboard is straightforward
Press the Windows key + left arrow or right arrow
2. How to split the computer screen in half using the taskbar

Move the mouse to the computer's taskbar, then right-click. Next, click 'show windows side by side'. With this method, with just one operation, you can split the running applications and browsers, and you can drag them to the desired size. To go back, click on the taskbar again and click 'undo show all windows side by side'
3. How to split computer screen in half manually using mouse
Click on the top of the running application or browser, hold the mouse to the left or right, then drag to the desired size. So you can not only split the computer screen in half, but even split it into 3 or 4.
How to split screen on MAC computer
To split the screen of a MAC computer, follow the instructions below.
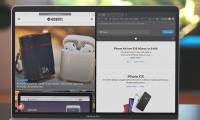
Step 1: Open the 2 applications you want to use and set them to Split View mode.
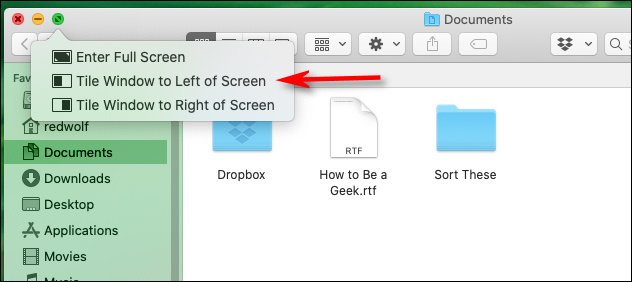
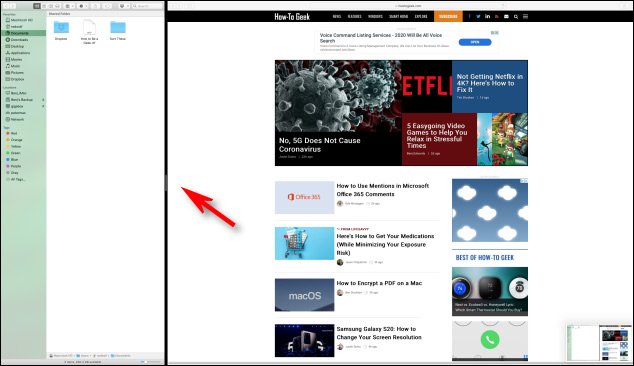
Step 2: Place your mouse on the green screen on the left side of the window, 3 options will appear. You just need to choose the 2nd or 3rd option to split the computer screen in half immediately. Now you just need to click on the black divider between the two applications to change the size of the two applications.
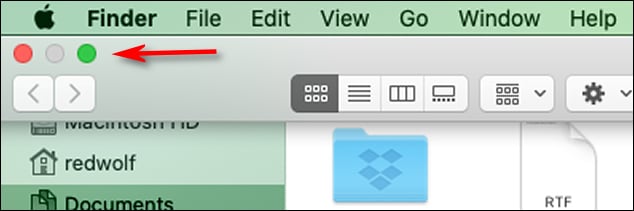
To return the screen to its original state, click on the green icon again and then click on the first option.
Above is a simple guide on how to split the computer screen on Windows or OS computers, hopefully it will be useful to you. To buy a laptop, PC for work or entertainment needs, please visit this guide showroom, or call the hotline 19001903 for advice.
Key Takeaways
Use the guidance above as a practical reference for split Windows and mac computer screens in half. Check compatibility, follow the steps carefully, and verify important details with official documentation when software, security, accounts, health, or purchases are involved.
FAQ
How do I split Windows and mac computer screens in half?
Follow the steps in this guide in order, confirm each setting before continuing, and save, restart, or reconnect the device when the instructions require it.
What should I check before I begin?
Confirm the correct device, account access, software version, compatibility, and a current backup whenever the process could affect files, settings, or security.
What should I do if the process does not work?
Repeat the steps carefully, check for model or version differences, install available updates, and consult the manufacturer's official support documentation.
Related Articles
 The Simplest Way to Split Your Computer and Phone Screens in Half Explained13 minutes read
 How to Split Laptop Screen in Half on Windows 7, 10, Super Easy!9 minutes read
 How to Use Split Screen on Mac with Split View10 minutes read
 How to Split Screen on macOS: Step-by-Step Guide3 minutes read
 How to Split Screen on Windows 105 minutes read
 How to Split the Screen on iPhone7 minutes read
Reader Comments 0
Sign in with email or Google to join the discussion.