Instructions for splitting photos using Canva are very simple
Canva has tools to split photos to post on social networks, creating special effects to attract more viewers.
Table of Contents
Canva has a tool for us to split photos posted on social networks, creating special effects to attract more viewers. Photos are automatically divided according to the number of columns and lines that the user chooses to cut. Finally, you just need to upload the split photo with Canva to the collage page to create the effect of combining many small photos into 1 photo. Below are instructions for splitting photos with Canva.
How to Split Images Using Canva
Step 1:
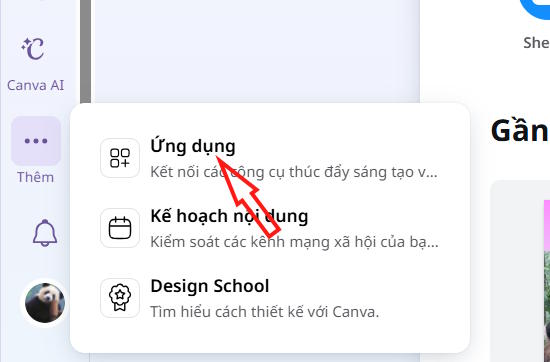
At the interface on Canva, click on Add and select Application in the displayed menu.
Step 2:
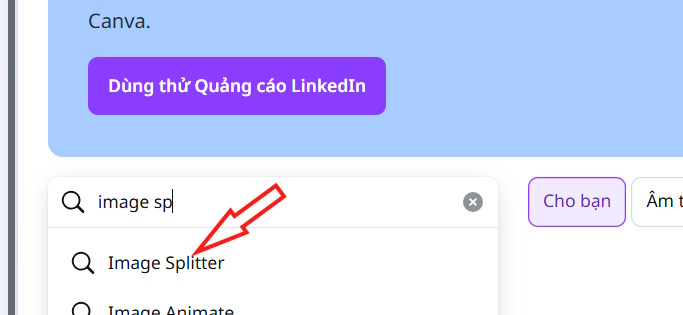
Go to the application search interface, enter the keyword Image Splitter and then click on the search result below.
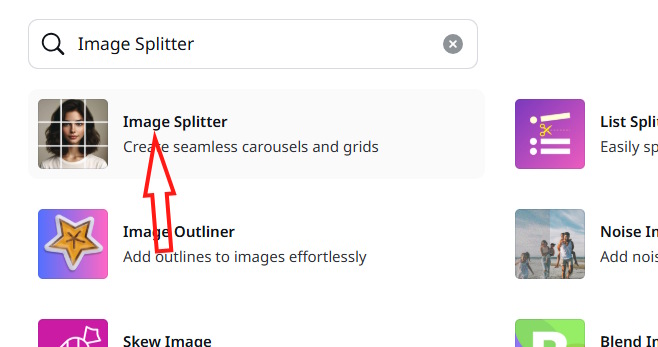
Then we will see the photo splitting application on Cava as shown, click to use.
Step 3:
Next, you'll be asked whether you want to use Canva's image splitter tool for an existing design or create a new design.
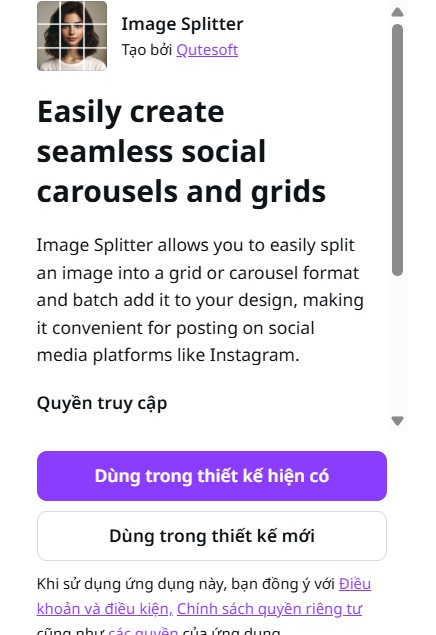
If we choose a new design, we can immediately choose the size that Canva supports.

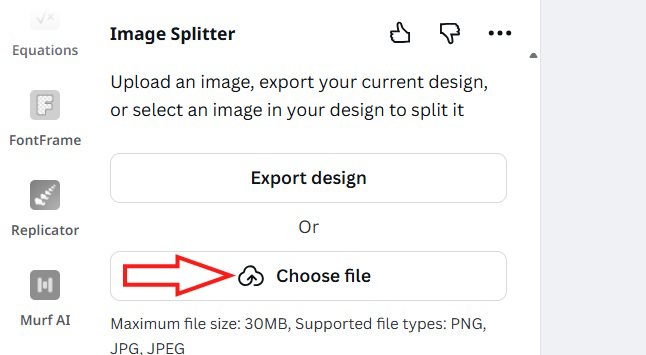
Step 4:
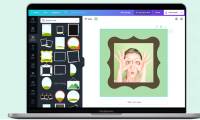
In the new interface, click Choose file to upload the photo you want to split.
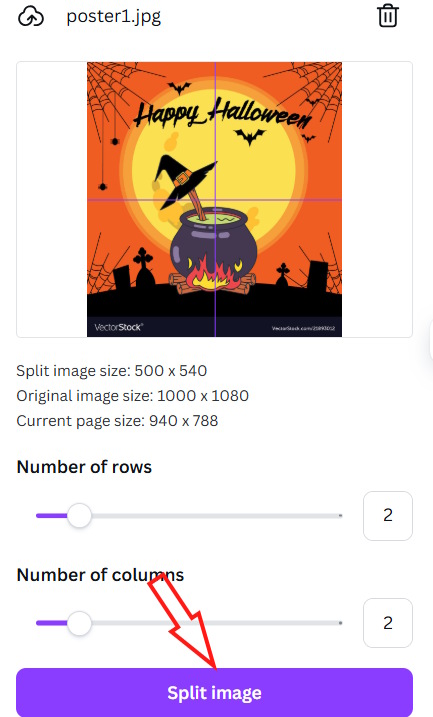
In the interface using the image splitting tool, select the number of rows and columns as 2 and then click Split image below.
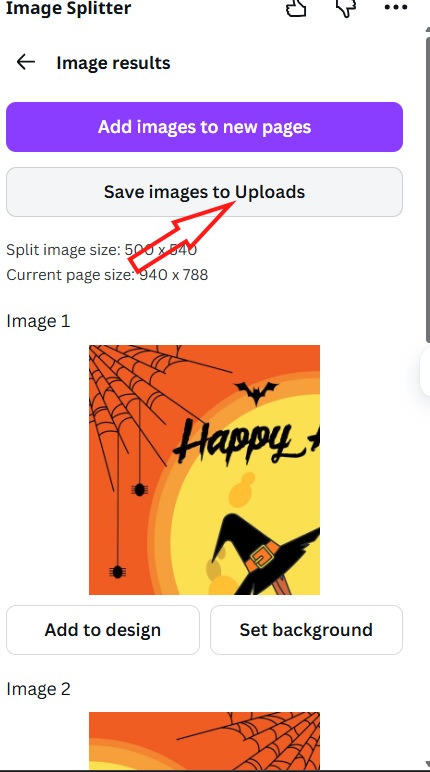
Step 5:
Immediately after that you will see the image split, we click Save images to Uploads to download all images.
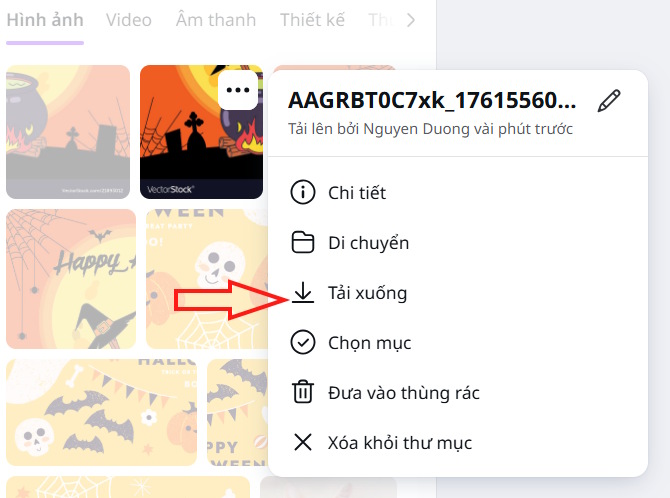
Click on Upload and then click on the split image to download it to your computer.
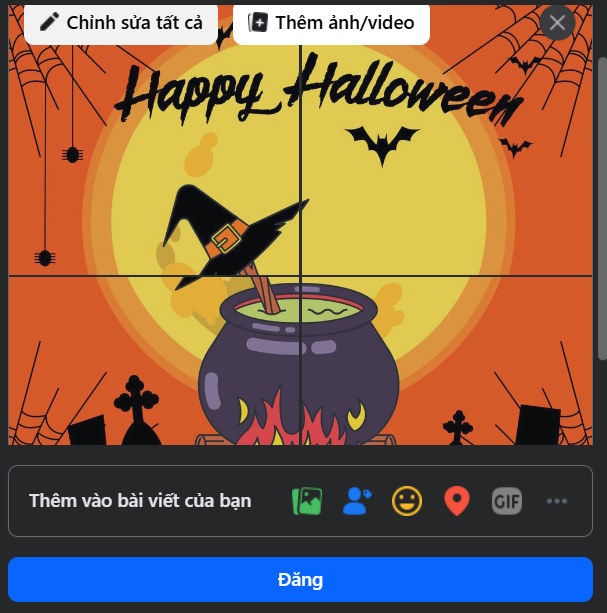
Finally when you post the photo to Facebook or other social networking app you will see the split image effect.
Was this article helpful?
Your feedback helps us improve.
Related Articles
 Instructions for blurring photos on Canva are very simple3 minutes read
 Instructions on how to add photos to a frame in Canva3 minutes read
 Quick tips to turn photos into frames in Canva2 minutes read
 How to change objects in photos with Canva AI very quickly3 minutes read
 Guide to editing photos using Canva directly on Gemini.3 minutes read
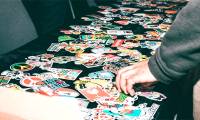 Instructions for creating stickers on Canva2 minutes read
Reader Comments 0
Sign in with email or Google to join the discussion.