How to Redact in Word
Method 1 of 3:
Redacting Text Manually
-
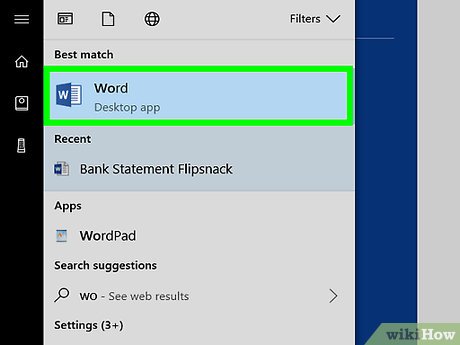
 Open your Word document. Double-click the Word document that you want to redact in order to open it in Word.
- Keep in mind that this method is only viable for small documents. If you need to redact large amounts of text, you'll most likely need to save Word documents as image files instead.
-
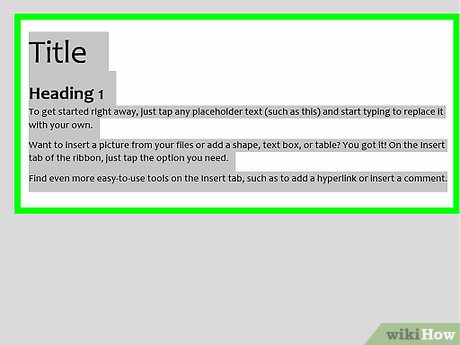
 Select the text you want to redact. Click and drag your mouse cursor across the text to do so.
 -
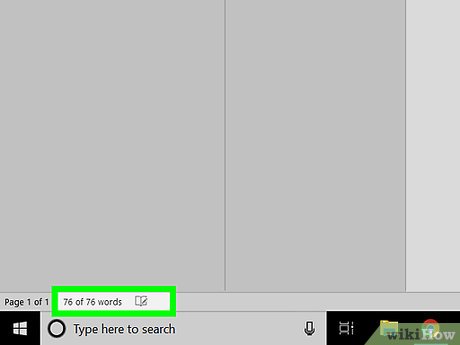
 Click the word count. You'll see it in the bottom-left corner of the window (e.g., [number] of [number] words). This brings up a pop-up window with word and character information for your document.
- For example, if you selected 23 words in a document which has 350 words, you would click 23 of 350 words here.
-
 Review the number of characters. Next to the "Characters (with spaces)" heading in the pop-up window, look at the number.
- You'll need to remember this number when replacing the text you want to redact with filler text.
-
 Click Close. It's at the bottom of the window. The pop-up will close.
 -
 Copy the selected text. Press either Ctrl+C (Windows) or ⌘ Command+C (Mac).
 -
 Bring up the "Find and Replace" menu. Press either Ctrl+H (Windows) or Control+H (Mac) to do so.[1]
 -
 Paste the text into the "Find what" field. Click the "Find what" text field at the top of the pop-up window, then press either Ctrl+V (Windows) or ⌘ Command+V (Mac).
 -
 Add filler text to the "Replace with" field. Click the "Replace with" text box near the bottom of the pop-up window, then type one random number or letter (e.g., x) for each character you're redacting.
- For example, if you highlighted 20 characters (with spaces), you'll type x 20 times.
- This process can be incredibly tedious if you have to redact multiple long lines of information. If accuracy is of utmost importance, consider converting your Word file to images instead.
-
 Click Replace all. This option is at the bottom of the window.
 -
 Click OK when prompted. It's at the bottom of the pop-up window. Your selected text should now be replaced by a meaningless string of letters.
 -
 Repeat with any other text you need to redact. Once all of your confidential text has been replaced with a string of random letters, you can proceed.
 -
 Highlight the filler text in black. You'll need to do this for all the filler text in your document:
- Click the drop-down arrow to the right of the ab highlighter icon in the "Font" section.
- Click the black box in the drop-down menu.
- Select a line of filler text.
- Click the black line below the highlighter icon, then repeat with other pieces of filler text.
-
 Save your file. Press either Ctrl+S (Windows) or ⌘ Command+S (Mac) to do so. Your changes will be saved, though you may want to remove your metadata as well.
Method 2 of 3:
Saving Word Documents as Pictures
-
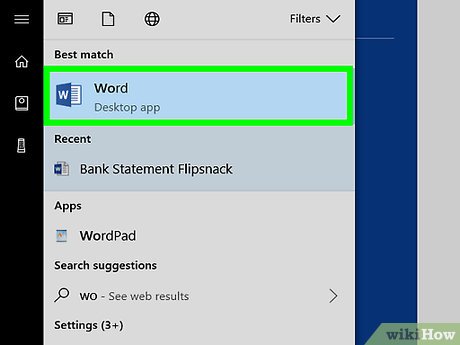
 Open your Word document. Double-click the Word document that you want to redact in order to open it in Word.
 -
 Select the text you want to redact. Click and drag your cursor across the text you want to redact to do so.
 -
 Open the highlighter menu. Click the "Menu"drop-down arrow to the right of the ab highlighter bar, which is in the "Font" section of the Home tab. A drop-down menu with different colored boxes will appear.
-
 Click the black box. It's in the drop-down menu. This both sets the highlighter's color to black and redacts the currently selected text.
 -
 Redact any other necessary text. Once you've switched the highlighter color to black, you can highlight text and then click the black bar below the highlighter icon to redact the text automatically.
 -
 Save your document as a PDF. You can do this on both Windows and Mac computers:[2]
- Windows — Click File, click Save As, double-click This PC, click the "Save as type" drop-down box, click the PDF option in the drop-down menu, and click Save.
- Mac — Click File, click Save As..., click the "File Format" text box, click PDF in the drop-down menu, and click Save.
-
 Open the PDF to JPG converter. Go to http://pdftoimage.com/ in your computer's web browser. While plenty of sites and services can convert a PDF file into an image, PDF-to-Image will save each of your document's pages as an individual JPG file without showing the text beneath your black highlighter.
 -
 Click UPLOAD FILES. It's a button in the middle of the window. Doing so will open your computer's File Explorer (Windows) or Finder (Mac).
 -
 Select your PDF. Click the PDF that resulted from the Word document.
 -
 Click Open. It's in the bottom-right corner of the window. Your PDF will begin uploading to the converter.
- On a Mac, you may click Choose here instead.
-
 Click DOWNLOAD ALL. Once the PDF finishes uploading to the converter, this button will appear at the bottom of the page. Clicking it prompts a ZIP folder with all of your document's pages in photo form to download.
 -
 Extract the ZIP folder. This process will vary depending on your computer's operating system:
- Windows — Double-click the ZIP folder, click Extract at the top of the window, click Extract all in the toolbar, and click Extract at the bottom of the window. The extracted folder will open when done.
- Mac — Double-click the ZIP folder, then wait for the extracted folder to open.
-
 Open the images' folder. This folder should be the only folder in the window, and it should have the PDF's name. Doing so will display a list of photos numbered according to their pages. At this point, you can open any of the images to view a page from the redacted Word document.
- For example, a file with your PDF's name and "1" as its name refers to page one of the Word document.
Method 3 of 3:
Removing Metadata
-
 Open your Word document. Double-click the Word document that you want to redact in order to open it in Word.
 -
 Click File. It's in the top-left corner of the Word window. A pop-out menu will appear.
- On a Mac, click Review at the top of the Word window.
-
 Click Inspect Document. This option is in the middle of the page, near the bottom. Clicking it prompts a drop-down menu.
- On a Mac, click Protect in the Word toolbar.
-
 Click Inspect Document. You'll find this option in the drop-down menu.
- On a Mac, click Protect document here.
-
 Make sure the "Document Properties and Personal Information" box is checked. It's near the top of the window.
- You can uncheck every other box in this window if you like.
- On a Mac, check the "Remove personal information from this file on save" box instead, then skip to the last step in this method.
-
 Click Inspect. This button is at the bottom of the window.
 -
 Click Remove All. You'll find it to the right of the "Document Properties and Personal Information" heading. Doing so removes the associated metadata from your Word file.
 -
 Click Close. It's at the bottom of the pop-up window.
 -
 Save your file. Attempt to exit the Word file, then click Save when asked if you want to save the changes to the document.
Share by
Jessica Tanner
Update 24 March 2020


