How to Redline a Document in Microsoft Word
'Redlining' is a form of editing in which red ink is used to indicate removal or addition of text in Microsoft Word. You can redline a Microsoft Word document by using Microsoft Word's built-in 'Track Changes' feature, or you can manually....
Method 1 of 2:
Using Track Changes
-
 Open the document you wish to edit.
 -
 In the toolbar at the top of the screen, click the "Review" tab. This tab contains tools to help with spell checking and editing, including the "Track Changes" feature.
 -
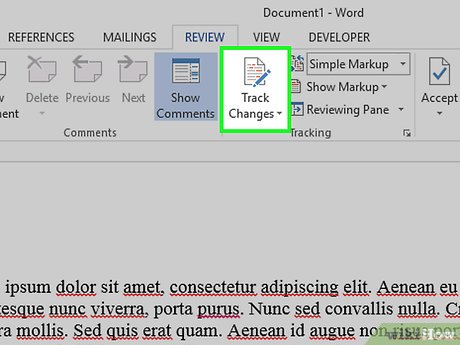 Click the "Track Changes" button to enable Track Changes. This feature places a red line in the margins next to any edited text. It also displays any added text in red.[1]
- You can also turn on "Track Changes" from any tab by pressing Control + ⇧ Shift + E.
-
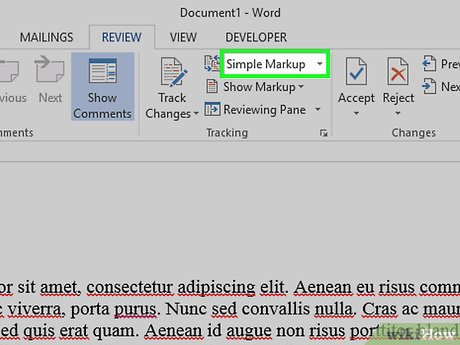 Open the drop-down menu next to the "Track Changes" button. This menu lets you choose how advanced your change tracking is.
 -
 Select "All Markup". This option displays added or replacement text in red. It also adds comments to the right-hand edit bar that detail which action was performed (e.g., "inserted" or "deleted").
- Your other options are "Simple Markup", which displays red lines next to edited lines of text but doesn't show specifically what changed, "No Markup", which doesn't display changes at all, and "Original", which draws a line through deleted text but doesn't show replacement text.
- In "Simple Markup", you can click the red lines next to edited lines of text to show which changes were made (as in "All Markup").[2]
-
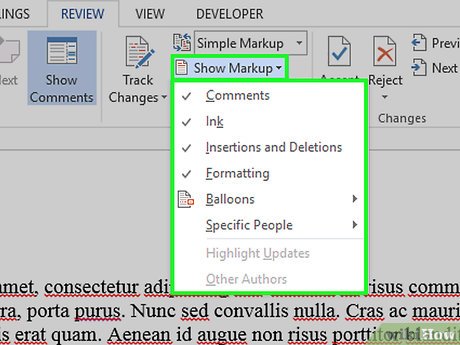 Click the "Show Markup" drop-down menu. From here, you can choose which elements of "Track Changes" are displayed. Click each option to check it (enable) or uncheck it (disable).[3]
- Checking "Comments" shows any editor comments in the margins.
- Checking "Ink" shows editor drawings.
- Checking "Insertions and Deletions" shows added and removed text.
- Checking "Formatting" shows changes to formatting (e.g., double-spacing or changing the margins).
-
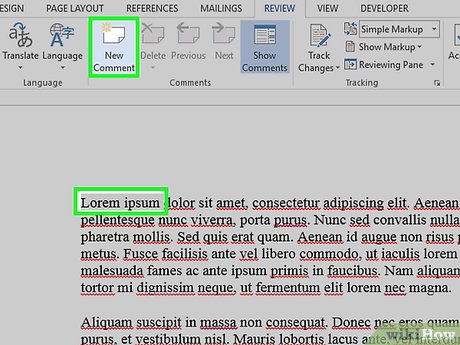 Highlight some text, then click "New Comment" in the "Comments" section of the toolbar. This feature allows you to add feedback to highlighted text. Your feedback will appear in the right-hand edits bar.
 -
 Edit the document as you please. Whenever you delete or add a character, Microsoft Word will place a vertical red line next to the line of text in which the edit was made.
 -
 Click "Accept" to save your changes. Your document has been successfully redlined! Clicking "Accept" removes the red ink and other formatting indicators.[4]
Method 2 of 2:
Redlining Manually
-
 Open the document you wish to edit. Manually redlining a document is preferable if you're editing a document in an outdated version of Word or if you want more control over which changes are displayed. Manual redlining is compatible with all versions of Word.
 -
 Click the "Home" tab if it isn't already open. This tab contains tools such as text bolding, italicizing, and underlining. The Home tab is in the blue toolbar at the top of the screen.
 -
 Find the "Strikethrough" button in the toolbar. It's located right next to the "Underline" button. You'll use strikethrough to cross out undesired text.
 -
 Find the "Font Color" button in the toolbar. It's marked as a capital "A" with a colored (usually black) bar underneath. You'll use this tool to write new text different-colored ink.
- You can change the "Font Color" selection by clicking on the bar underneath "A", then selecting a new color from the drop-down menu.
-
 Click and drag the mouse cursor over an unwanted section of text to highlight it. While text is highlighted, any tool you use will affect it--for example, clicking the "Font Color" button will change the highlighted text to whichever color the bar on the button is.
 -
 Click the "Strikethrough" button to place a line through the highlighted text. This will demonstrate recommended deletion of the highlighted content.
 -
 Make sure there is a space between the end of your strikethrough and the next word. Otherwise, any following text that you type will automatically have a line through it.
 -
 Place your cursor at the end of the space after the strikethrough text. If you're retyping the strikethrough text, you'll want to do it in a different color than the default text.
 -
 Click the "Font Color" button. If your new text isn't a different color than the document's default text, change it to something highly visible (e.g., red or orange). This is your "editing" color.
 -
 Add your replacement text after the strikethrough text. The line through the former text combined with your new, red-ink text will clearly show which text was "deleted" and the text replacing it.
 -
 Make sure any additions are in your editing color. You need to clearly show which text you've added to the document.
- For example, use your editing color if you add a semicolon to a run-on sentence.
-
 Repeat steps 5 through 11 until your document is completely edited.
 -
 Press Control + S to save your document. Your document has been successfully redlined!
- You can also click "File" in the upper left-hand corner of the screen and select "Save".