How to Make Two Columns in Word
This wikiHow teaches you how to split your text into two separate columns in Microsoft Word, using a computer. Open the Microsoft Word document you want to edit. Find the Word document you want to edit on your computer, and double-click on...
Table of Contents
Steps
-
 Open the Microsoft Word document you want to edit. Find the Word document you want to edit on your computer, and double-click on its icon to open it.
 -
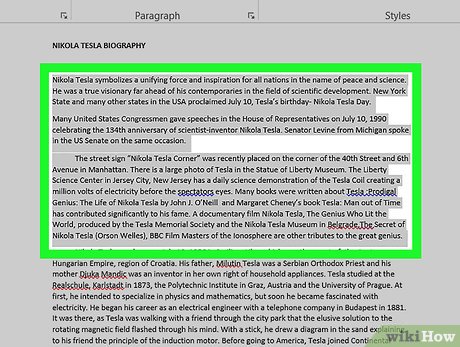 Select all the text you want to split into columns. Click the beginning of the text you want to edit, and drag your mouse until the end of it. Selected parts will be highlighted with blue.
- If you want to select the whole document, you can use a keyboard shortcut. It's ⌘ Command+A on Mac, and Control+A on Windows.
-
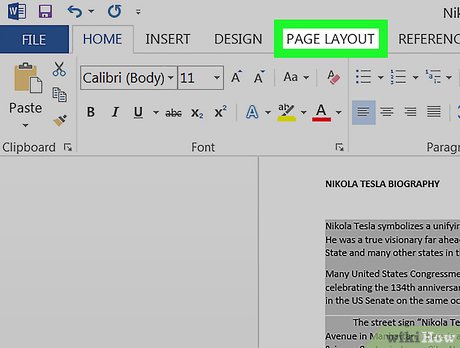 Click the Layout tab at the top. This button is located above the toolbar at the top of your document.
- Depending on your version of Word, this button may also be labeled Page Layout.
-
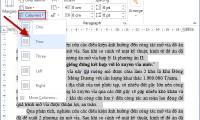
 Click the Columns button on the Layout toolbar. It will open your column options on a drop-down menu.
 -
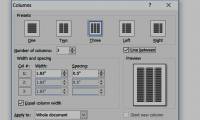
 Select Two on the drop-down menu. This will split the selected text into two columns.
- Alternatively, you can select another option here, and split your text into more columns.
-
 Adjust the size of your columns from the top ruler. You can click and drag the edges of the ruler at the top of your document to change the size of your columns.
- This is an optional adjustment. If you prefer not to change the column sizes, your columns will be equal in size by default.
Was this article helpful?
Your feedback helps us improve.
Related Articles
 Tips for handling columns in Microsoft Word7 minutes read
 How to add columns and delete columns in Word4 minutes read
 How to split columns in Word and tips or handle columns in Word4 minutes read
 Word 2013 Complete Guide (Part 13): Divide the text column3 minutes read
 Instructions on how to break columns in Word simply and quickly3 minutes read
 How to Add Columns in Microsoft Word4 minutes read
Reader Comments 0
Sign in with email or Google to join the discussion.