How to Record Your Mac Screen Using QuickTime
Screen recording on your Mac lets you record your computer actions, ideal for creating tutorials or archiving your work.
Table of Contents
Below are detailed instructions on how to record your Mac computer screen using QuickTime so you can record your work process or install a software to send to others.
How to record Mac screen with Quick Time
Step 1:
First, you open your computer and go to the Application section. Double-click Quick Time to start it.

Step 2:
The interface window appears, you choose to go to File and select New Screen Recording

Step 3:
After selecting New Screen Recording , the Screen Recording dialog box appears. And you record the screen and the work you want. When finished, press Stop.

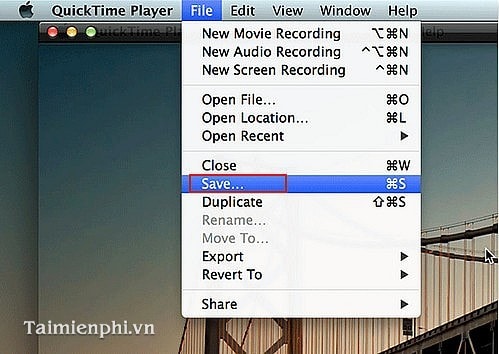
Step 4:
After completing the recording of the work, it will be saved in Quick Time and to save, remember to select File -> Save.
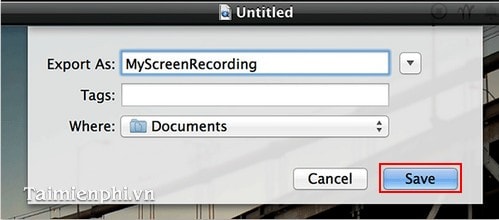
Step 5:
A dialog box will pop up asking you to select the name of the job you just finished. Then Save
With QuickTime on Mac, you can easily record your screen to record tutorials or your work. The recorded video will be saved to your computer, and you can share it on platforms like YouTube or social networks.
Was this article helpful?
Your feedback helps us improve.
Related Articles
 How to record videos with QuickTime Player on Mac3 minutes read
 How to Uninstall QuickTime on Windows2 minutes read
 How to Record Using a Webcam5 minutes read
 How to Record Your Computer Screen7 minutes read
 How to join videos on macOS using QuickTime Player4 minutes read
 How to record your iPhone screen and audio is super easy.5 minutes read
Reader Comments 0
Sign in with email or Google to join the discussion.