How to Manage iTunes Subscriptions on iPhone or iPad
This wikiHow teaches you how to find a list of all your app subscriptions from the iTunes Store and edit your membership details, using an iPhone or iPad. Open the Settings menu on your iPhone or iPad. Find and click the icon on your home....
Steps
-
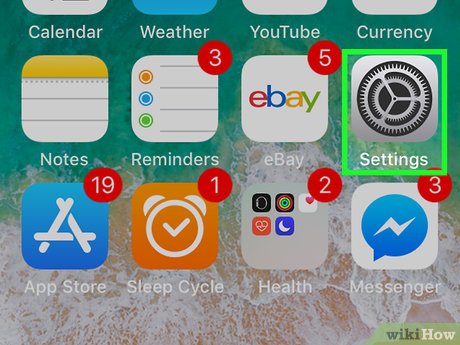 Open the Settings menu on your iPhone or iPad. Find and click theicon on your home screen to open the Settings app.
-
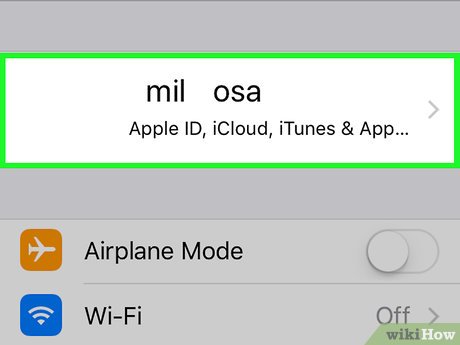 Tap your name at the top. Your name and picture are listed at the top of your Settings menu. Tapping it will open your Apple ID menu.
 -
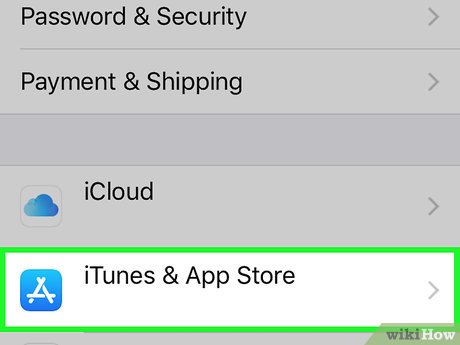 Tap iTunes & App Store. This option is listed next to theicon on the Apple ID menu.
-
 Tap your Apple ID email address at the top. Your email address is written in blue letters at the top of your screen. Tapping will open a new pop-up window.
 -
 Tap View Apple ID on the pop-up menu. This will open your Account Settings on a new page.
- You may be prompted to confirm your account here by entering your Apple ID password, or Touch ID.
-
 Scroll down and tap Subscriptions. This will open a list of all your current and expired iTunes subscriptions, including Apple Music and all third-party apps.
 -
 Tap on a subscription on the list. This will open your subscription details on a new page. Depending on the app, you may be able to change your membership plan, cancel your subscription, or resubscribe to an expired service.