How to Uninstall iCloud for Windows
This wikiHow teaches you how to remove the software interface that enables a Windows PC to connect with Apple's iCloud platform.https://support.apple.com/en-us/HT201391 Open the Start menu. It's typically in the lower-left corner of the....
Part 1 of 2:
Backing Up Local Data to iCloud
-
 Open the Start menu. It's typically in the lower-left corner of the screen.
 -
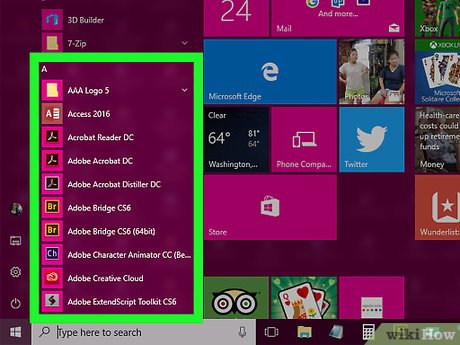 Click on All Programs. It's near the top of the "Start" menu.
- On some versions of Windows, this menu may be labeled "All Apps."
-
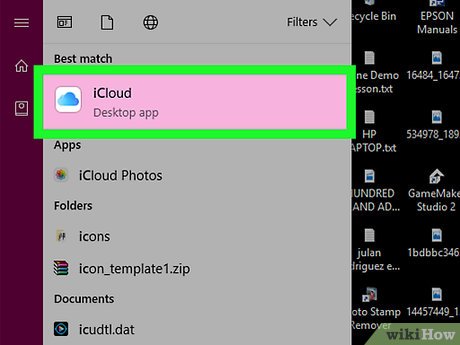 Click on iCloud. It's listed alphabetically in the drop-down menu.
 -
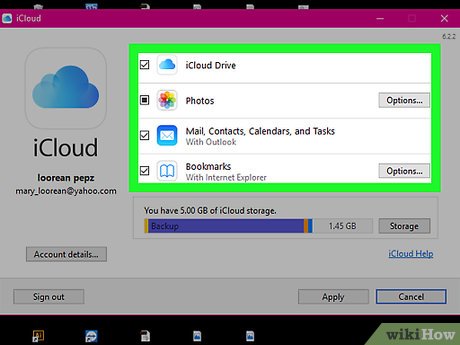 Select the data to back up. Do so by checking the boxes next to "iCloud Drive," "Photos," "Mail, Contacts, Calendars, and Tasks," and/or "Bookmarks."
 -
 Click on Apply. It's in the lower-right corner of the dialog box.
 -
 Click on Sign out. When your data has finished uploading, sign out with the button in the lower-left corner of the screen.
Part 2 of 2:
Uninstalling iCloud for Windows
-
 Open the Start menu. It's typically in the lower-left corner of the screen.
- Uninstalling iCloud requires an admin password. If you're not logged into your PC as an admin, log out and log back in as an admin.
-
 Click on Control Panel. It's in the middle of the "Start" menu.
 -
 Click on Uninstall a program. It's in the "Programs" section of the Control Panel dialog box.
- On Windows 7 or XP, click on Programs and then click on Program and Features.[2]
-
 Check the "iCloud" box. All programs are listed alphabetically.
 -
 Click on Change. It's above the pane that contains the list of programs.
- On Windows 7 or XP, click on Uninstall.
-
 Click on Ok. This dialog box confirms you want to make a change to iCloud.
 -
 Click on the "Remove" radio button. It's the second option in the dialog box.
 -
 Click on Next. It's in the lower-right of the dialog box.
 -
 Click on Yes. Doing so confirms that you want to uninstall iCloud from your PC.
 -
 Click on Yes. Doing so confirms you want to delete the software from your PC.
 -
 Click on Finish. iCloud for Windows has now been uninstalled and deleted from your PC.