How to Import DVD to iTunes
Many people believe that iTunes has limited functionality. However, there are several useful ways in which you can use iTunes. For example, you can easily import DVD's onto iTunes using a DVD ripping tool known as Handbrake. Download....
Part 1 of 3:
Launching Handbrake
-
 Download Handbrake. Handbrake is a free ripper and converter program. You can download the program at http://handbrake.fr/downloads.php.
 -
 Install the software. Once it has downloaded, double click the launcher and follow the instructions to complete installation.
 -
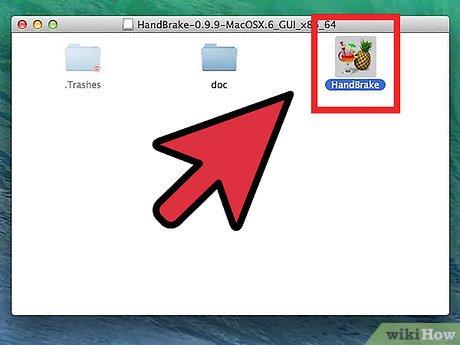
 Launch Handbrake. If it doesn't automatically open after installation, locate the application and double click to launch.
Part 2 of 3:
Ripping Your DVDs
-
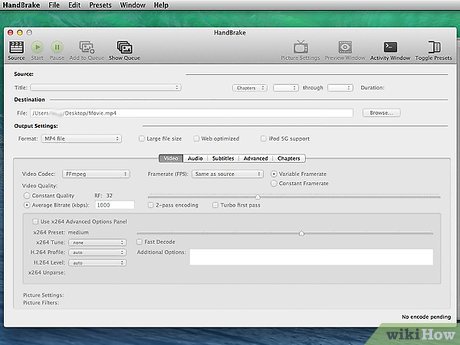
 Insert your DVD into the optical drive of your MAC. It will take a few moments before the DVDs content will appear on your screen.
 -
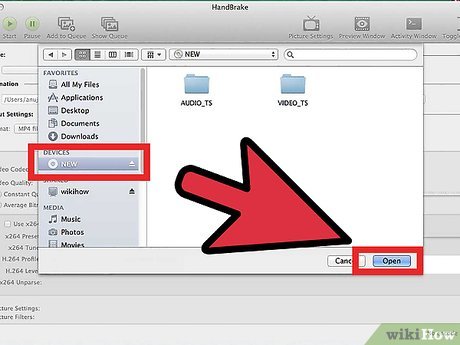 Select source for ripping. Just click on the DVD icon placed in the sidebar. Handbrake will scan the contents of your DVD.
- After scanning is complete, you will be able to view the details of the DVD (ranging from the size of the DVD and the total length of the DVD).
-
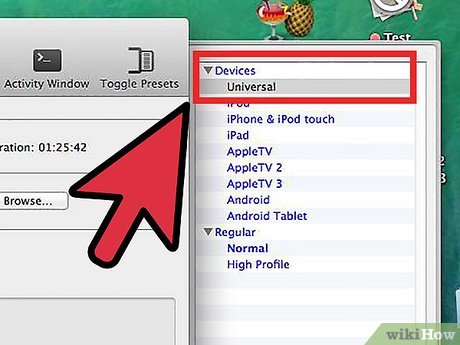 Click on 'Universal' if you want to place the DVD in iTunes.
- Once you click on any option present in Apple's preset menu, the format will turn into an MP4 file.
-
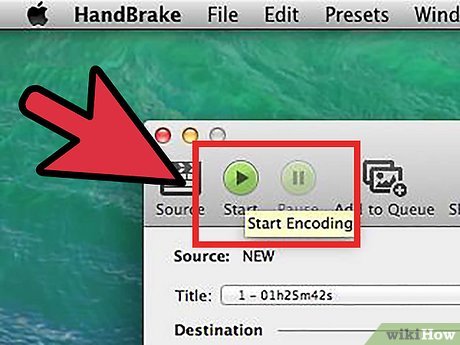 Press on 'Start' to begin the ripping process.
Part 3 of 3:
Importing Ripped Files to iTunes
-
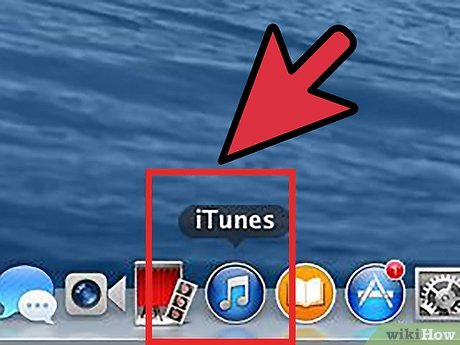 Launch iTunes.
 -
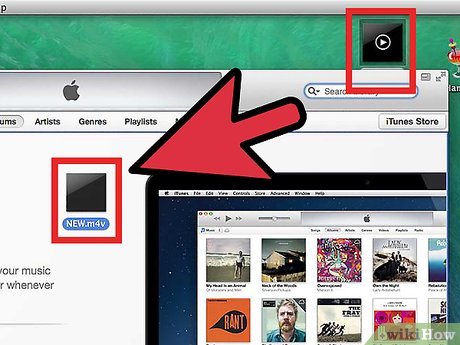 Drag the ripped files into the iTunes window. iTunes will automatically add the file to your library in a proper category (for this, it will be videos or movies).
- Depending on the settings that you have enabled in iTunes, you can choose to either keep the original ripped file or delete it.
-
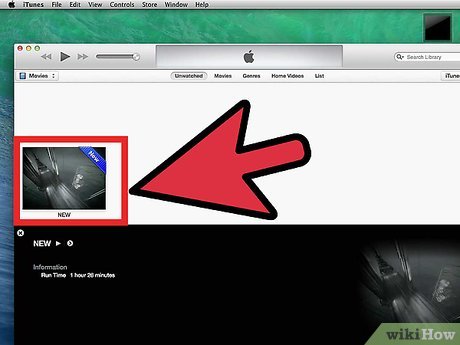 Access the file. You can access the file by clicking on the Movies sidebar on the left side of your iTunes window.
 -
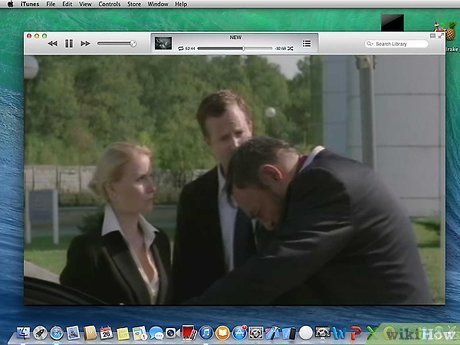 Watch your movie. Double-click on the movie and watch it whenever you want to.