How to Download and Install AutoWikiBrowser
AutoWikiBrowser is a special software that helps automate actions on a wiki using a bot or user account. Many people wonder how to download and install AutoWikiBrowser. This article will show you the simple steps to downloading and...
Table of Contents
Part 1 of 3:
Finding the Setup File
-
 Visit the download page. Open a web browser and go to https://sourceforge.net/projects/autowikibrowser/.
 -
 Download the file. Click the big green Download button. Under the word "Download" will list the file name. To the left of it, you'll see the letters "sf".
 -
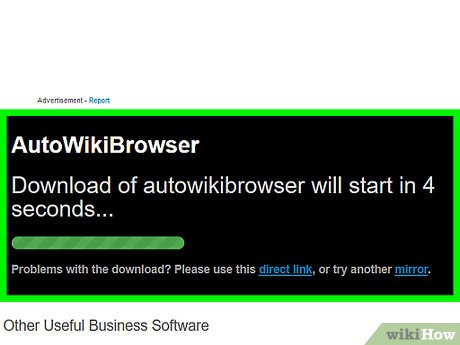 Wait for the download to commence. A new page will open and the download should initiate. In case it does not, click "direct link".
- If the download still isn't working, try using the mirror (click "mirror").
Part 2 of 3:
Saving the Setup File
Skip to Part 3 if the file was automatically downloaded to your computer.
-
 Choose a location to save the setup file.
 -
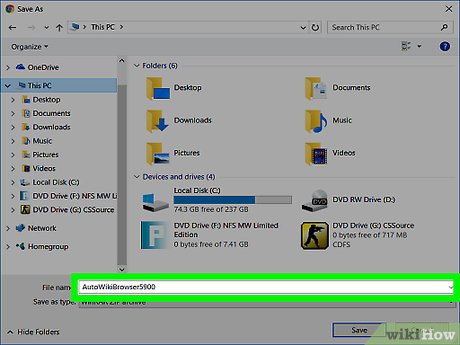 Rename the file (optional). Use the text box next to "File name:".
 -
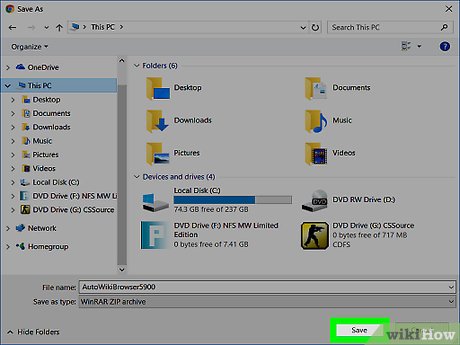 Save the setup file. Click the Save button.
Part 3 of 3:
Installing AutoWikiBrowser
-
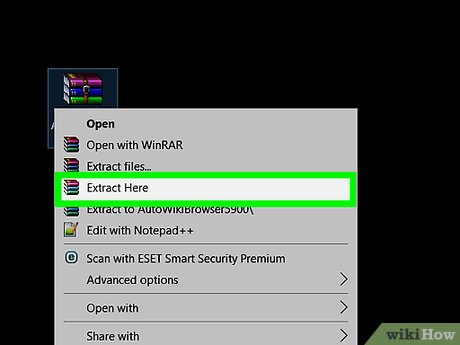 Extract the Zip file. Navigate to the file in File Explorer and right-click on it. Choose Extract Here.
- If you've installed a third party zip file manager, it might be hidden under a submenu. For example, WinRAR might hide it under the WinRAR listing.
-
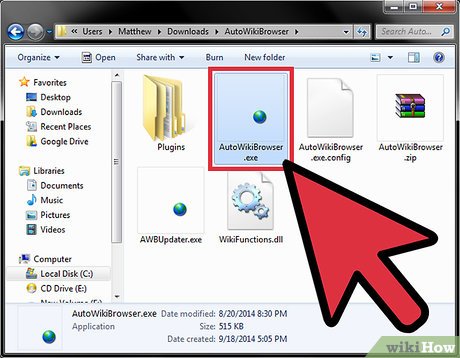 Open AutoWikiBrowser. Double-click on "AutoWikiBrowser" or "AutoWikiBrowser.exe" to launch the file. You'll see one of the two names depending on your file viewing settings (if you've enabled viewing of file extensions).
- No setup is necessary. Opening the file will take you directly to AutoWikiBrowser. You might want to pin it to Start by right-clicking and choosing Pin to Start.
Was this article helpful?
Your feedback helps us improve.
Related Articles
 How to download and install Map Minecraft4 minutes read
 Download Au Mix for PC, install Au Mix on your computer3 minutes read
 How to install Bootstrap on the computer3 minutes read
 Download and install Arduino on the computer11 minutes read
 How to download and install Anthemscore on your computer super fast and easy2 minutes read
 How to install Internet Download Manager to download files on your computer2 minutes read
Reader Comments 0
Sign in with email or Google to join the discussion.