How to create custom themes and colors in Word
In Word, in addition to the default layout for use in documents, users can completely create their own theme set, with custom color sets and fonts of their choice..
In Word, in addition to the default layout for use in documents, users can completely create their own theme, with custom color sets and fonts of their choice. With the color selection in Word, users can easily change the color of Hyperlink links in Word , or even the color of special content. After having a custom color set, the last thing you need to do is choose a font to have your own theme in Word. Below are instructions for creating custom themes and colors in Word.
How to create custom color sets in Word
Step 1:
At the interface in Word, we click on Design and then look down and click on Colors to create your own custom color set.

Step 2:
In the displayed color palette list, click Customize Colors to customize the color set.

Step 3:
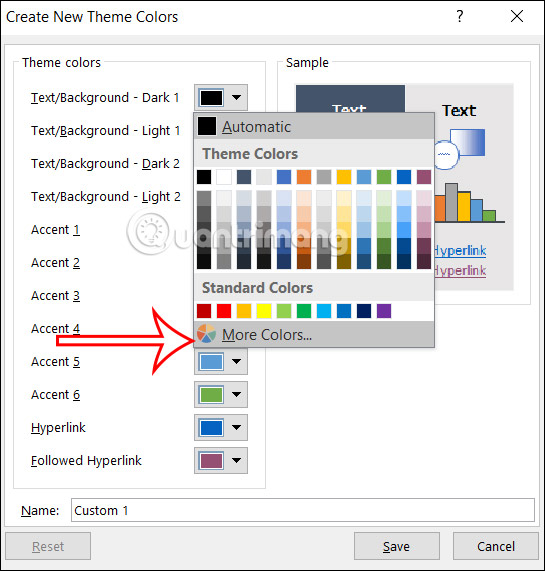
Now display the color palette for us to redesign the color. In the Theme colors section we will see the color palette for each content and the Sample section displays the color you choose on a white and black background.

Step 4:
At each item, you proceed to select the color you want. Click More Colors to expand the color selection palette.
Step 5:
Now we choose the color to use for the content. Continue choosing colors for other content.
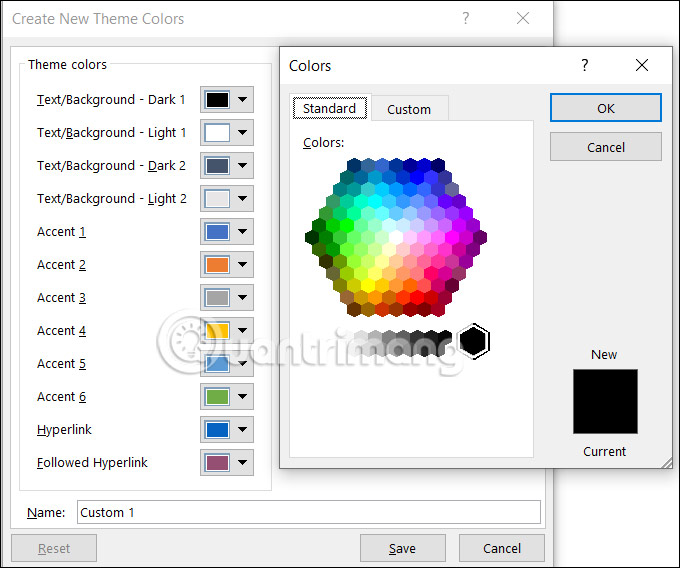
Any color changes will be displayed in the Sample column for you to preview. If you are not satisfied, you can change the color immediately. Next, you enter a name for this color sample set and click Save to save.

Instructions for creating custom fonts in Word
To create a custom theme in Word, you need to combine color sets and font sets.
Step 1:
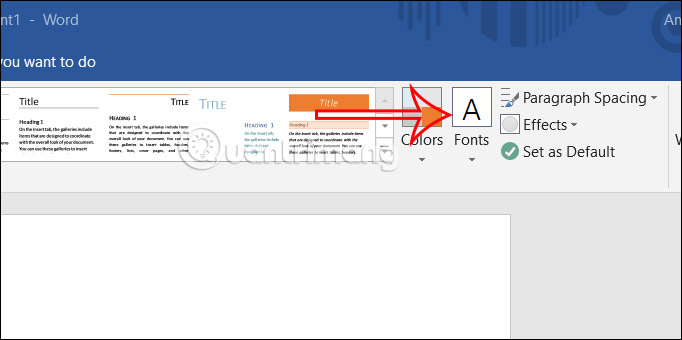
At the Word interface, we click on the Design tab and then select Fonts to create a custom font.
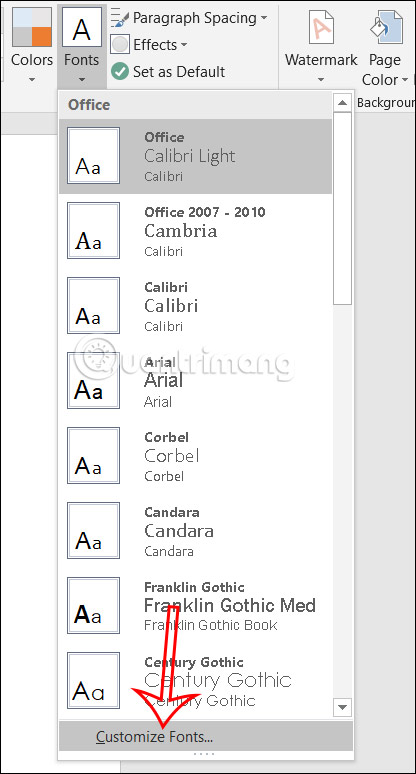
Now below the options you click Customize Fonts to create custom fonts.
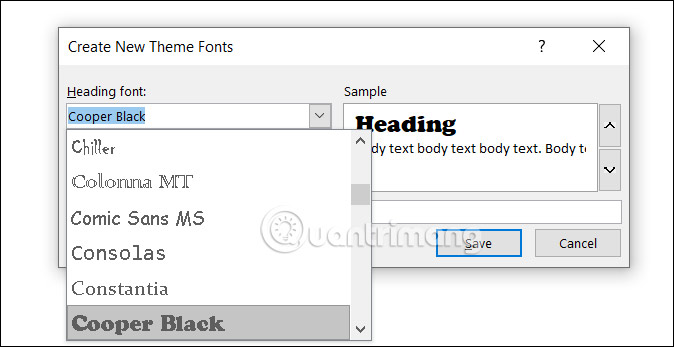
Step 2:
Now we proceed to choose the font for the Heading and Body sections .
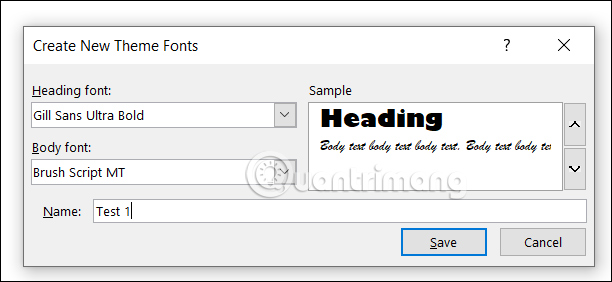
Step 3:
After selecting the font, enter a name for this template and click Save to save.
Instructions for creating custom Word themes
Step 1:
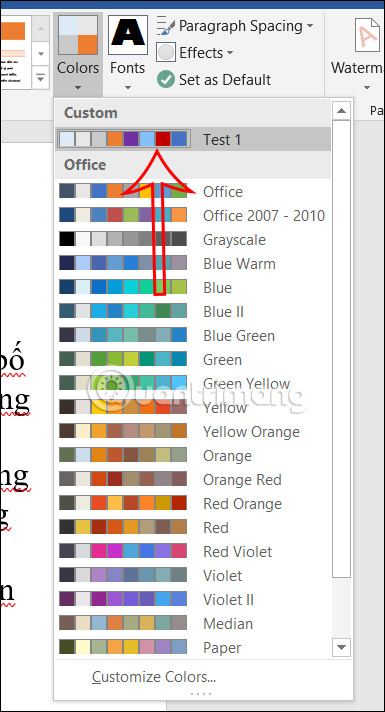
Open the document in Word then click on the Design tab then select Colors and click on the color swatch you created earlier .
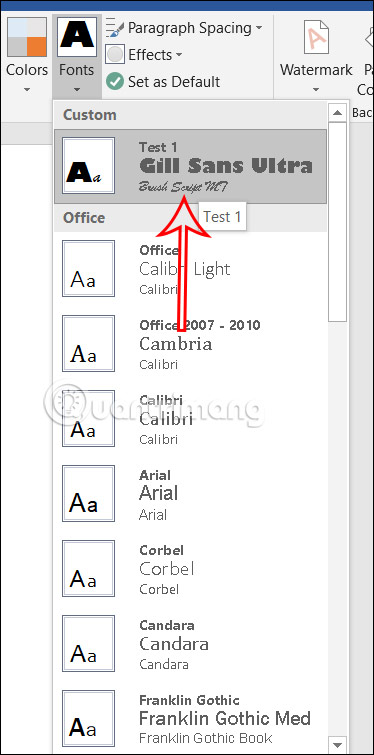
Click on Fonts and then click on the font template that the user created.
Step 2:
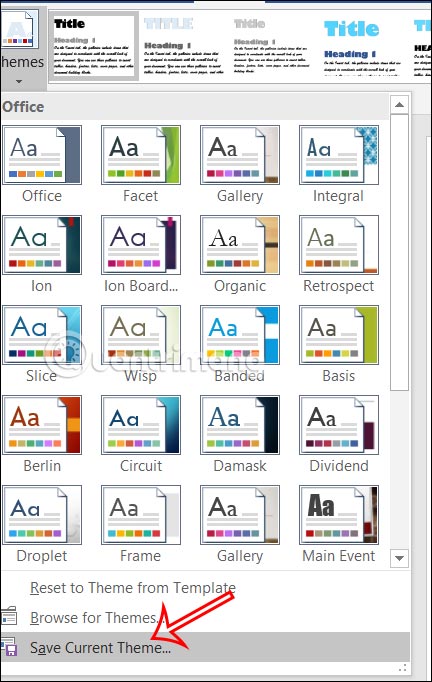
Continue clicking on the Themes group and then click Save Current Theme… below to save this theme template.
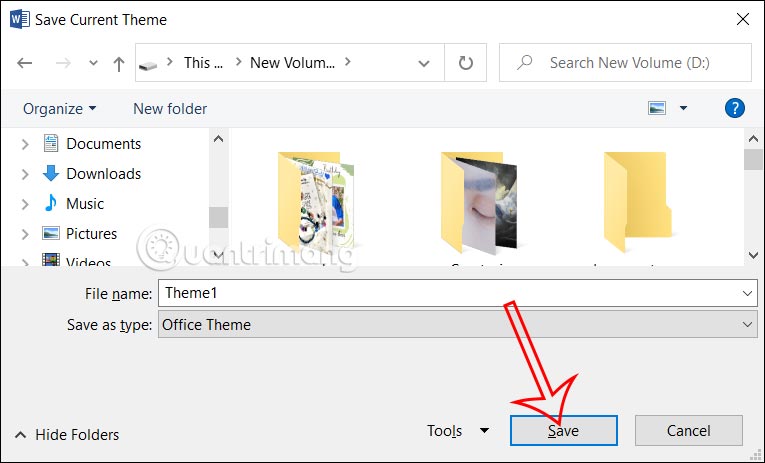
Name this theme and save it.
Step 3:
So, when you want to adjust the layout of the document interface, you need to click on Design, then select Themes, select Browse for Themes… to use the theme you saved for the current document.
