Table of Contents
This updated guide explains how to Connect Hosting Services on Microsoft Teams through clear steps, practical examples, and important checks that help prevent common errors.
How to Connect a Hosting Service to Microsoft Teams
Step 1:
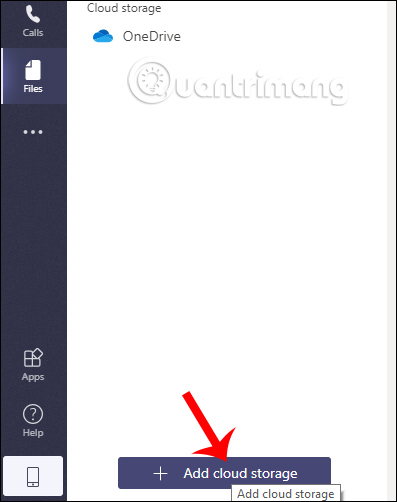
Users click Files in the left side of the screen and then select Add to Cloud Storage .
Step 2:
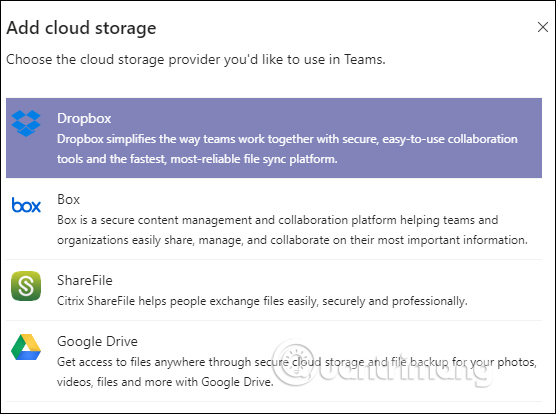
Displays the interface of cloud storage services that Microsoft Teams supports connecting. You click a service to use. Switching to the web interface requires the user to enter a hosting service account to use, in the example with the Dropbox service. Once you have logged in or agreed to let Microsoft Teams access the content you are hosting.
Step 3:
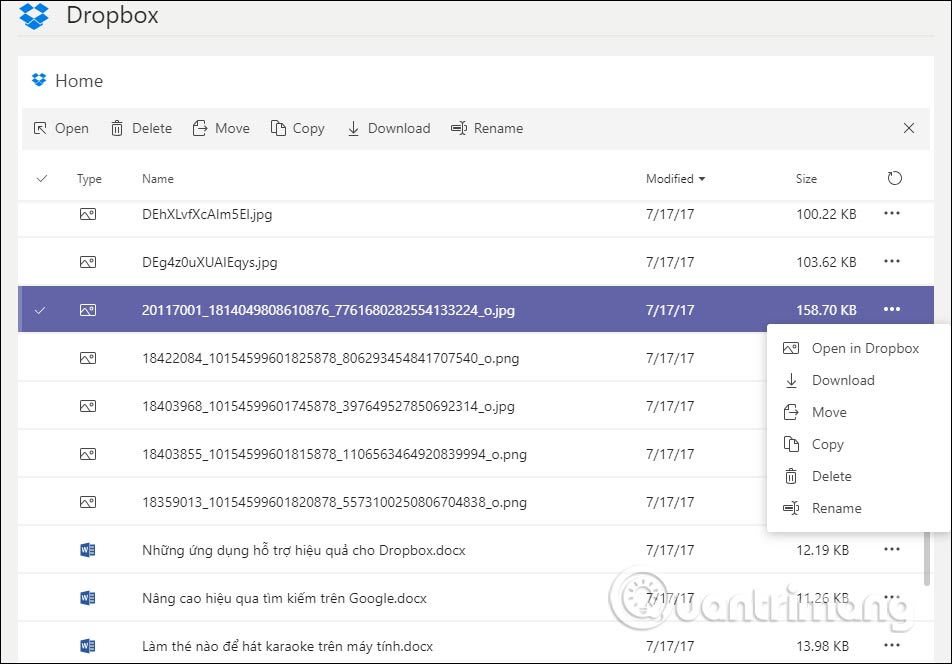
Once connected successfully we will see all the data stored in Dropbox. When you click the 3 dot icon you will have the options as shown below.
Step 4:
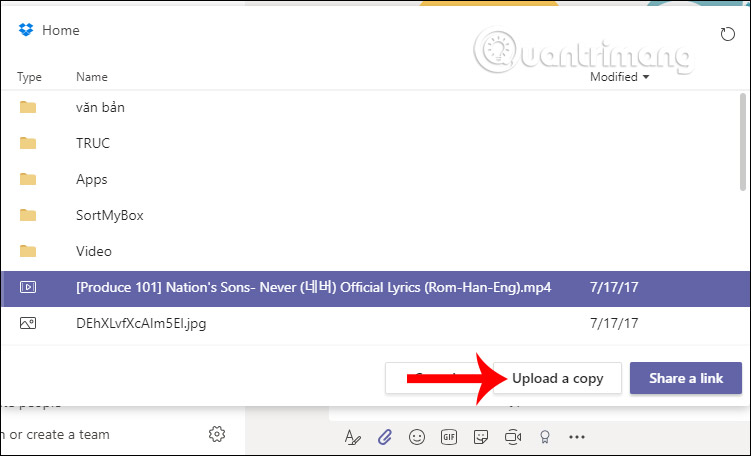
If you work in a Microsoft Teams group , when you click the file icon to send you will see the newly connected Dropbox account to select the file to send. Click Upload a copy to download and send data to the workgroup.
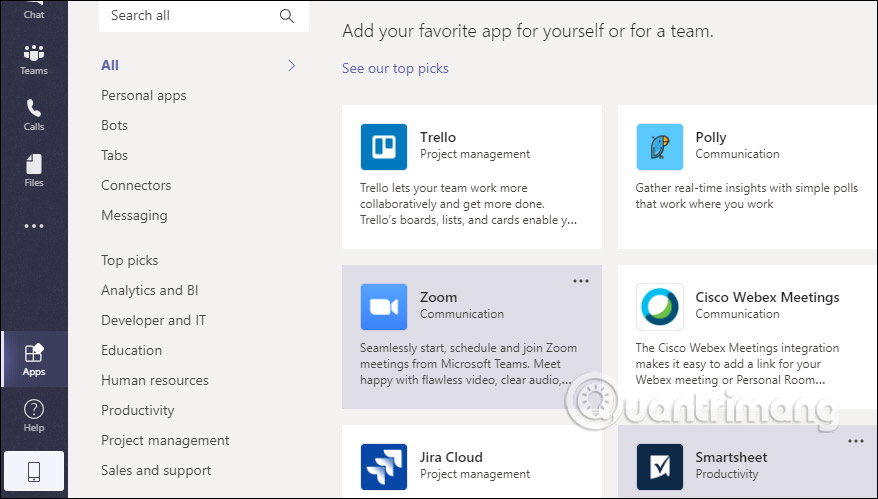
In addition to hosting services, Microsoft Teams also connects with many other types of services to serve the connection between team members. click Apps to select.
FAQ
What is the easiest way to Connect Hosting Services on Microsoft Teams?
Start with the requirements in this guide, then follow each step in order. Check the result after every major change so problems are easier to identify.
Can beginners follow these instructions?
Yes. The process is organized into practical steps, and you can repeat any step before moving forward.
What should I check if the method does not work?
Confirm your software or device version, permissions, settings, file format, and internet connection when the task depends on online services.
Related Articles
 Top 12 Best Web Hosting Services of 202618 minutes read
 Microsoft Announced a Number of Services Adjustment in3 minutes read
 Link Download Microsoft Teams 1.3.00.35649 minutes read
 14 Best Web Hosting 2018 Is Completely Free and Contains No12 minutes read
 How to Install Microsoft Teams on Linux: Step-by-Step Guide3 minutes read
 Summary of Shortcuts for Microsoft Teams to Learn Online5 minutes read
Reader Comments 0
Sign in with email or Google to join the discussion.