How to adjust Windows 11 notification sound
Customizing notification sounds in Windows 11 ensures important alerts stand out more, especially since the default system alert sound has shifted to a softer style in recent versions..
Customizing notification sounds in Windows 11 ensures that important alerts stand out, especially since the default system notification sounds have changed to a softer style in recent versions. Custom sounds not only help prevent missed notifications, but also allow you to tailor your PC actions to your preferences. Here's how to customize Windows 11 notification sounds .
Adjust Windows 11 notification sounds via Settings
Step 1:
Press Windows + I to open Settings , then select System and look to the right and click Sound to adjust.

Step 2:
Scroll down and click More sound settings to expand notification sound settings.

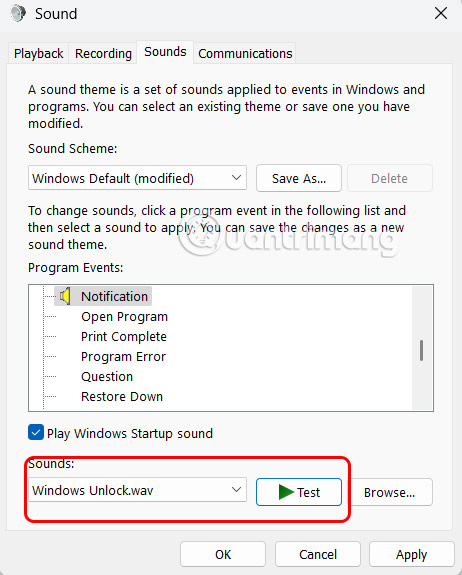
Now the interface is displayed for you to adjust the notification sound. We click on the Sounds tab to adjust.

Step 3 :
Scroll down and click on Notification to control the sound emitted for general notifications, then look down at the Sounds section , we choose the notification sound we want to use. To preview the sound , select that sound and click Test .
If you want to use your own sound, click Browse… and select the .wav file. Finally, click Apply to save the sound.
Adjust Windows 11 notification sound via Control Panel
Step 1:
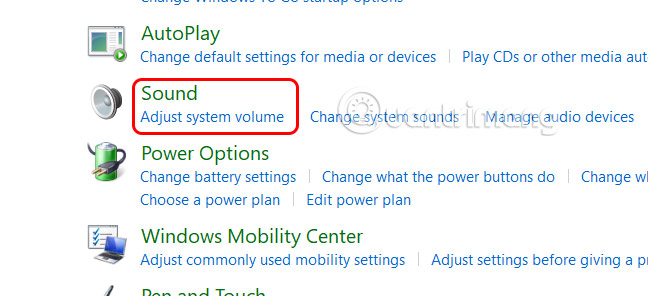
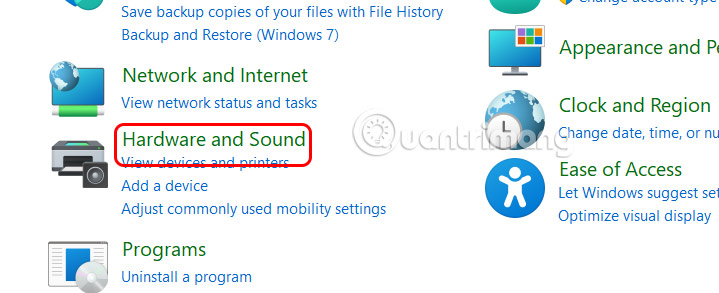
Open Control Panel on your computer, then click Hardware and Sound .
Step 2:
Next, the user clicks on Sound to adjust the sound on the computer. Then you also adjust the notification sound as above.